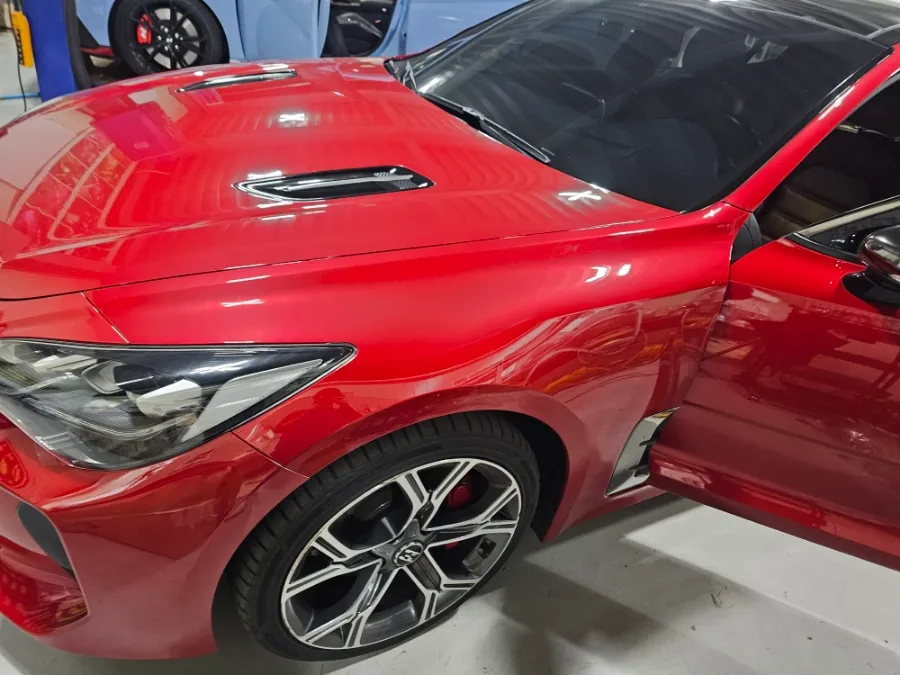
Kia Stinger Ambient Lighting Review - Cost & Results
Service Price
$40–80
Estimated price · Actual price may vary by shop
Kia Stinger ambient lighting retrofit using OEM parts: approx. $220-$440 USD. Achieves a seamless, factory-integrated look for a premium interior feel
Is OEM Ambient Lighting the Best Choice for Your Kia Stinger?
If you're a Kia Stinger owner contemplating an interior lighting upgrade, you're likely wondering if opting for genuine OEM parts is the optimal path. Many owners find themselves seeking a more refined ambiance, and the question of whether to retrofit original components or explore aftermarket solutions is common. This guide delves into the specifics of using OEM parts for ambient lighting in Stingers, particularly for 2017 and later models, including the Meister variants, which may not have come equipped with this feature from the factory. While the cost for OEM parts can range from approximately 300,000 to 600,000 Korean Won (roughly $220-$440 USD, depending on exchange rates and specific options), the long-term satisfaction and seamless integration often justify the investment. We'll explore why this approach yields superior results and walk you through the installation process.
Why Choose OEM Ambient Lighting for the Stinger?
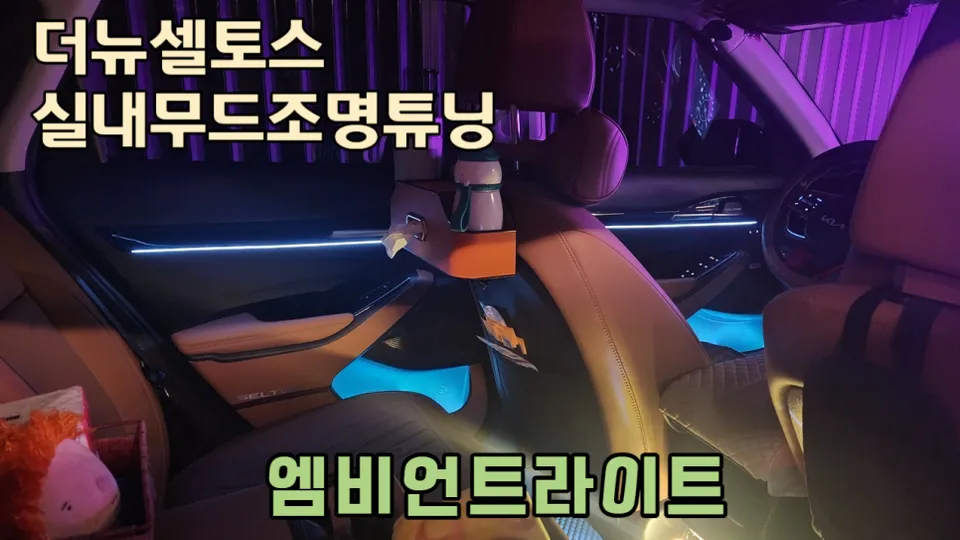
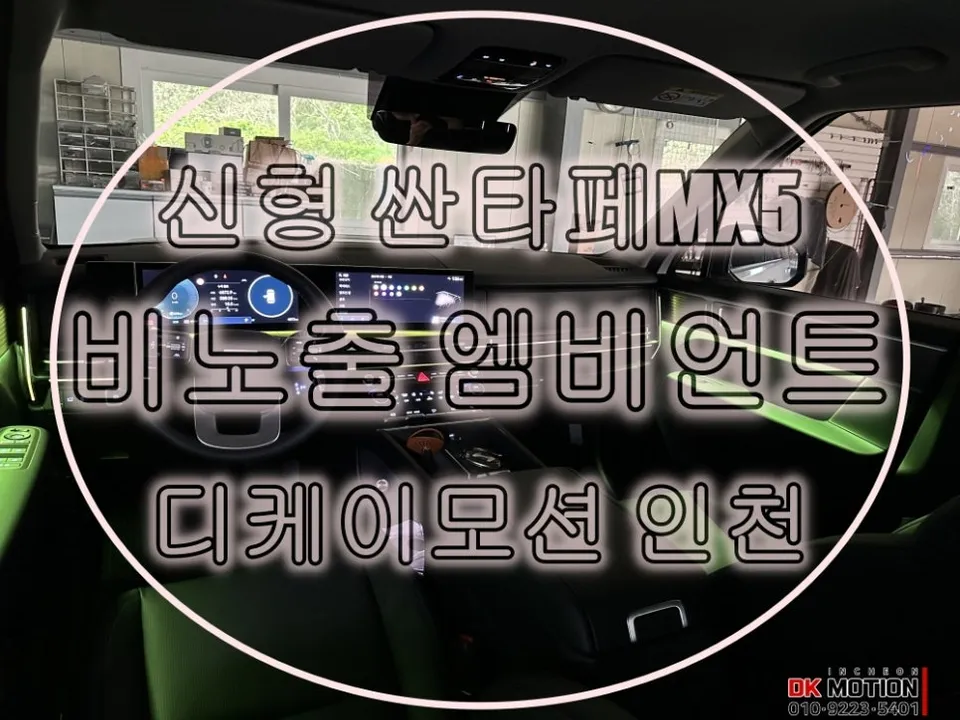
For Kia Stinger models, especially those from 2017 onwards or the Meister editions lacking factory ambient lighting, integrating OEM parts offers the cleanest and most aesthetically pleasing outcome. Many owners who initially opted for aftermarket acrylic ambient lighting often return for a retrofit due to dissatisfaction. Common issues with aftermarket installations include a noticeable disconnect with the vehicle's interior design or subpar finishing. While installing OEM parts, particularly in areas like the upper dashboard, can be complex, it's crucial for achieving a factory-perfect look. This often involves custom fabrication of navigation bezels and crash pads to ensure a flawless integration. Although the initial cost of OEM parts might seem higher, the durability and seamless integration provide lasting value and a significantly more premium feel compared to many aftermarket alternatives. OEM components are engineered for perfect compatibility, ensuring a natural and cohesive look that enhances the vehicle's overall interior design. While minor imperfections or defects can occasionally occur, prompt replacement with new parts ensures the installation remains in pristine condition.
The Kia Stinger Ambient Lighting Installation Process
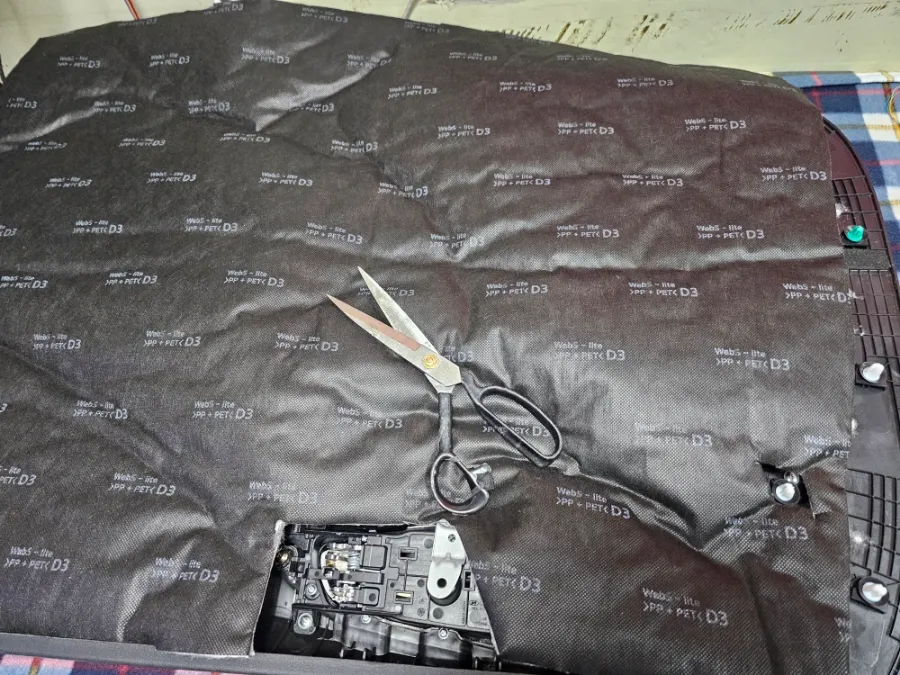
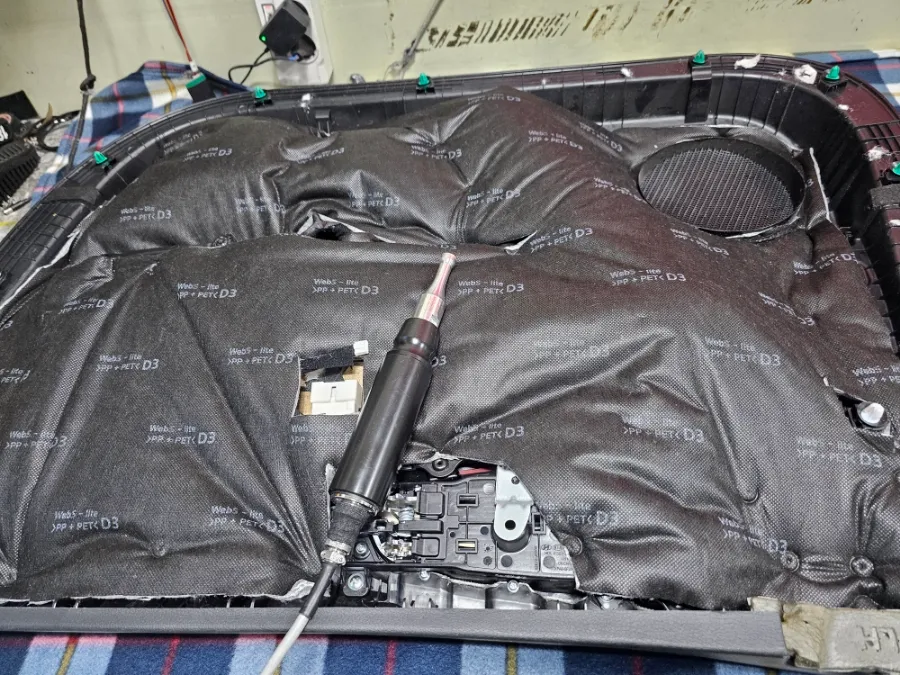
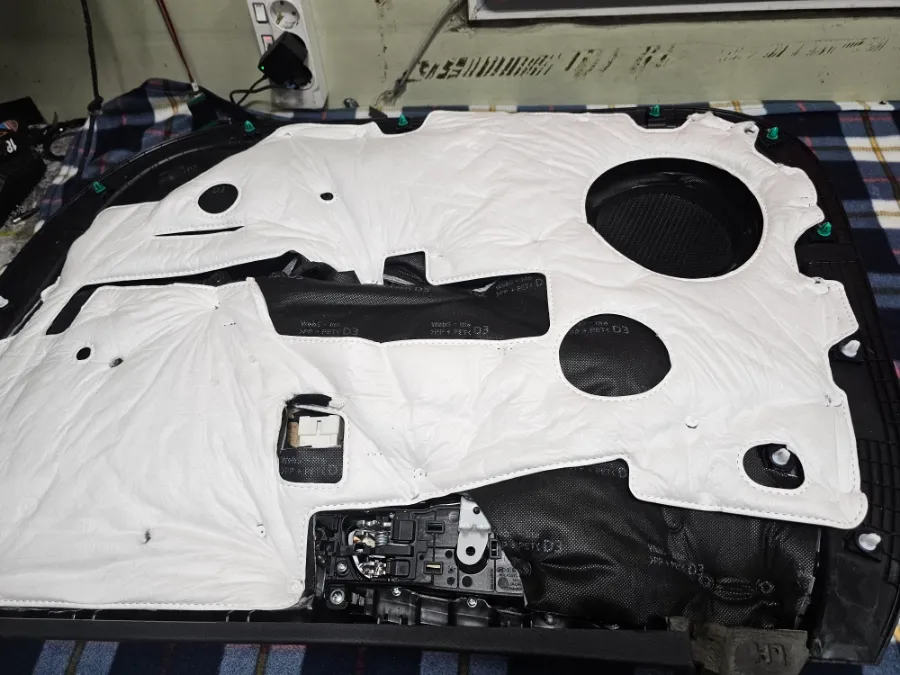
The installation of ambient lighting on a Kia Stinger typically begins with the door trims. After working on the front door panels, sound-deadening material, specifically high-quality Shinsulator, is meticulously applied to enhance acoustic comfort. The choice of materials is paramount; even for service items, premium materials are used over cheaper alternatives to ensure the best quality. This commitment to quality extends to the rear door trims as well. In cases where a component might have a minor scratch, the process includes quickly sourcing a replacement part from a local dealership via express delivery to ensure the installation proceeds without compromise. This meticulous attention to detail ensures a high-quality finish. A critical aspect of the installation is the depth of the acrylic or OEM light channel within the door trims. If it's too recessed or too prominent, it can look out of place. The ideal integration involves the light source being subtly visible, often around 0.5mm, to blend harmoniously with the car's original design. This precise finishing is what truly defines the quality of the ambient lighting installation.
Installation Process:
- Disassembly of interior panels, starting with the door trims.
- Application of sound-deadening materials (Shinsulator) to door panels for improved acoustics.
- Careful integration of ambient light components into the door trims and dashboard areas.
- Wiring and connection to the vehicle's electrical system, ensuring seamless control.
- Reassembly of all interior panels with meticulous attention to fit and finish.
The entire process, including sourcing parts and ensuring perfect integration, can take approximately 3 to 4 hours, though it may extend slightly depending on part availability and the complexity of the chosen configuration (e.g., adding dashboard or air vent lighting).
Frequently Asked Questions
Q. How much does ambient lighting cost for a Kia Stinger?
In Korea, OEM ambient lighting installation for a Kia Stinger can range from 300,000 to 600,000 KRW (approximately $220-$440 USD). US pricing can vary significantly based on the installer and specific components chosen.
Q. How long does ambient lighting installation take on a Kia Stinger?
Installation typically takes around 3 to 4 hours, though it can extend longer depending on part availability and the complexity of the chosen setup. Proper maintenance involves occasional cleaning of the light channels to ensure optimal brightness and appearance.
Q. Is aftermarket ambient lighting worth it for a Kia Stinger?
For a seamless, factory-integrated look, opting for OEM ambient lighting parts is often considered more worthwhile than aftermarket solutions, despite a potentially higher initial cost. It provides a premium feel that harmonizes with the vehicle's interior design.
Q. How is ambient lighting installed on a Kia Stinger?
Installation involves disassembling interior panels, applying sound-deadening materials to door trims, carefully integrating the ambient light components into panels and dashboards, wiring them to the car's system, and then reassembling everything with precise finishing.
Q. What is the difference between OEM and aftermarket ambient lighting for a Kia Stinger?
OEM ambient lighting uses genuine Kia parts designed for perfect integration, offering a factory-like appearance and feel. Aftermarket options may offer more customization but can sometimes result in a less cohesive or less durable installation.
OhCar Partner Shop