Kia Stinger Lighting Upgrade Review: LED Tail Lamp Conversion
Service Price
$40–80
Estimated price · Actual price may vary by shop
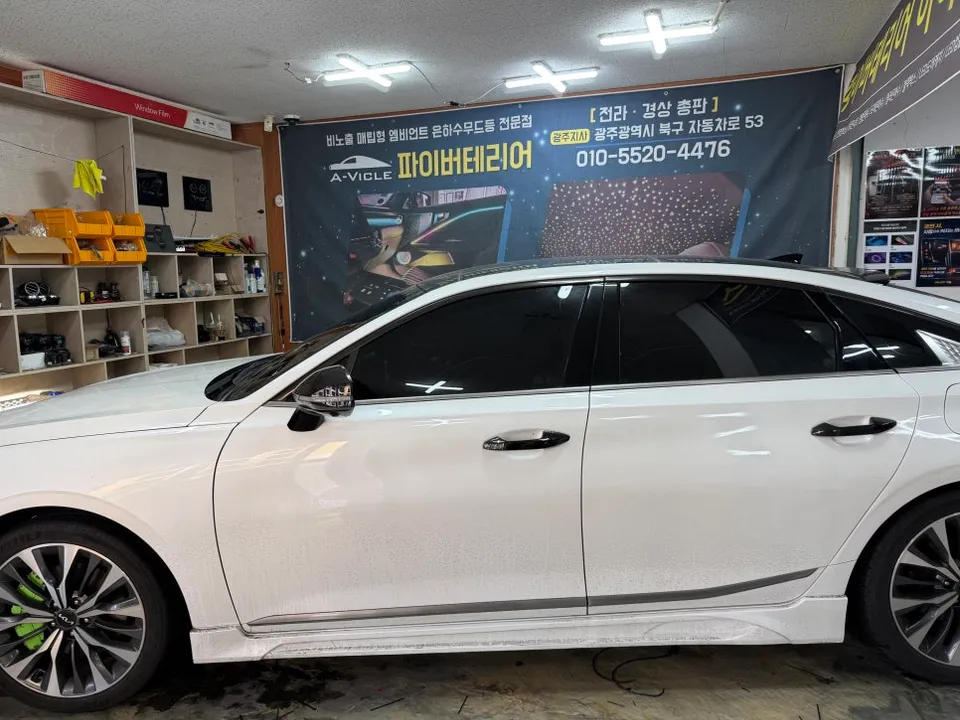
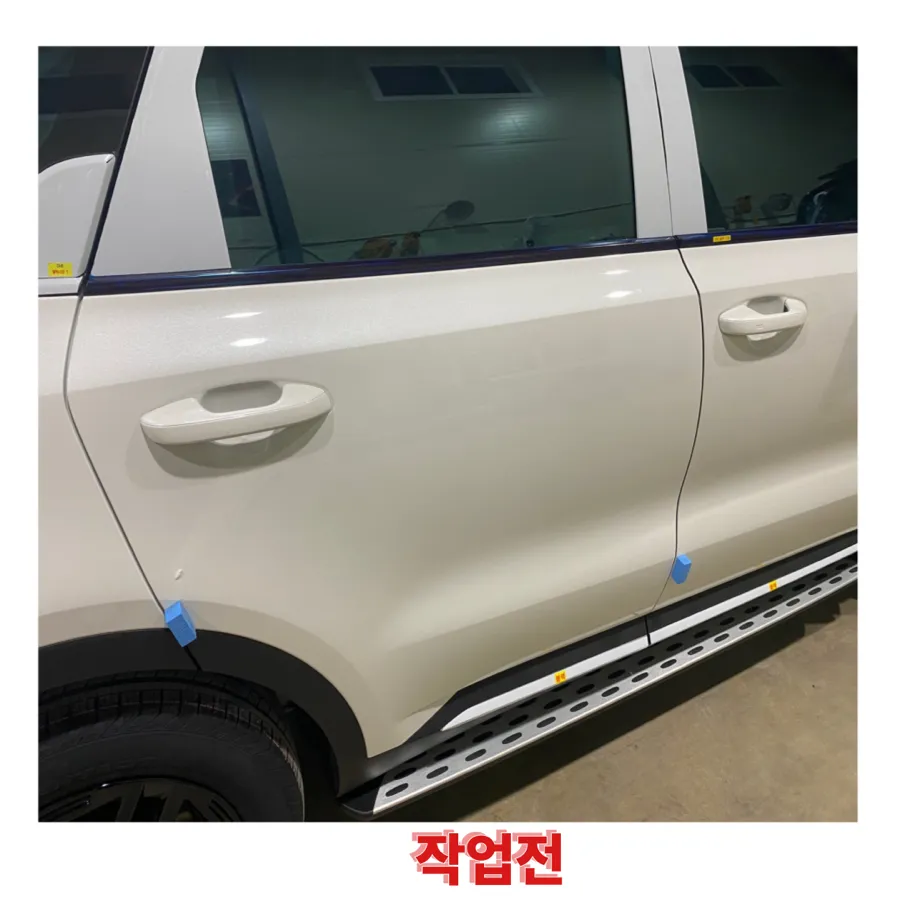
Before
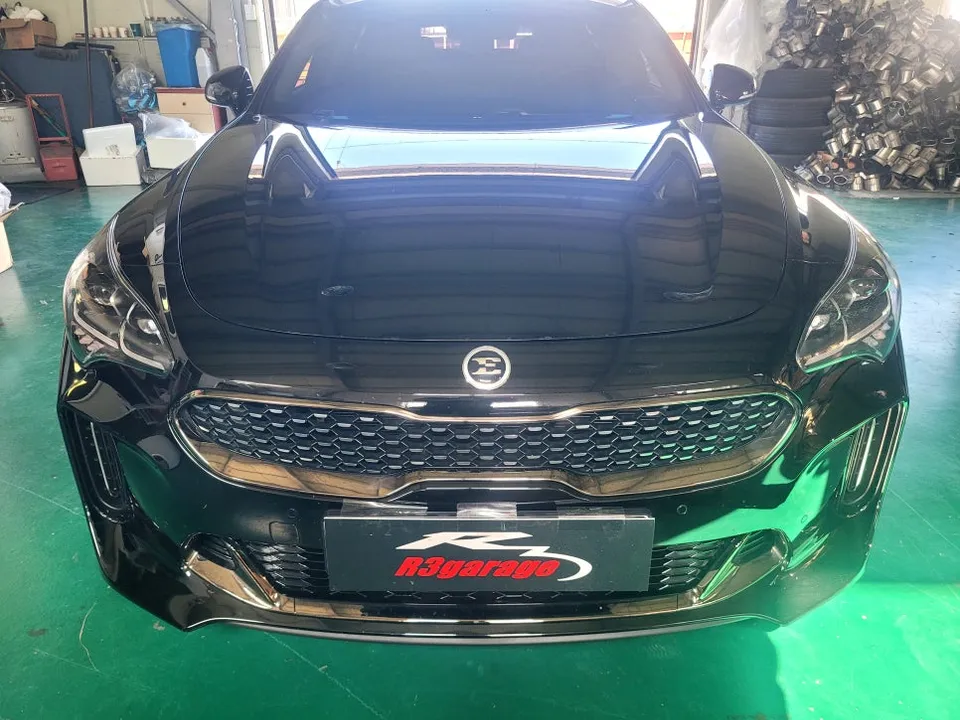
After

Process photos
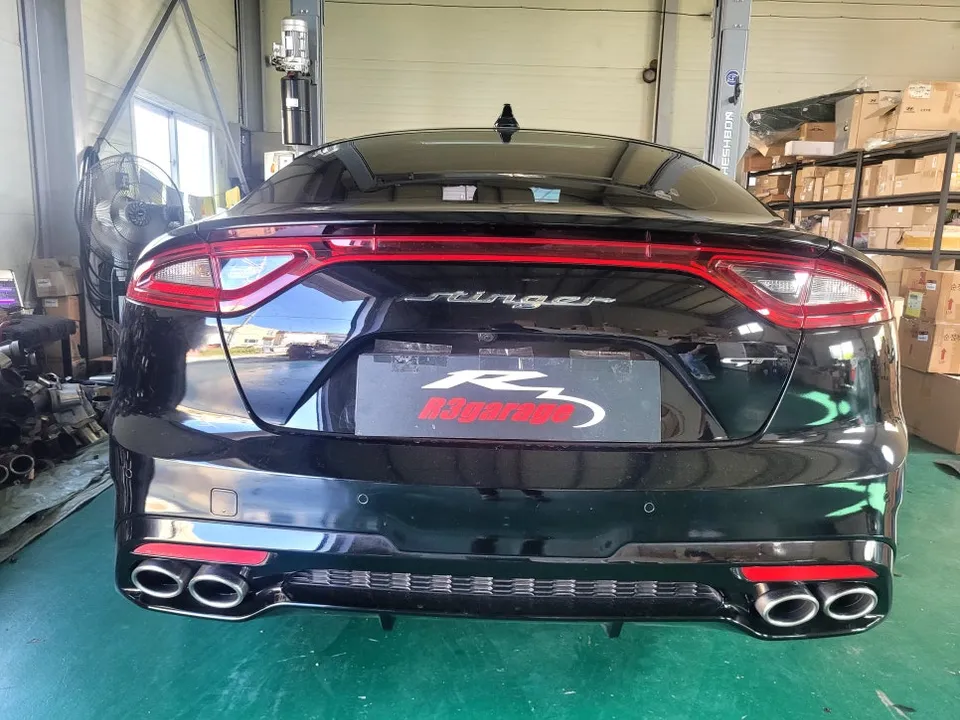
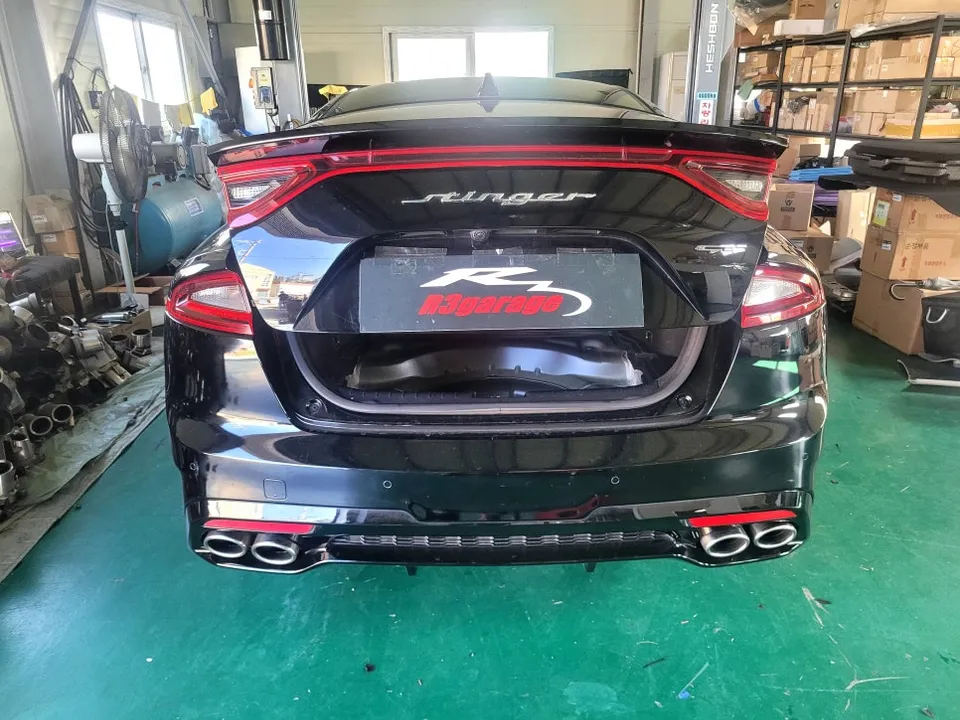
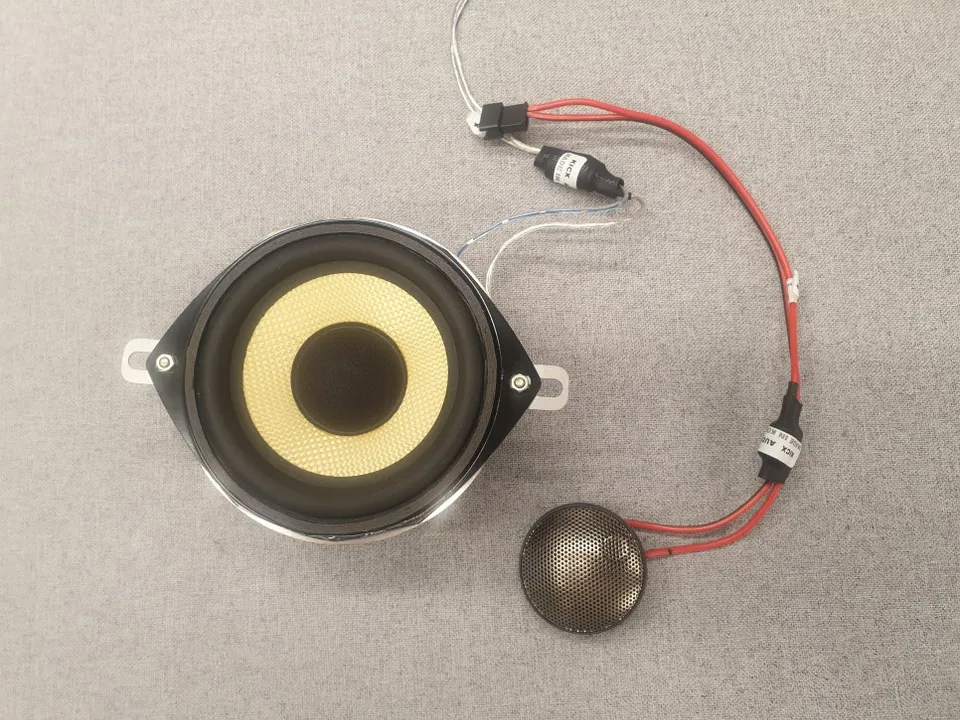
Kia Stinger LED tail lamp upgrade with anti-hazard module and resistors. Prevents dashboard warnings for a seamless look.
Kia Stinger LED Tail Lamp Upgrade: The Necessity of Anti-Hazard Modules and Resistors
For a Kia Stinger owner who recently purchased the vehicle used, the first planned modification was a tail lamp upgrade. This process involves converting the existing halogen bulbs to a Meister LED tail lamp system. Crucially, two components are indispensable for this conversion: an anti-hazard module and resistor work. Without proper installation of these, the dashboard will display warning lights, creating a persistent distraction during driving.
📋 Contents of this Article
— Essential components for LED tail lamp conversion: Anti-hazard module and resistor work
— Pre-installation inspection and removal of existing parts
— Wiring process and the principle of resistor installation
— The critical step of gap adjustment
— Final inspection and operational verification
— Installation cost, duration, and maintenance information
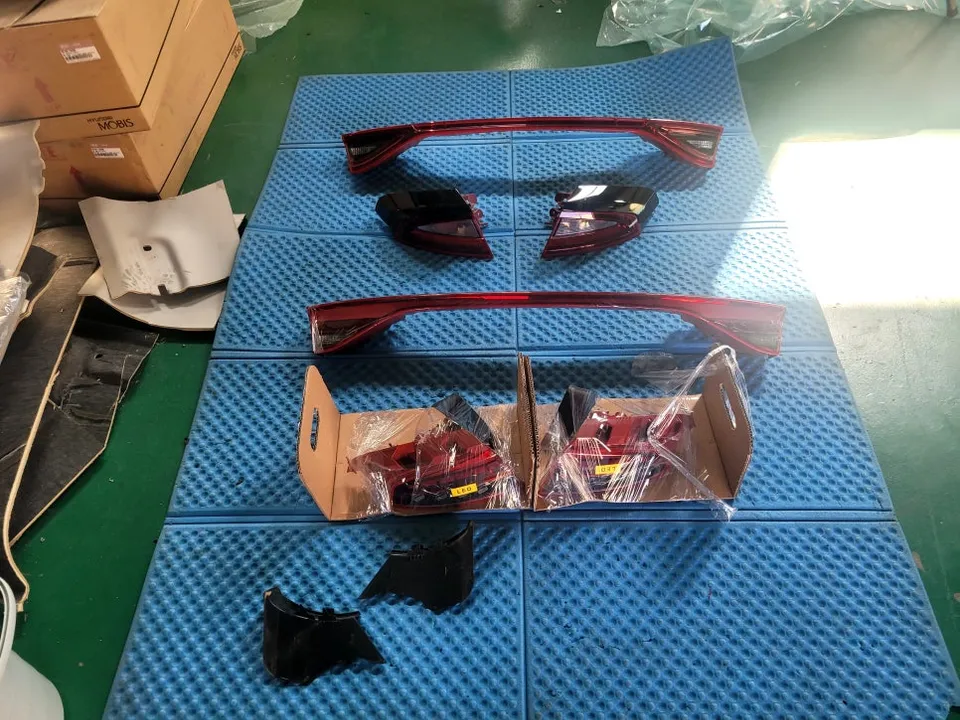
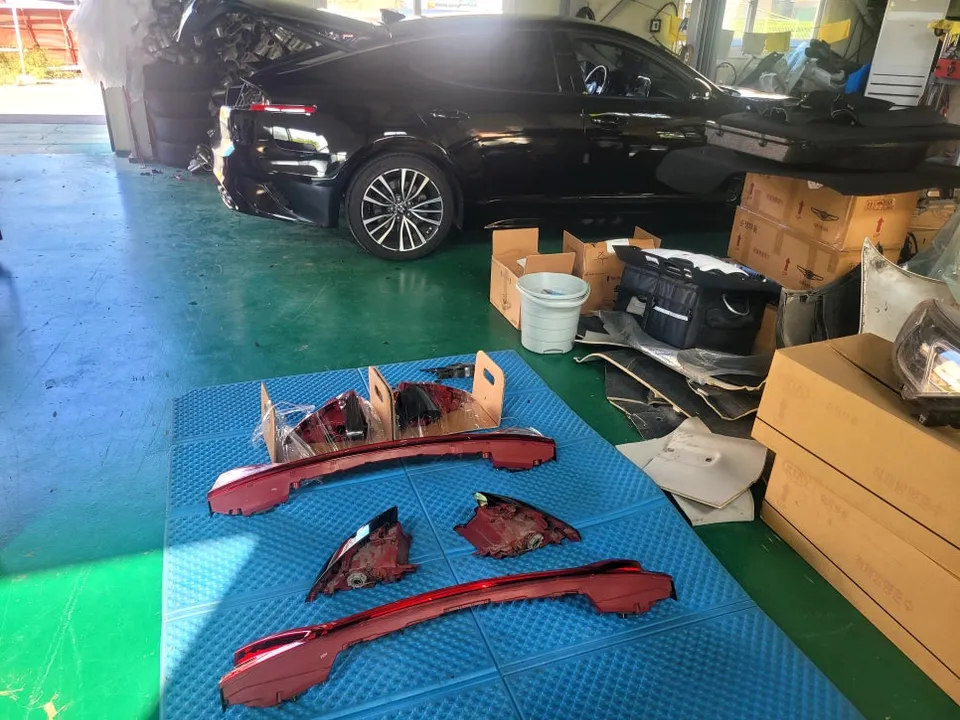
Pre-Installation Preparation and Removal of Existing Tail Lamps
The process begins with the careful removal of the original factory tail lamps. The Stinger's tail lamps are secured to the vehicle body with several clips. During removal, it's essential to gently release the screws and clips holding the garnish (the plastic trim surrounding the tail lamp). Applying excessive force can easily break these clips, so a cautious approach is necessary.
The Meister tail lamps prepared by the owner are the latest LED models. Unlike traditional halogen bulbs, LEDs consume significantly less power. This low power draw can cause the vehicle's electronic control system to mistakenly interpret the lights as being off. To prevent this, an anti-hazard module is essential.
The Core of LED Tail Lamp Installation: Anti-Hazard Module and Resistor Work
LED tail lamps consume much less power (approximately 2-5W) compared to conventional halogen bulbs (around 10-20W). The vehicle's electronic control system relies on the power consumption of the bulbs to determine normal operation. When switching to LEDs, this signal weakens, triggering dashboard warning lights. There are two primary methods to resolve this issue.
The first is the anti-hazard module. This device detects the low power consumption of the LEDs and calibrates the signal to maintain a consistent strength. The second method is resistor work, which involves installing a resistor (typically around 50Ω) in series with the wiring. This resistor consumes a portion of the power, allowing the vehicle's system to perceive it as normal power consumption.
For the Kia Stinger, which uses a halogen bulb-based system, combining both methods generally offers the most stable performance. While an anti-hazard module alone can function, adding resistor work enhances long-term reliability.
Wiring Connection and Resistor Installation: Precision is Key
Next, the wiring of the new tail lamps is connected to the vehicle's electrical system. The Stinger's tail lamp connectors are typically 6-pin or 8-pin types, with each pin serving a specific function: positive (power), negative (ground), brake light signal, reverse light signal, etc.
The most critical aspect of the wiring process is to never reverse the polarity. Incorrect polarity can prevent the LEDs from illuminating or cause immediate damage. Therefore, it's crucial to follow the original wiring colors (e.g., red for positive, black for negative) and accurately match each signal wire from the new LED tail lamps.
Resistors are usually inserted into the wiring path for signals like the brake or reverse lights. The typical resistance value ranges from 50Ω to 70Ω. If the resistance is too high, the warning light prevention effect will be diminished. Conversely, if it's too low, it can generate unnecessary heat in the wiring. The installer must select the precise resistance value required for each signal.
The Crucial Gap Adjustment: Accuracy Determines the Outcome
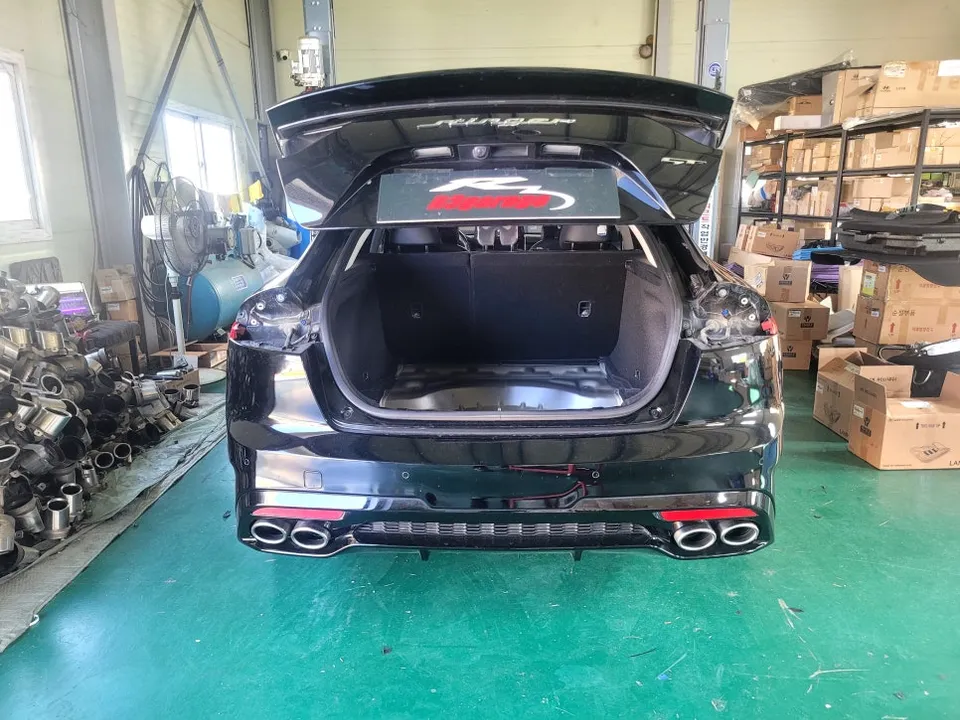
Once the wiring and module installation are complete, the most delicate phase of the work begins: adjusting the fitment. This involves ensuring the new LED tail lamps sit flush with the vehicle's body panels, eliminating any unsightly gaps. Precise alignment is vital for both aesthetics and to prevent potential water ingress or rattles. This step requires patience and a keen eye for detail to achieve a factory-perfect finish.
Installation Process:
1. Carefully remove the original tail lamps, paying attention to clips and screws.
2. Disconnect the wiring harness from the old lamps.
3. Connect the new LED tail lamps, ensuring correct polarity for each wire.
4. Install the anti-hazard module and the appropriate resistors in the designated circuits (typically brake and reverse signals).
5. Secure the new tail lamps, ensuring a snug fit and proper alignment with the body panels.
6. Test all functions, including brake lights, turn signals, and reverse lights, and check for any dashboard warning lights.
Cost, Duration, and Maintenance
The cost for this LED tail lamp upgrade, including the Meister lamps, anti-hazard module, and resistor work, can vary. Based on the provided context, the parts and labor would likely be in the range of ₩500,000 to ₩1,000,000 (Korean Won), depending on the specific components chosen and the installer's rates. The installation typically takes between 2 to 4 hours. For maintenance, ensure the connections remain secure and periodically check for any signs of condensation within the new lamps. The LED units themselves are designed for long life, often exceeding 50,000 hours of use.
Frequently Asked Questions
Q. How much does a Lighting Upgrade cost for a Kia Stinger?
The LED tail lamp upgrade for the Kia Stinger, including the Meister lamps, anti-hazard module, and resistor work, is estimated to cost between ₩500,000 to ₩1,000,000 (Korean Won). Typical US pricing for similar LED tail light conversions can range from $300 to $800, depending on the brand and complexity.
Q. How long does a Lighting Upgrade last on a Kia Stinger?
The LED units in the tail lamp upgrade are designed for longevity, often exceeding 50,000 hours of use, providing years of reliable performance. Regular checks for secure connections and any signs of condensation inside the lamps will help ensure optimal durability.
Q. Is a Lighting Upgrade worth it for a Kia Stinger?
This upgrade is highly recommended for Stinger owners seeking a modern aesthetic and improved lighting functionality. It's particularly valuable for those who want to eliminate distracting dashboard warning lights caused by the lower power draw of LEDs.
Q. How is a Lighting Upgrade done on a Kia Stinger?
The process involves carefully removing the original tail lamps, disconnecting the wiring, and connecting the new LED tail lamps while ensuring correct polarity. An anti-hazard module and specific resistors (around 50-70Ω) are installed in the circuits, typically for brake and reverse signals, to prevent dashboard warnings. Finally, the new lamps are fitted, ensuring precise alignment with the body panels.
Q. What is the best Lighting Upgrade option for a Kia Stinger?
The most reliable option for a Kia Stinger involves a combination of an anti-hazard module and resistor work when upgrading to LED tail lamps. This dual approach ensures stable operation and prevents dashboard warning lights, offering superior long-term performance compared to using just one component.
OhCar Partner Shop