Volvo Polestar 2 Dash Cam Installation Review — Professional Serv
Service Price
$approx. $1,150–1,500
Estimated price · Actual price may vary by shop

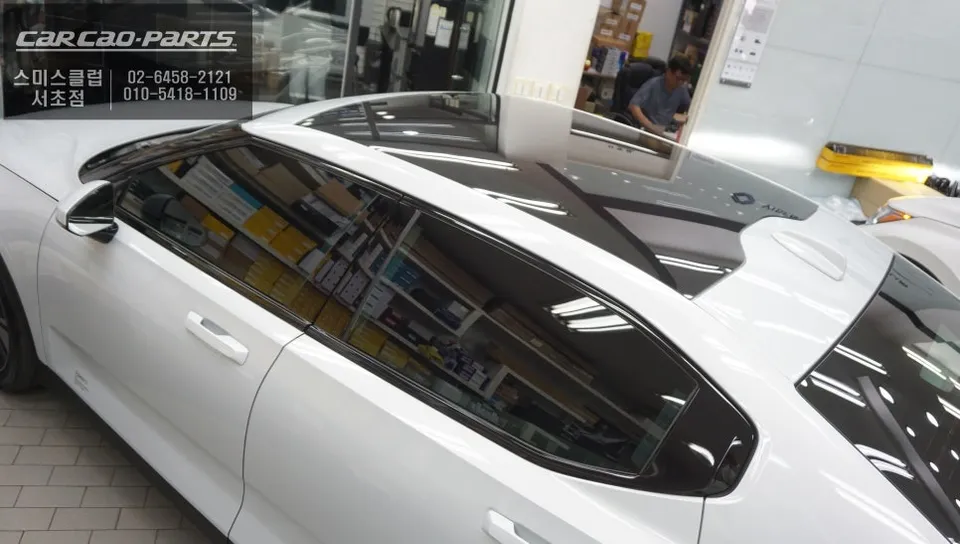
Dash cam and auxiliary battery installation for Volvo Polestar 2. Enhances security with QHD recording and extended parking mode.
Expert Dash Cam & Battery Installation for Your Volvo Polestar 2
Considering professional upgrades for your Volvo Polestar 2? Many electric vehicle owners are opting for integrated dash cam and auxiliary battery systems to enhance safety and convenience. This review details a professional installation experience focusing on the dash cam and its power solution, crucial for EV owners.
Why Professional Dash Cam Installation Matters for EVs
Professional installation ensures your dash cam system is integrated seamlessly and safely, especially in electric vehicles like the Polestar 2. Unlike traditional gasoline cars, EVs have complex high-voltage systems. Improper installation can risk damage to sensitive electronics or even compromise the vehicle's warranty. A professional installer understands these nuances, ensuring the dash cam and its power source are connected correctly without interfering with the car's primary battery or charging systems.
The installation process typically involves careful routing of wires to maintain the vehicle's aesthetic and prevent any rattling or interference. For the dash cam itself, placement is key to ensure optimal field of view without obstructing the driver. When adding an auxiliary battery, professionals ensure it's securely mounted and properly connected to manage power draw from the vehicle's main battery, particularly during parking mode for the dash cam.

Dash Cam and Auxiliary Battery: A Smart Package for Polestar 2
A common and highly recommended package for the Polestar 2 includes a high-quality dash cam paired with an auxiliary battery. This setup ensures continuous recording even when the vehicle is parked and turned off, without excessively draining the main EV battery. This is vital for security against vandalism or hit-and-run incidents.
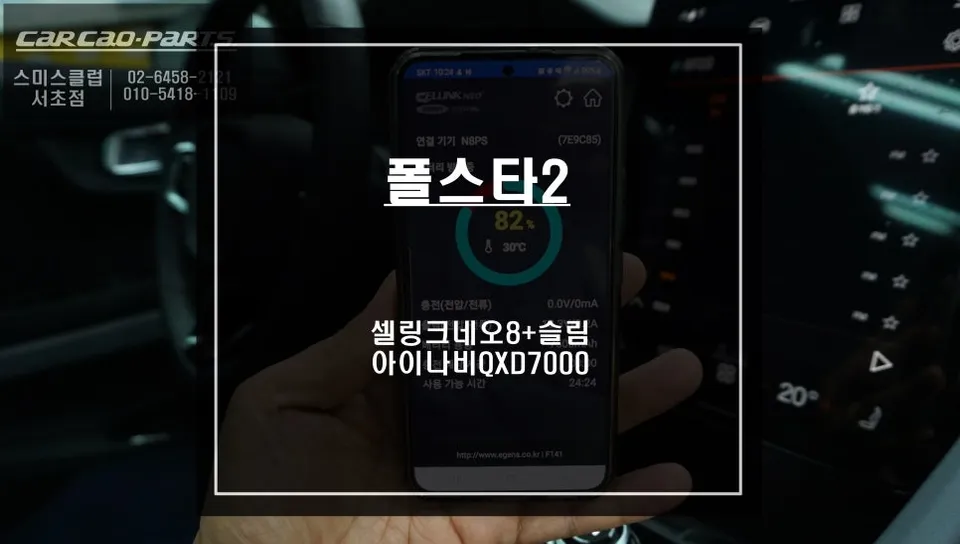
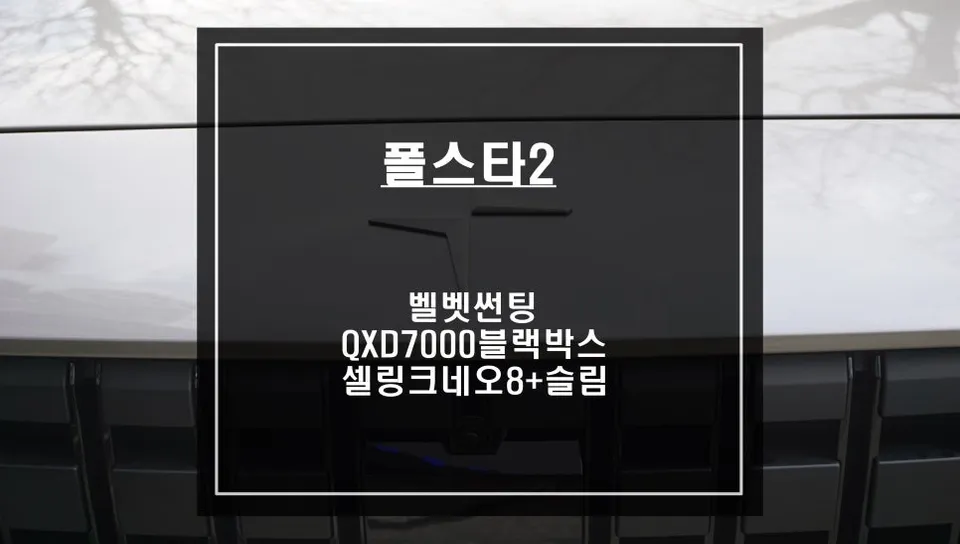
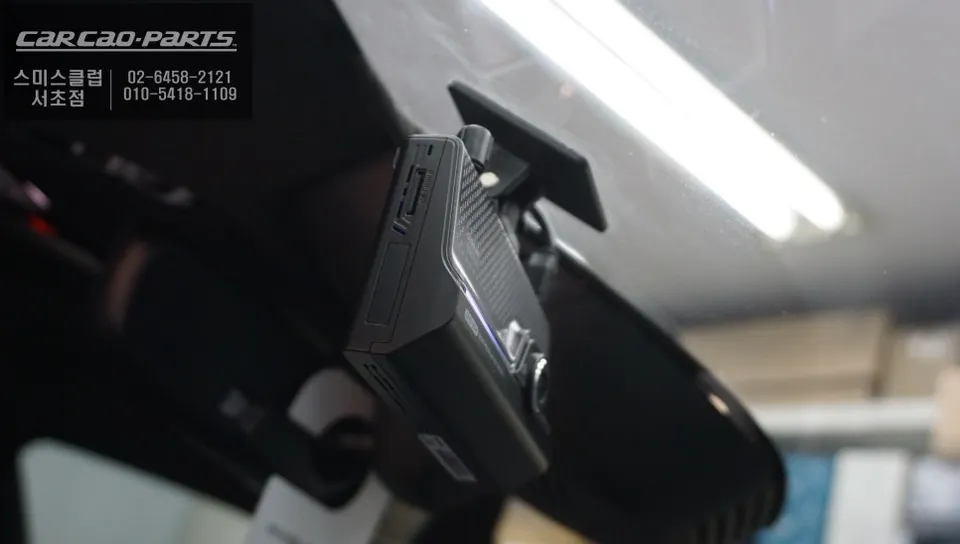
The chosen dash cam, like the I-నాలను QXD7000, offers features such as front and rear QHD recording and advanced night vision (Ultra Night Vision), providing clear footage in various lighting conditions. The accompanying auxiliary battery, such as the Cellink Neo 8+ Slim, is designed to provide ample power for extended recording sessions. Its slim profile allows for discreet installation, often tucked away neatly within the vehicle.
Installation Process:
- Vehicle Preparation: The installer begins by inspecting the Polestar 2's electrical system and planning the wire routing to ensure a clean and safe installation.
- Dash Cam Mounting: The dash cam unit(s) are securely mounted, typically on the windshield, ensuring an unobstructed view.
- Wiring and Power Connection: Wires are carefully routed through the car's interior trim. The dash cam is connected to the auxiliary battery, which is then integrated into the vehicle's power system, often using a fuse tap or direct connection, with careful consideration for EV-specific power management.
- Auxiliary Battery Installation: The auxiliary battery is securely placed and connected, ensuring it receives a charge when the car is running and powers the dash cam when parked.
- System Testing: Finally, the entire system is tested to confirm both the dash cam and the auxiliary battery are functioning correctly, and that all recordings are clear and accessible.
This comprehensive approach ensures your Volvo Polestar 2 is equipped with a reliable recording system that enhances both security and peace of mind.
Frequently Asked Questions
Q. How much does dash cam installation cost for a Volvo Polestar 2?
While this specific installation package was performed in Korea, professional dash cam and auxiliary battery installations in the US typically range from $300 to $800, depending on the complexity and components chosen.
Q. How long does dash cam installation take on a Volvo Polestar 2?
Professional dash cam and auxiliary battery installation on a Volvo Polestar 2 usually takes between 2 to 4 hours, ensuring all connections are secure and the system is thoroughly tested. Regular maintenance involves checking the camera lens for clarity and ensuring the auxiliary battery health.
Q. Is a hardwired dash cam worth it over a self-install for a Volvo Polestar 2?
A hardwired dash cam professionally installed is highly recommended for a Volvo Polestar 2, especially for EV owners, as it ensures proper integration with the vehicle's electrical system and avoids potential warranty issues. The value lies in the professional expertise ensuring safety, optimal performance, and seamless integration.
Q. How is a dash cam professionally installed on a Volvo Polestar 2?
Professional installation involves careful planning of wire routing, secure mounting of the dash cam unit(s), and precise connection to the vehicle's power system, often via an auxiliary battery. The process includes surface preparation, meticulous wiring, system integration, and thorough testing to ensure optimal functionality and safety.
Q. What is the difference between a 1-channel and 2-channel dash cam for a Volvo Polestar 2?
A 1-channel dash cam records only the front view, while a 2-channel system includes a second camera for rear or interior recording, offering comprehensive coverage. For enhanced security and accident documentation on a Volvo Polestar 2, a 2-channel system is generally recommended.
Kakao Parts