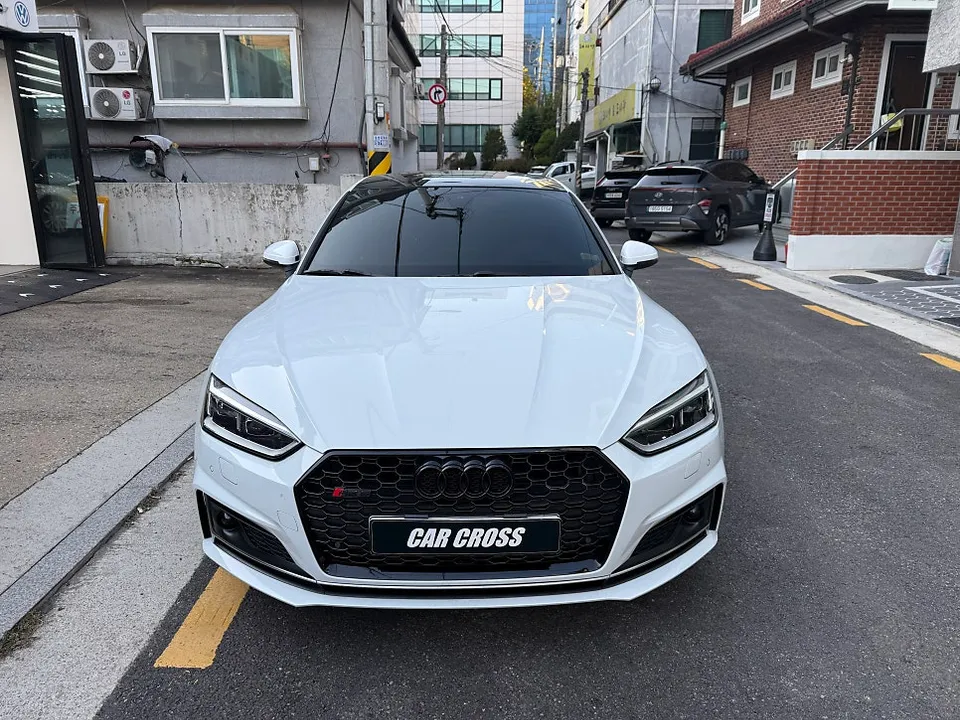
Audi A6 Dash Cam Installation Review — 24/7 Parking Mode
Service Price
$approx. $1,500+
Estimated price · Actual price may vary by shop
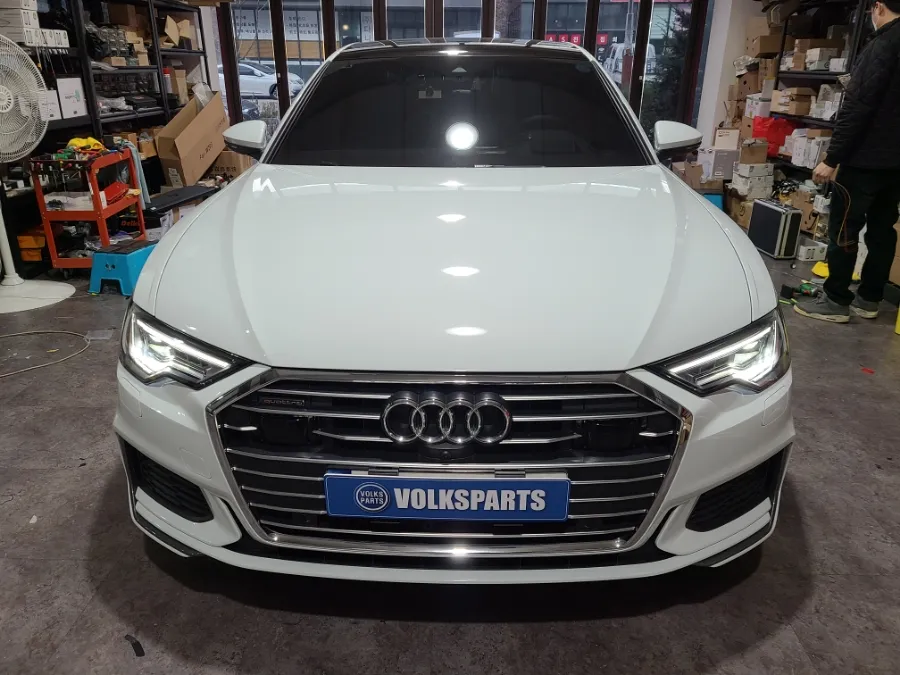
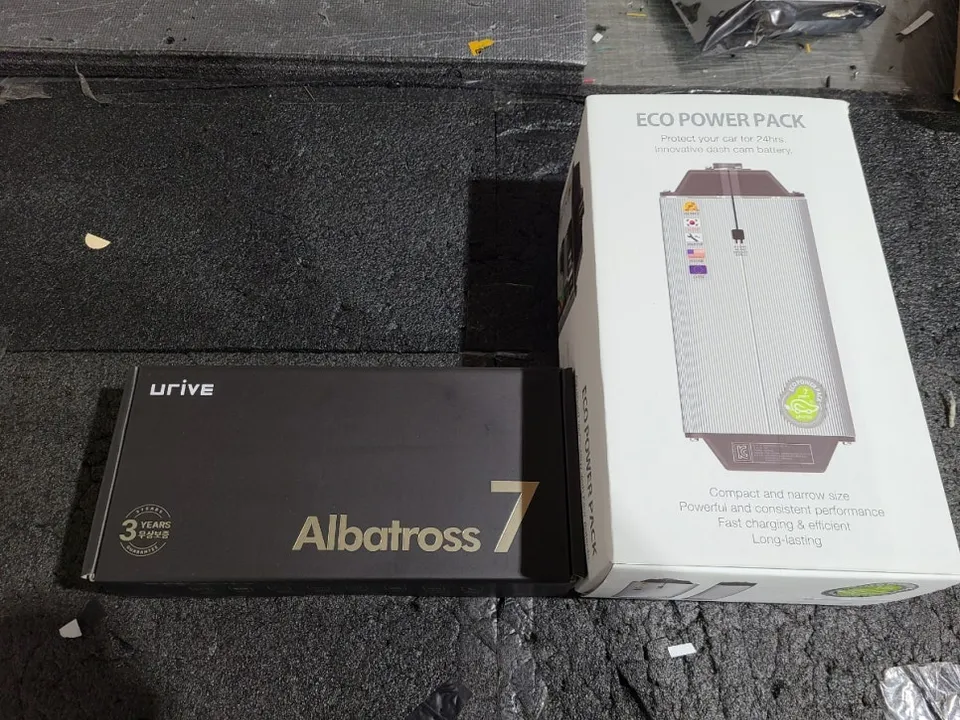
Audi A6 dash cam installation with Albatros7 3-channel camera and EcoPowerPack battery: 50 hours parking recording. Essential for security.
Why Your Audi A6 Needs a Dash Cam
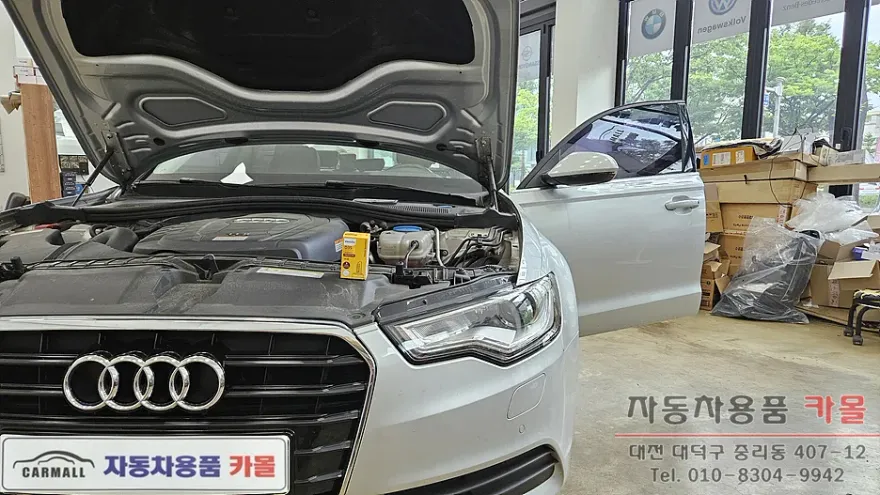
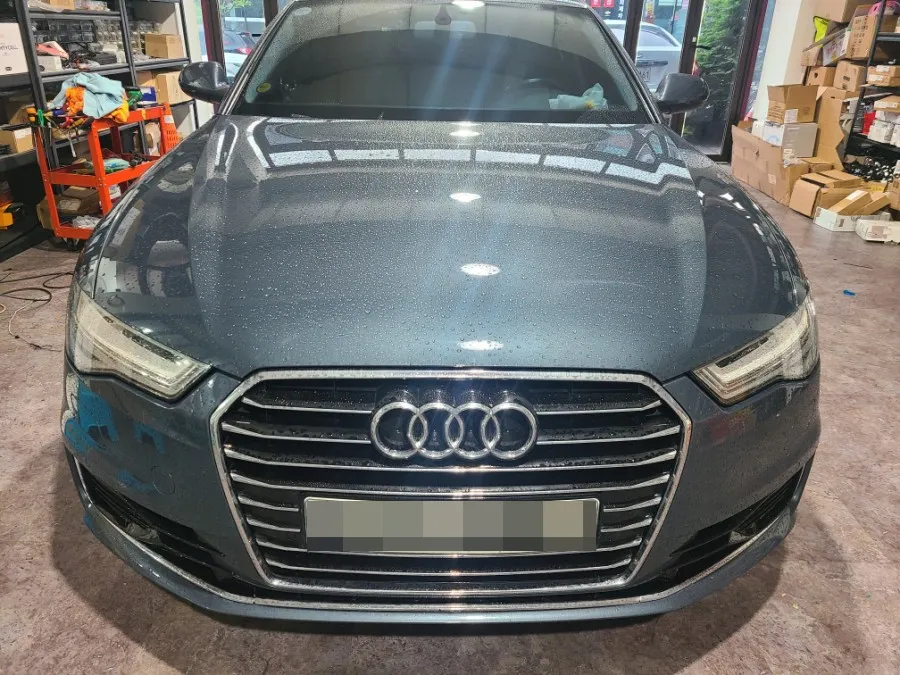
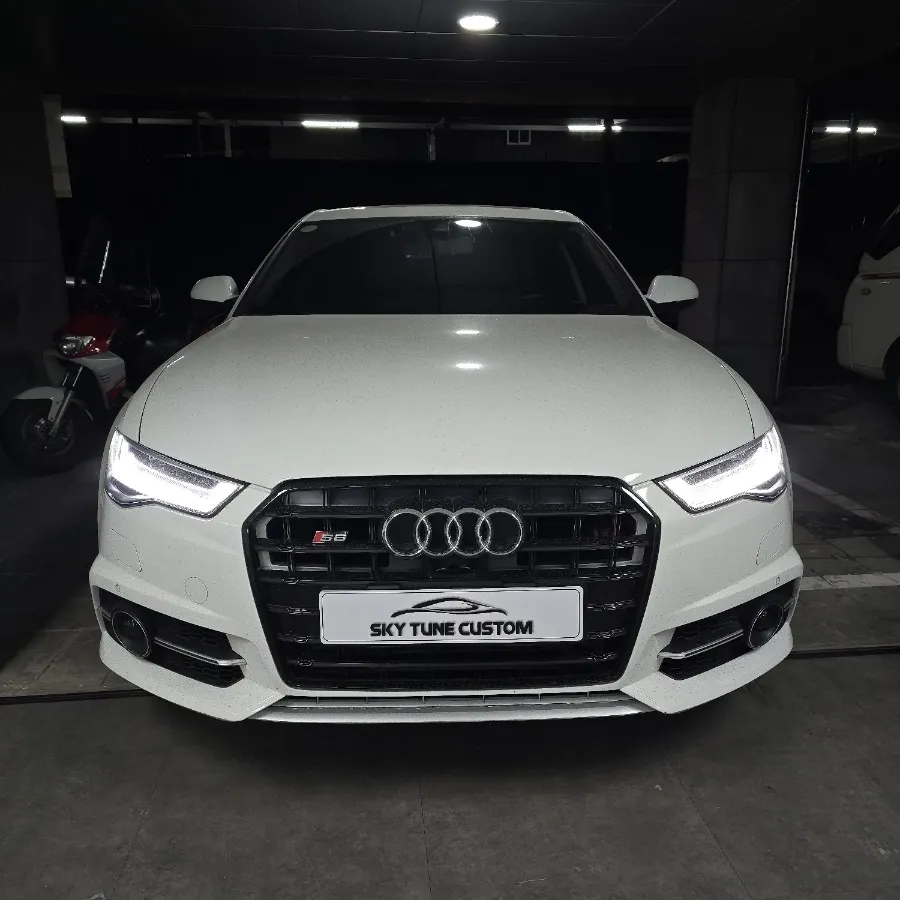
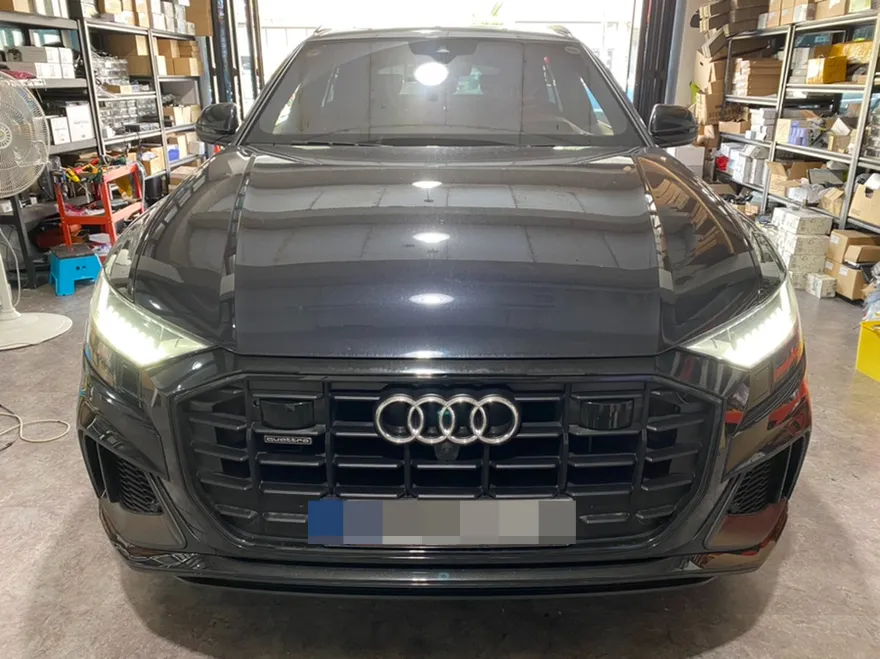
The new Audi A6, a premium sedan, is often parked in environments where it's vulnerable. High-value vehicles like yours face increased risks of parking lot collisions or intentional damage, making a dash cam installation essential. This A6 owner opted to supplement the factory dash cam with an Albatros7 3-channel unit, which includes interior recording. This approach allows for easy removal of the aftermarket unit when selling the car, restoring it to its original state. With winter's cold significantly impacting battery performance, adding an EcoPowerPack auxiliary battery ensures worry-free 24-hour parking recording.
Albatros7 3-Channel Dash Cam Performance
The Albatros7 is a premium dash cam offering simultaneous front, rear, and interior recording. Its standout feature is the infrared technology in the interior camera, enabling clear video capture even in low-light conditions or at night. This is particularly useful in dimly lit parking garages or during nighttime parking. For a luxury sedan like the A6, interior quality is paramount, and this model's 3-year warranty underscores the manufacturer's confidence.
Winter Parking Protection: EcoPowerPack 16C Auxiliary Battery
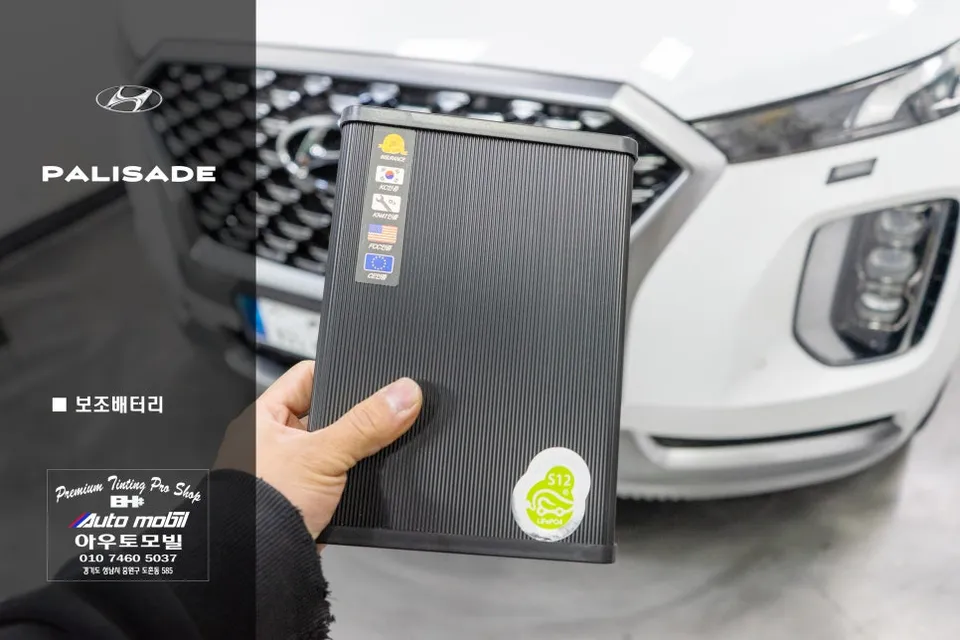
A dash cam alone may not guarantee complete parking recording during winter. For continuous recording of at least 24 hours in cold weather, an auxiliary battery is crucial. The EcoPowerPack 16C connects directly to the car's main battery, supporting rapid charging – a full charge is achieved in about 40 minutes of driving. It can power a 2-channel Full HD setup (front and rear) for up to 50 hours of parking recording, meaning your vehicle is covered for over a week without use.
Charging Speed Differences Between Auxiliary Battery Types
Auxiliary batteries generally fall into two categories. Those powered by the fuse box are compact and easy to install but charge very slowly. In contrast, the EcoPowerPack C-series uses a fast-charging, direct-connect method to the main battery. While these are larger and typically installed in the trunk's underfloor space, they are designed to fit seamlessly without interfering with original components, maintaining the vehicle's aesthetics.
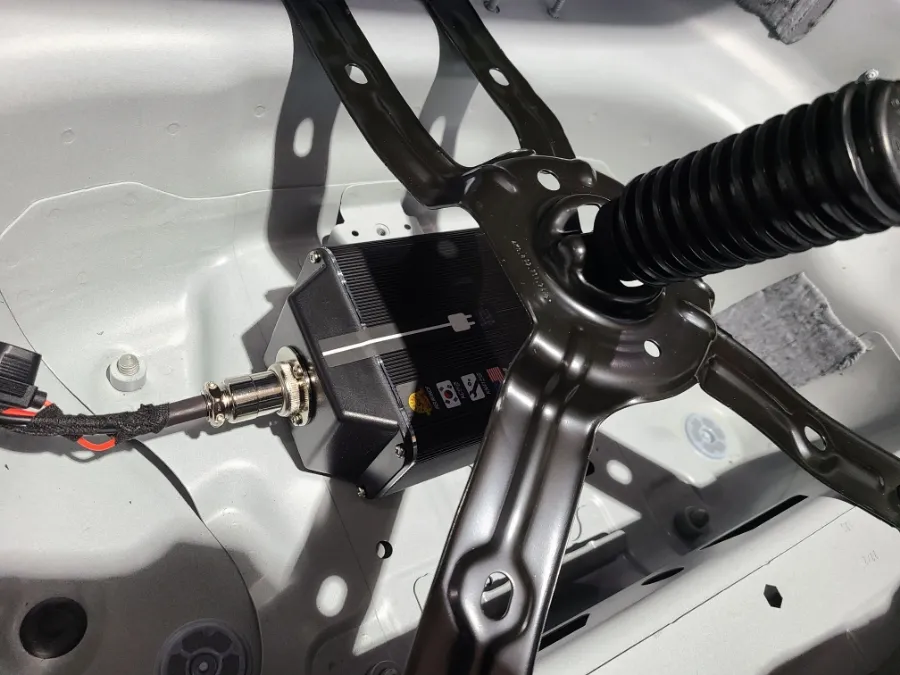
Actual Installation Process and Wiring
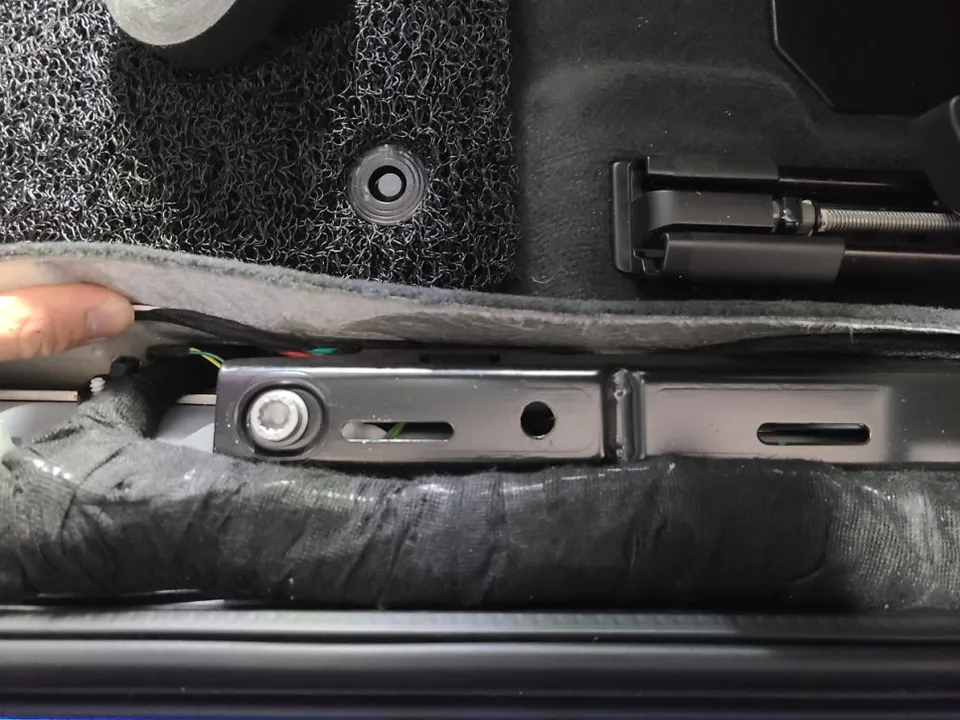
Installing both a dash cam and an auxiliary battery requires meticulous wiring. The process begins with removing factory components to route the wiring along the car's original paths. Extension wiring is needed to connect the two devices, carefully selecting optimal routes based on the A6's interior structure. The key is positioning the front camera to avoid obstructing the rearview mirror while minimizing blind spots.
Power Supply System Prioritizing Safety
Given the direct power draw from the main battery, protection against overvoltage and overcurrent is vital. The installation utilized an ANS fuse specifically for the EcoPowerPack, providing immediate overvoltage cutoff. This safeguards the vehicle's electrical system and extends the lifespan of the dash cam and battery. Wiring is secured with sound-dampening material only in concealed areas to prevent adhesive tape from becoming sticky due to high summer temperatures.
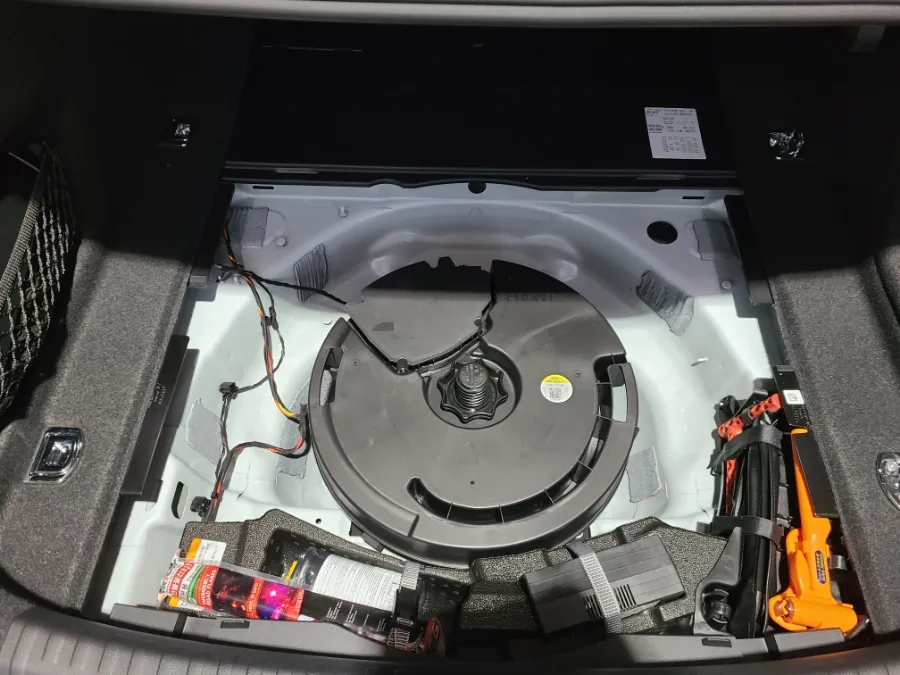
3-Channel Camera Setup and Optimization
Effective use of a 3-channel camera involves proper dash cam settings. The screen partitioning was enabled to allow simultaneous monitoring of front, rear, and interior views. Memory allocation was optimized for parking mode and impact detection, as parking incidents are often unnoticed by the driver, unlike collisions during driving.
Installation Process:
- Carefully remove necessary interior trim panels in the Audi A6.
- Route dash cam and auxiliary battery wiring discreetly along factory pathways, using sound-dampening materials.
- Connect the auxiliary battery to the car's main battery using a specialized fuse for overvoltage protection.
- Mount the dash cam cameras (front, rear, interior) in optimal, unobtrusive locations.
- Connect the dash cam to the auxiliary battery and configure settings for parking mode and desired recording channels.
Frequently Asked Questions
Q. How much does dash cam installation cost for a Audi A6?
The installation described in Korea cost approximately ₩700,000 (around $500 USD), which is competitive with typical professional dash cam and auxiliary battery installation costs in the US.
Q. How long does dash cam installation take on a Audi A6?
Professional dash cam and auxiliary battery installation on an Audi A6 typically takes 2-4 hours to ensure all wiring is safely and discreetly routed. Regular maintenance involves checking camera lens clarity and ensuring the auxiliary battery is charging correctly.
Q. Is a hardwired dash cam worth it over a self-install for a Audi A6?
A hardwired dash cam installation is recommended for Audi A6 owners seeking reliable 24/7 parking mode functionality and a clean, professional finish. The value lies in professional integration with the vehicle's power system and optimized placement, preventing battery drain and ensuring continuous recording.
Q. How is a dash cam professionally installed on a Audi A6?
Professional installation involves carefully routing wires along factory paths, connecting the dash cam and auxiliary battery to the car's power system with safety fuses, and mounting cameras in optimal locations to avoid obstruction and blind spots. Finally, settings are configured for parking mode and desired recording channels.
Q. What is the difference between a 1-channel and 2-channel dash cam for a Audi A6?
A 1-channel dash cam typically records only the front view, while a 2-channel system adds rear recording for comprehensive coverage around your Audi A6. For enhanced interior security or monitoring, a 3-channel system like the Albatros7 offers the most complete solution.
Fox Parts