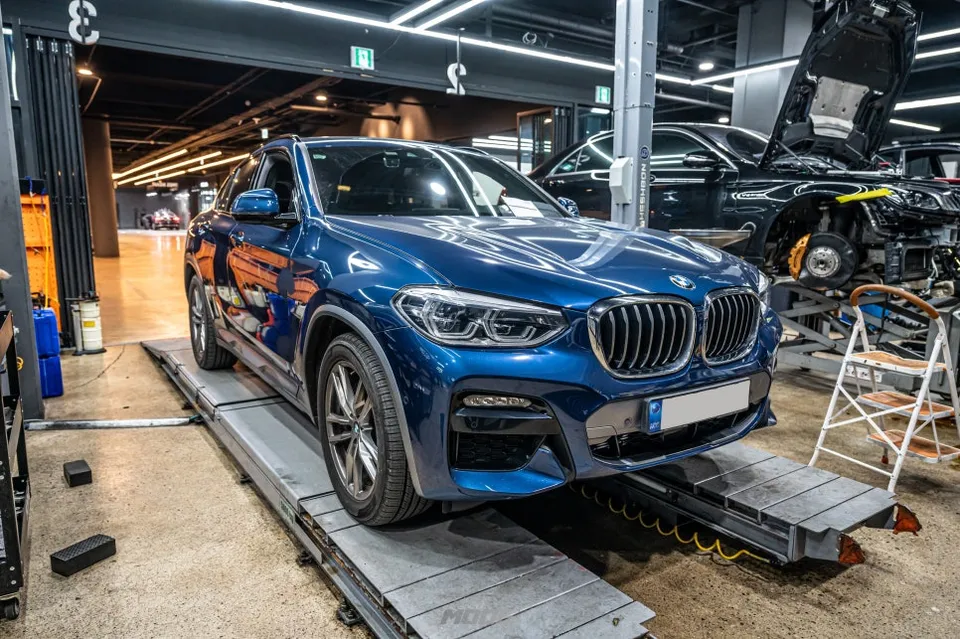
BMW X1 Dash Cam Installation Review
Service Price
$under approx. $400
Estimated price · Actual price may vary by shop

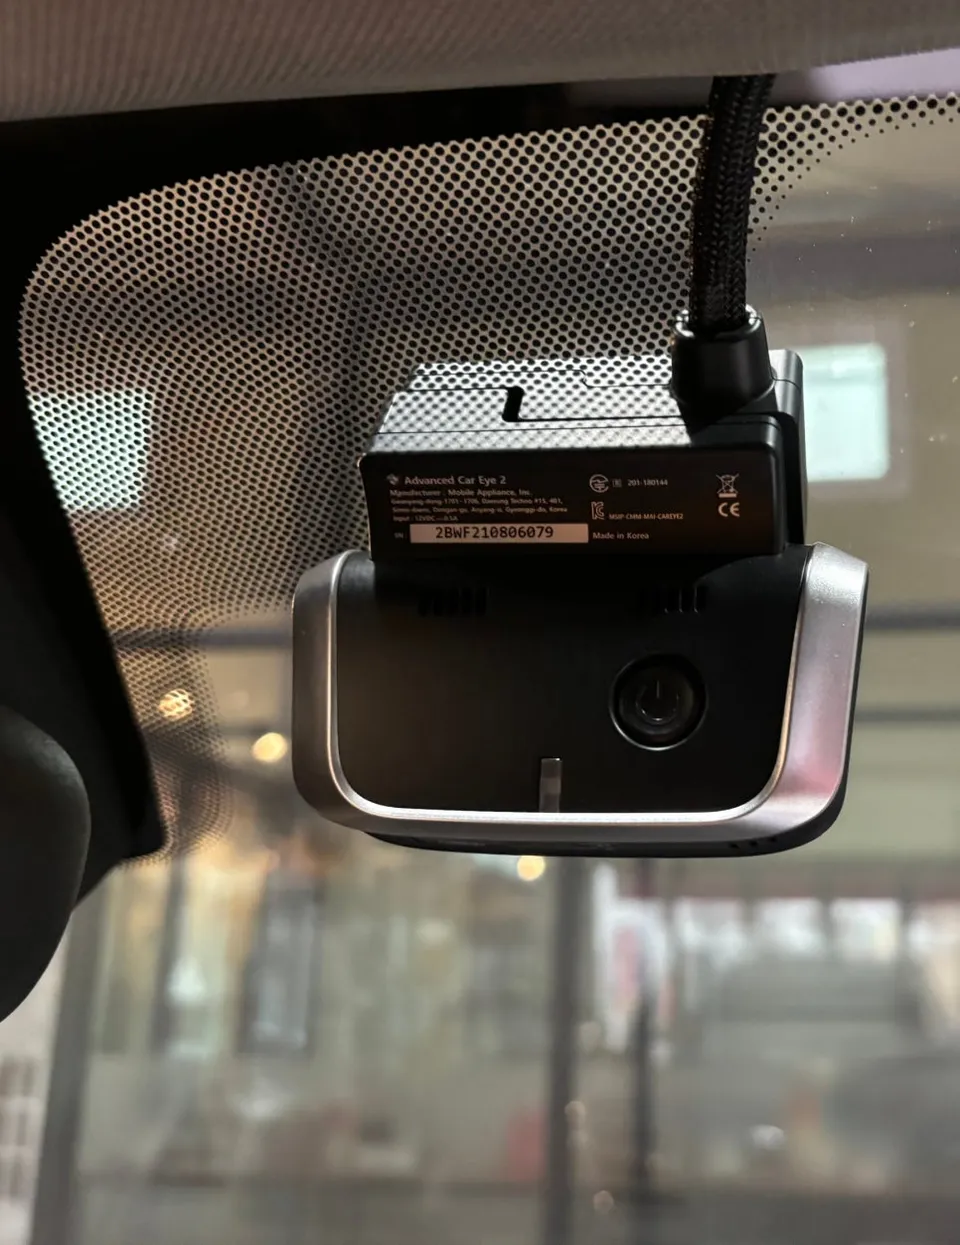
BMW X1 dash cam installation: approx. $100-$250+. Ensures reliable recording and parking mode.
Upgrading Your BMW X1's Dash Cam System
Many BMW X1 F48 owners find themselves needing to replace a malfunctioning factory-installed dash cam. While convenient, these original units can sometimes cause issues with the vehicle's systems if they fail. This guide details the process of safely removing the stock dash cam and installing an aftermarket alternative, focusing on the F48 X1 model and proper fuse box wiring for reliable power. We'll cover everything from initial preparation to final setup, ensuring your new dash cam functions optimally.
Dash Cam Installation Process for the BMW X1 F48
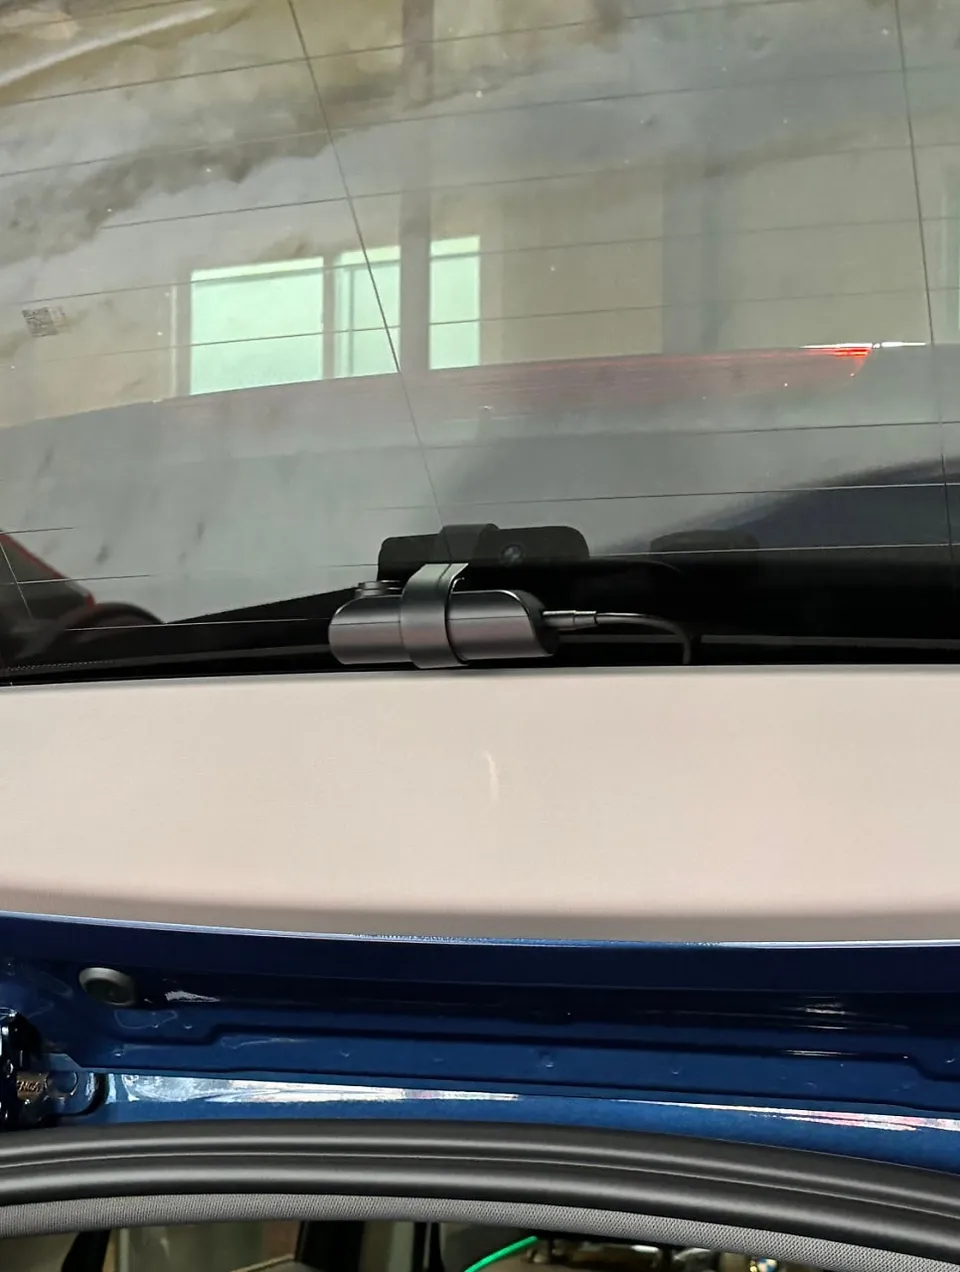
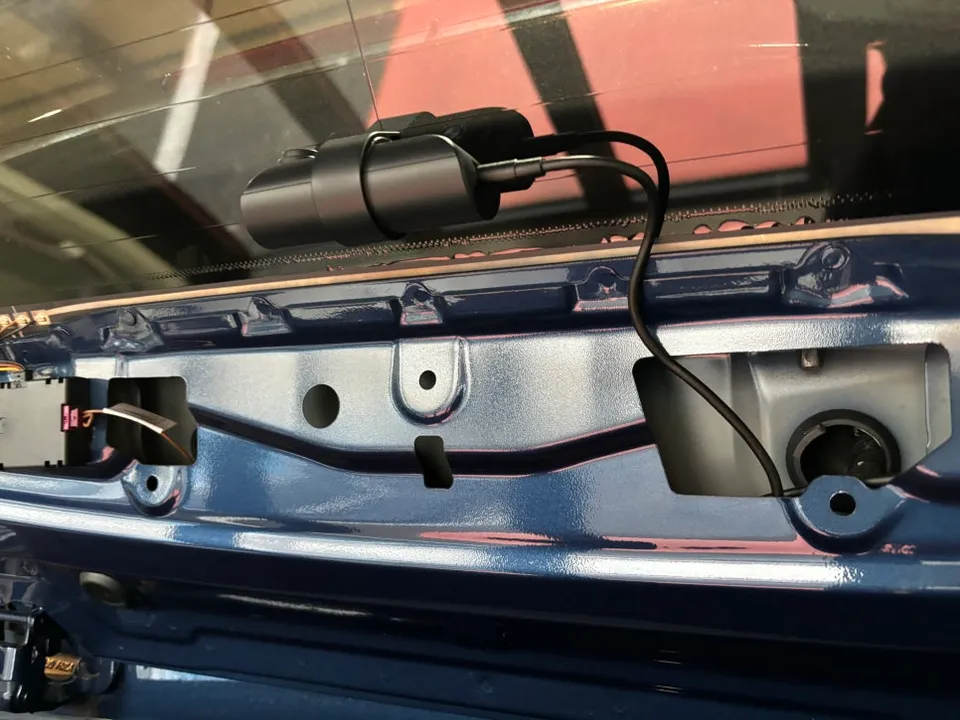
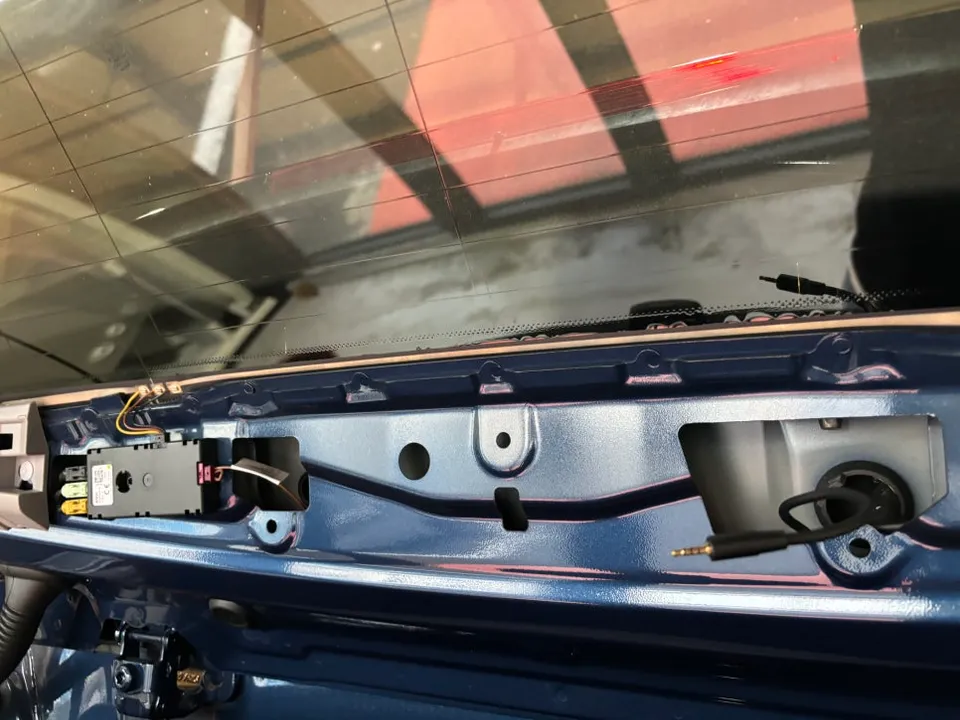
The installation begins with the removal of the original dash cam. You'll typically find its wiring near the top of the trunk cover. Often, the factory wiring isn't neatly managed, so the first step involves carefully removing old tape and any adhesive residue from the mounting location. Using a sticker remover can help eliminate stickiness, and meticulous re-taping of the wires is crucial to prevent any rattling or noise. Once the old unit is out and the area is clean, the new dash cam is mounted. The new wiring is then routed along the existing factory lines, ensuring a tidy appearance. To minimize noise and secure the cables, using Tesa tape is recommended over zip ties for a cleaner finish within the BMW X1's cabin.
Fuse Box Wiring and Power Setup
Powering your new dash cam on the F48 X1 involves connecting to the fuse box, typically located on the passenger side. Consult your vehicle's manual for precise fuse locations. The yellow (BAT+) wire should connect to the F57 terminal, and the red (ACC) wire to either the F46 or F48 terminal. It's essential to use fuses rated between 5-10A to ensure the dash cam operates correctly and to protect the vehicle's battery. Any existing wiring directly connected to the Body Control Module (BCM) from the old unit should be safely disconnected and replaced with the new, properly fused connections. This step is vital for preventing malfunctions or battery drain issues that could arise from a faulty dash cam.
Final Checks and Parking Mode Configuration
After all wiring is neatly managed and secured, reassemble the passenger side center fascia cover. Detaching the weather stripping slightly can make this process easier. Once the interior is back together, power on the vehicle and check that both the front and rear cameras are functioning and displaying video correctly. Adjust the camera angles as needed for optimal field of view. For parking mode, ensure it activates automatically when the engine is turned off. Selecting the 'low power' option in the dash cam's settings is recommended to minimize battery consumption while parked. While this installation can be a DIY project, the complexity of wiring and potential impact on vehicle electronics mean professional installation is often advised for safety and accuracy. The typical installation time for a BMW X1 dash cam is around 2 to 3 hours. Costs can vary, generally starting in the low 100s USD range for basic setups, potentially exceeding 250 USD for higher-end models and more complex installations. It's best to get a precise quote before proceeding.
Frequently Asked Questions
Q. How much does dash cam installation cost for a BMW X1?
Professional dash cam installation for a BMW X1 typically ranges from $100 to over $250 USD, depending on the dash cam model and installation complexity. The cost in Korea for this service starts in the low 100,000 KRW range.
Q. How long does dash cam installation take on a BMW X1?
Dash cam installation on a BMW X1 usually takes about 2 to 3 hours to complete. Proper maintenance involves periodically checking recordings and ensuring the memory card is functioning correctly.
Q. Is a hardwired dashcam worth it over a self-install for a BMW X1?
A hardwired dashcam is recommended for BMW X1 owners who want reliable parking mode recording without draining the battery. Professional installation ensures safe and correct integration with the vehicle's electrical system, offering peace of mind.
Q. How is a dash cam professionally installed on a BMW X1?
Professional installation involves routing wires discreetly, often along existing factory lines, and connecting to the fuse box for power. The process includes cleaning the mounting area, securing the camera, managing cables with tape to prevent noise, and testing both recording and parking modes.
Q. What is the difference between a 1-channel and 2-channel dash cam for a BMW X1?
A 1-channel dash cam records only the front view, while a 2-channel (front and rear) dash cam provides comprehensive coverage of both the road ahead and behind your BMW X1. For maximum security, a 2-channel system is generally recommended.
OhCar Partner Shop