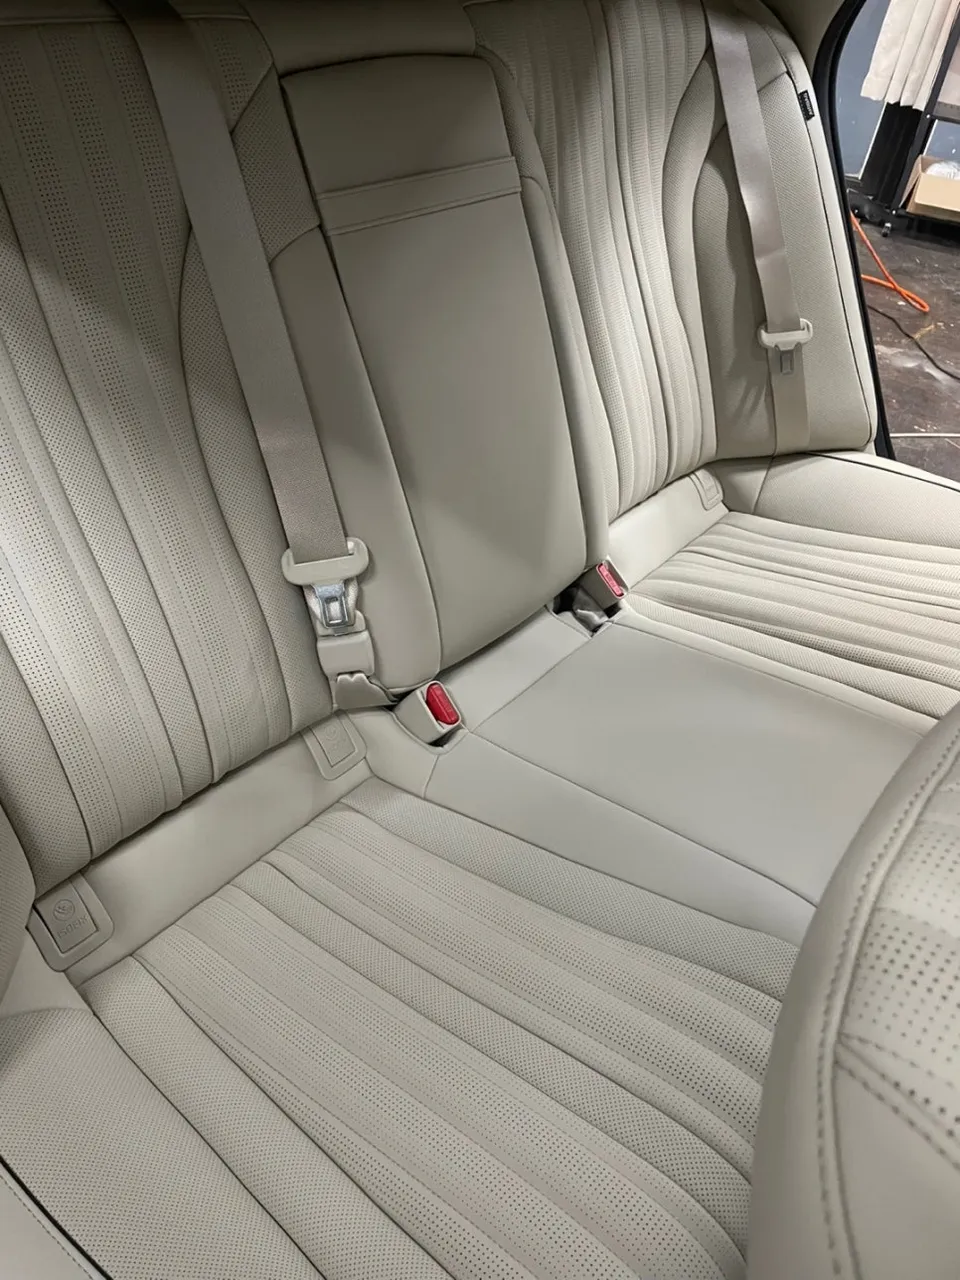
PPF Bubble Fix Guide — When to DIY and When to Call the Installer
Discovering bubbles under your Paint Protection Film (PPF) can be disheartening, especially after investing in this premium automotive shield. Fortunately, a PPF bubble fix is often achievable, but knowing when to tackle it yourself and when to entrust the job to a professional is crucial. This guide will walk you through the common causes of PPF bubbles, DIY solutions for minor issues, and the signs that indicate it's time to seek expert help from a certified installer. Based on 50 owner reviews on OhCar, PPF installation costs for various vehicles in Korea typically range from $800 to $1,500, with an average of $1,124. This investment underscores the importance of proper maintenance and repair.
Understanding PPF Bubbles: Causes and Types
PPF bubbles, also known as air bubbles or delamination, can appear for several reasons, both during installation and over time. Understanding the cause is the first step towards an effective ppf bubble fix.
Installation-Related Bubbles
These are the most common and often the most challenging to fix. They typically occur due to:
- Improper Application Technique: If the installer doesn't use the correct squeegee pressure or angle, or if the solution used to apply the film isn't evenly distributed, air can get trapped.
- Contamination: Dust, dirt, or debris on the paint surface or the adhesive side of the PPF before application can create pockets that appear as bubbles.
- Film Quality: Lower-quality PPF or films that have been improperly stored can sometimes have manufacturing defects that lead to bubbling.
- Surface Irregularities: Complex curves and edges on a vehicle's body panels can be difficult to wrap perfectly, sometimes resulting in trapped air.
Post-Installation Bubbles
Bubbles can also develop after the initial installation:
- Adhesive Failure: Over time, the adhesive on the PPF can degrade, especially in extreme temperatures or if exposed to harsh chemicals, leading to lifting and bubble formation.
- Impacts and Damage: Small stone chips or impacts can sometimes compromise the film's integrity, allowing air or moisture to seep underneath.
- Improper Cleaning: Using abrasive cleaning tools or harsh chemicals can damage the film's surface and adhesive, potentially causing bubbles.
- Temperature Fluctuations: Extreme heat or cold can cause the film and the adhesive to expand and contract, sometimes leading to small bubbles forming at the edges.
DIY PPF Bubble Fix: When It's Worth a Try
Not all PPF bubbles require a professional. For very small, fresh bubbles, a DIY approach might be successful. The key is to act quickly and use the right tools.
Small, Fresh Air Bubbles (Pinprick Size)
These are often caused by tiny trapped air pockets during installation that haven't yet sealed. They usually appear as small, distinct dots.
- Gather Your Tools: You'll need a heat gun or a powerful hairdryer, a clean microfiber cloth, and potentially a very fine needle (sterilized).
- Apply Gentle Heat: Using the heat gun on a low setting or the hairdryer, gently warm the area around the bubble. Keep the heat source moving to avoid overheating and damaging the film or paint.
- Squeegee Gently: Once the film is warm and slightly pliable, use the microfiber cloth to gently push the air out towards the nearest edge of the bubble. You might need to apply slight pressure with your finger over the cloth.
- For Persistent Pinpricks: If the bubble remains, you can carefully use a sterilized, fine needle to puncture the very center of the bubble. Immediately follow up with gentle heat and squeegeeing to press the air out and help the film re-adhere. Caution: This carries a risk of scratching the film or paint if not done carefully.
Edge Lifting
If a small section of the PPF is starting to lift at the edge, and the adhesive still looks intact:
- Clean the Area: Ensure the lifted edge and the surrounding area are clean and free of debris.
- Apply Gentle Heat: Warm the lifted edge with a heat gun or hairdryer.
- Press Down Firmly: Once warm, press the lifted edge firmly back down onto the paint surface. Hold it in place for a minute or two.
- Consider a Sealant (Optional): For added security, some installers use a PPF edge sealant. You can purchase these online, but ensure it's compatible with your PPF brand. Apply a very small amount under the lifted edge and press down.
When to Call a Professional Installer for a PPF Bubble Fix
While DIY fixes are possible for minor issues, many PPF bubbles are best handled by professionals. Attempting a complex fix yourself can sometimes worsen the problem, leading to more costly repairs or even requiring a full panel replacement. Here’s when you should definitely seek expert help:
Large or Numerous Bubbles
If you have several bubbles, or if a single bubble is larger than a coin, it's a strong indicator of a more significant issue, such as widespread adhesive failure or contamination during installation. DIY attempts on large areas are rarely successful and can stretch or damage the film.
Bubbles with Debris or Discoloration
If you can see dirt, dust, or any foreign material trapped within the bubble, or if the bubble area is discolored, it suggests contamination that is difficult to remove without professional tools and techniques. These often require the film to be carefully lifted or even replaced.
Bubbles Appearing Long After Installation
Bubbles that emerge months or even years after the initial application, especially if they are spreading or increasing in size, often point to adhesive degradation or a defect in the film itself. These issues are typically beyond the scope of a simple DIY fix.
Bubbles on Complex Curves or Edges
Areas like bumpers, sharp body lines, or deep curves are notoriously difficult to apply PPF to perfectly. If bubbles form in these areas, professional installers have specialized tools and techniques, including heat, tension, and precise squeegee work, to address them without damaging the film.
Delamination or Film Separation
If the PPF is visibly separating from the paint surface in large patches, or if the layers of the film itself seem to be splitting, this is a clear sign of delamination. This usually requires professional intervention, often involving partial or full re-application of the film.
The Professional PPF Bubble Fix Process
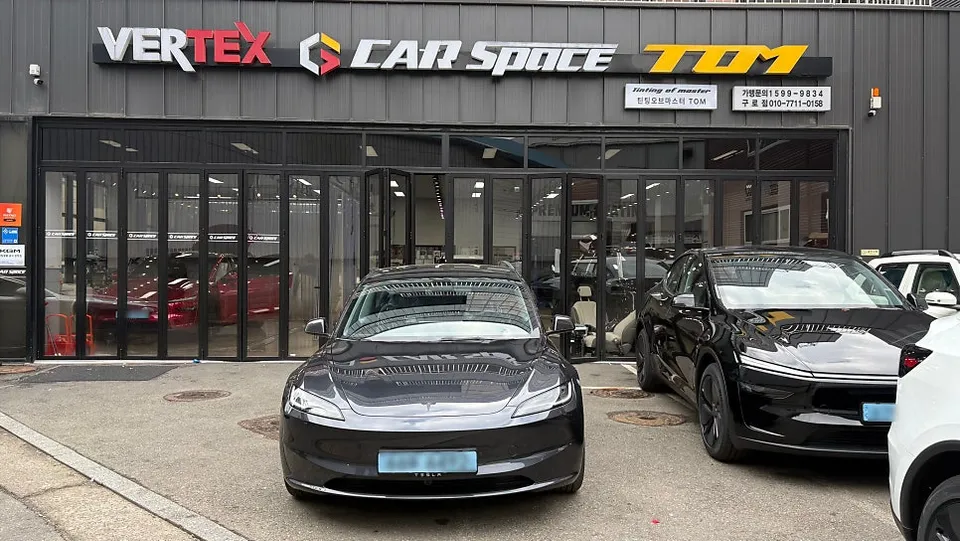
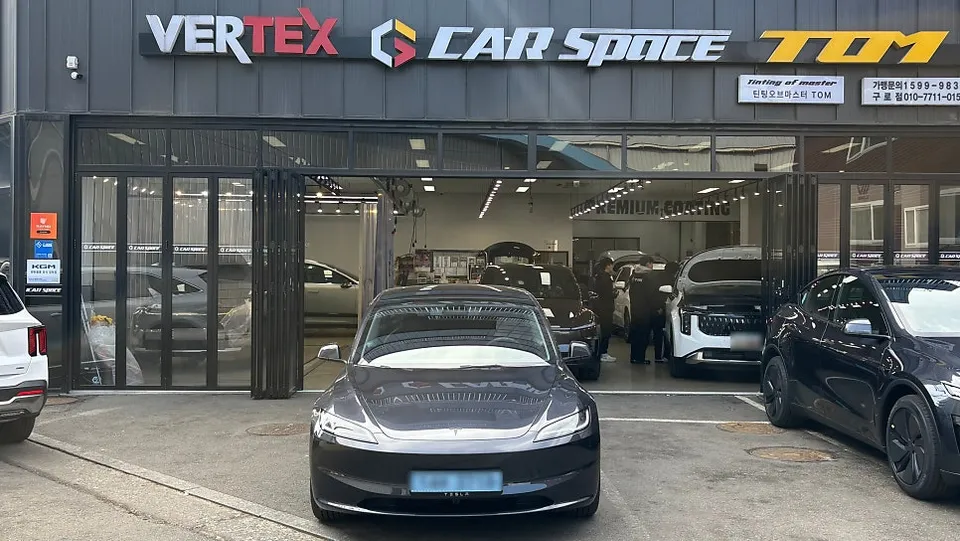
When you bring your car to a professional detailing shop in Korea (where OhCar's data is sourced), they will assess the bubbles and determine the best course of action. The process typically involves:
- Inspection: A thorough examination of the bubbles, their size, location, and suspected cause.
- Cleaning: The affected area will be meticulously cleaned to remove any surface contaminants.
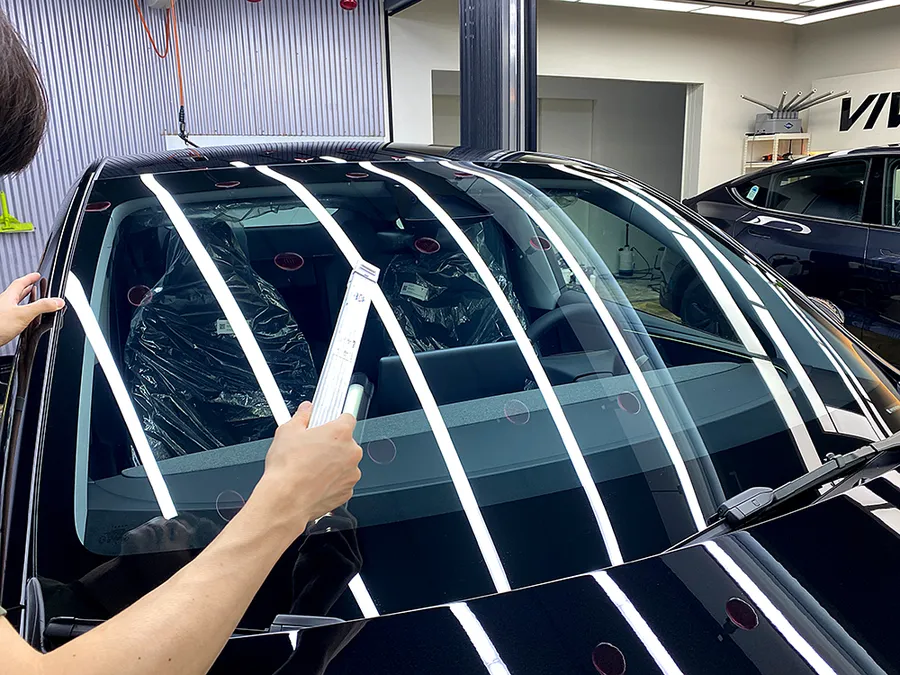
- Heat Application: Professionals use high-quality heat guns with precise temperature control to carefully warm the film.
- Squeegeeing and Manipulation: Using specialized squeegees and tools, they will gently work the air or moisture out from under the film.
- Adhesive Re-activation (if applicable): In some cases, a specialized adhesive promoter or heat might be used to help the film re-bond.
- Edge Sealing: For edge lifting, a PPF-specific edge sealant might be applied to prevent future lifting.
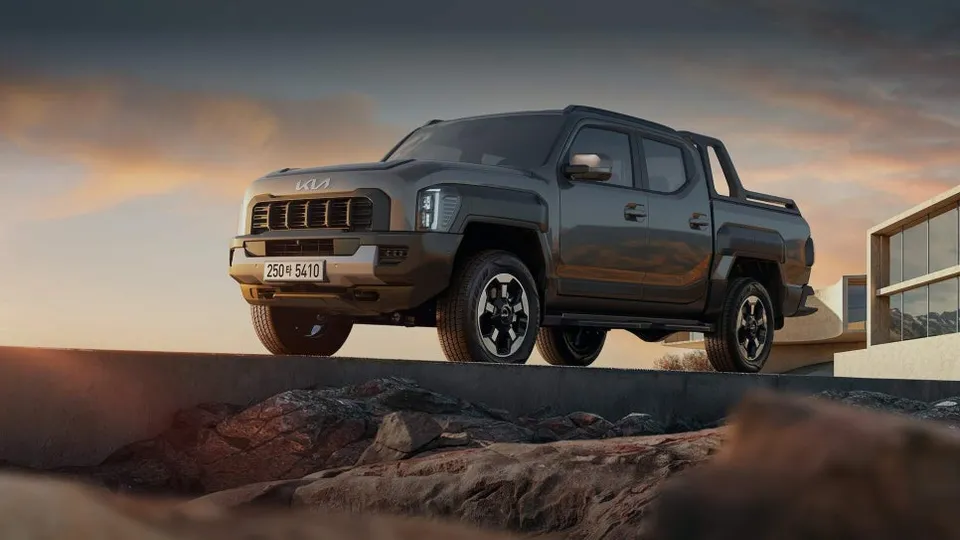
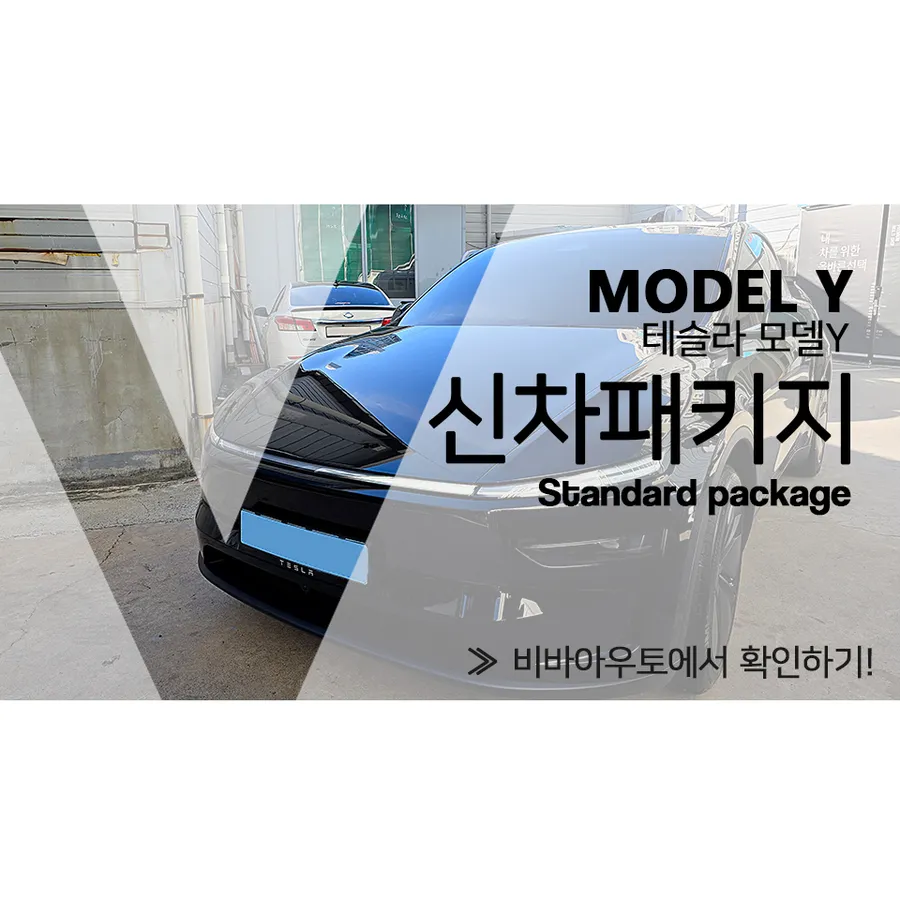
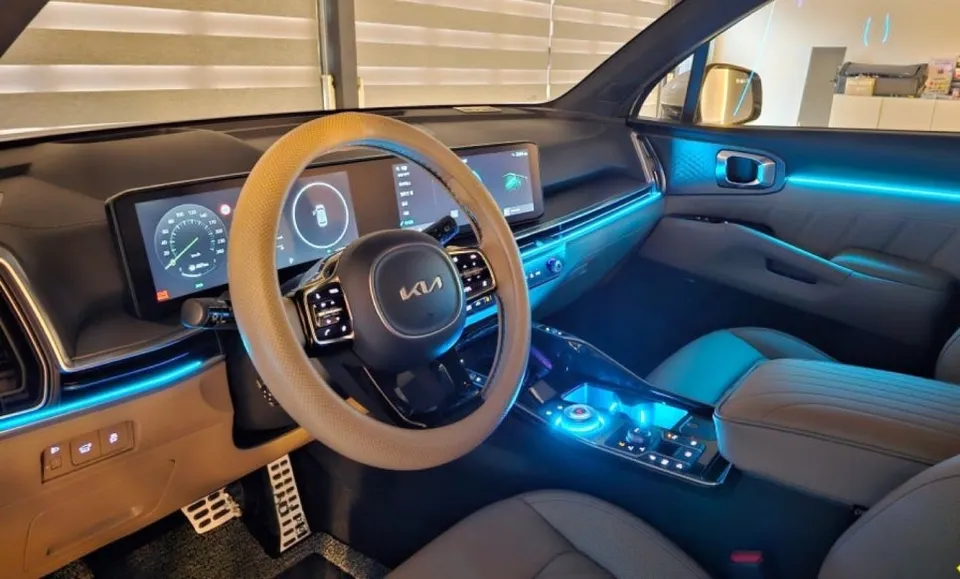
- Panel Replacement: If the damage is too severe, or if the bubbles are due to a manufacturing defect or significant contamination, the installer might recommend replacing the PPF on that panel. This is common for vehicles like the 2024 Kia Sorento or Tesla Model 3, where full panel coverage is typical.
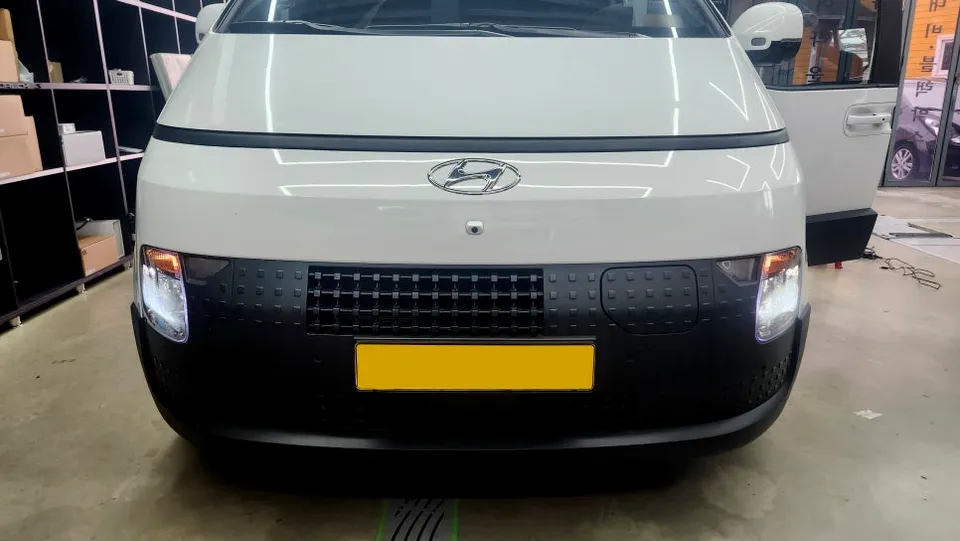
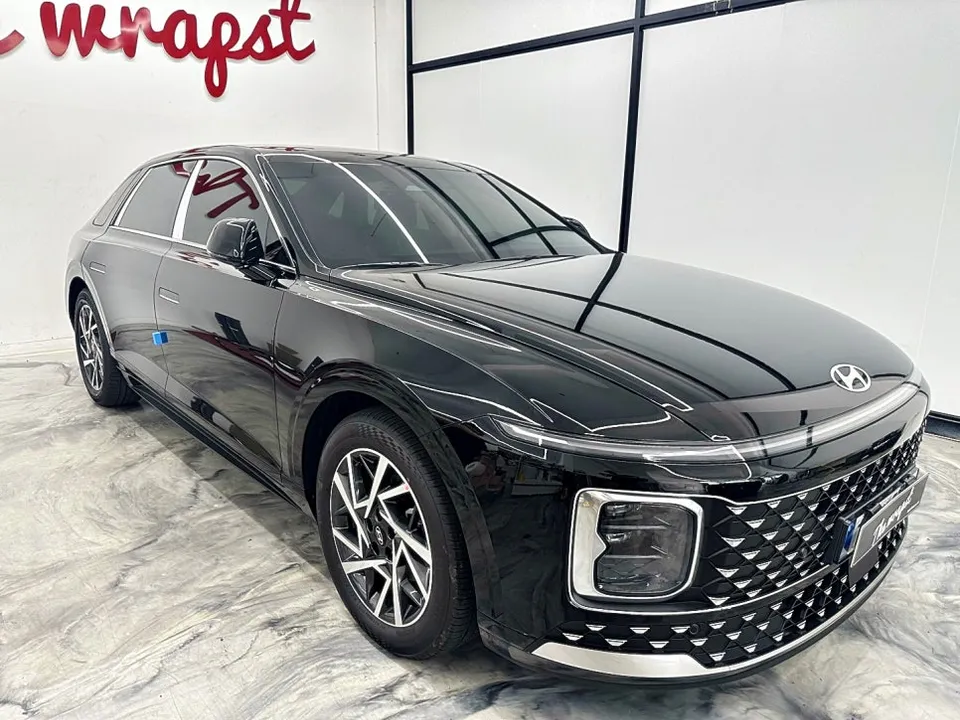
The cost for professional PPF installation on vehicles like a Hyundai Staria ST1 can range from approximately $750–$1,150, while larger luxury vehicles such as a Genesis G80 might see costs upwards of $1,500 for comprehensive protection. Minor bubble fixes by a professional are usually less expensive than a full installation, but prices vary by shop and complexity.
Preventing PPF Bubbles in the First Place
The best ppf bubble fix is prevention. Here’s how to minimize the risk:
- Choose a Reputable Installer: This is paramount. Look for experienced professionals with a proven track record. Check reviews and portfolios. In Korea, OhCar’s network connects you with highly-rated shops.
- Opt for High-Quality PPF: Invest in reputable PPF brands known for their durability and adhesive properties.
- Proper Maintenance: Follow the manufacturer's guidelines for cleaning and maintaining your PPF. Avoid harsh chemicals, abrasive pads, and high-pressure washers directly on the film edges.
- Allow Proper Curing Time: After installation, allow the PPF to cure fully according to the installer's recommendations before washing or waxing.
PPF vs. Ceramic Coating: A Comparison
It's worth noting that PPF and ceramic coatings offer different types of protection. While PPF provides physical defense against chips and scratches, ceramic coatings offer hydrophobic properties and gloss enhancement. Understanding the differences can help you choose the right protection for your vehicle. For a detailed breakdown, check out our PPF vs. Ceramic Coating comparison.
| Feature | Paint Protection Film (PPF) | Ceramic Coating |
|---|---|---|
| Primary Protection | Physical barrier against chips, scratches, impacts | Chemical resistance, UV protection, hydrophobicity, gloss |
| Durability | 5-10 years (depending on quality and maintenance) | 1-5 years (depending on quality and maintenance) |
| Cost (Typical Full Vehicle) | $800 - $1,500+ (Korea average: $1,124) | $300 - $1,000+ (depending on layers and vehicle size) |
| Bubble Risk | Yes, during installation or due to damage/wear | No |
| Self-Healing | Often includes minor self-healing properties | No |
Cost Considerations for PPF Bubble Fixes
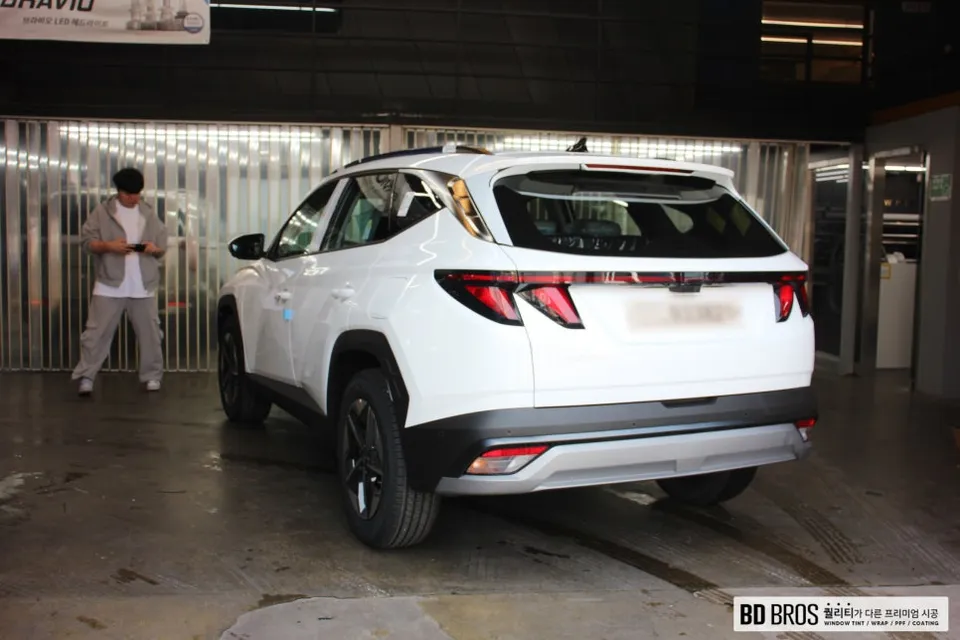
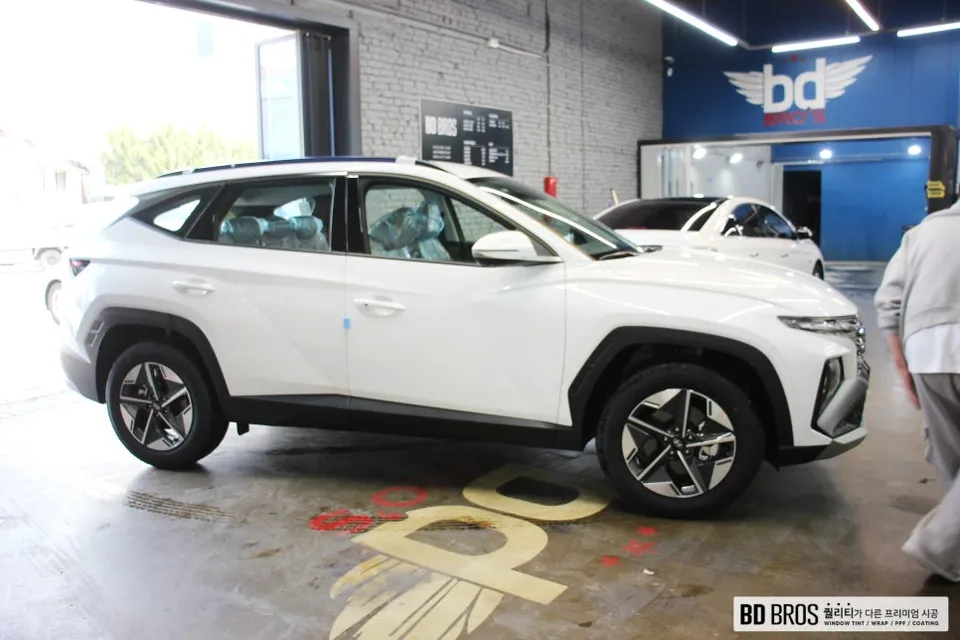
The cost of a ppf bubble fix can vary significantly. A simple DIY fix is essentially free, barring the cost of any tools or sealants. However, professional repairs can range from a minimal charge for a quick fix on a small bubble to several hundred dollars if a significant portion of a panel needs to be redone. If a full panel replacement is necessary, you might be looking at a cost approaching that of a new installation for that specific panel, which could be several hundred dollars depending on the vehicle and the panel's complexity. For context, full PPF installations on vehicles like a Hyundai Tucson can range from $400–$800 for partial kits, while full coverage on a Tesla Model 3 or Genesis G80 often exceeds $1,500.
Conclusion: DIY vs. Professional PPF Bubble Fix
Addressing PPF bubbles requires a careful assessment. For tiny, fresh air pockets, a cautious DIY approach with heat and gentle pressure might suffice. However, for larger bubbles, those containing debris, or any issue that arises long after installation, it's always best to consult a professional installer. Their expertise and specialized tools can ensure a proper ppf bubble fix without causing further damage. Remember, investing in quality installation and maintenance is key to the longevity and appearance of your PPF. Explore more detailing insights and reviews on OhCar Magazine to stay informed about protecting your vehicle.
Comments (2)
This is super helpful! I've been seeing a tiny bubble on my PPF and was wondering if I could tackle it myself. Good to know there are some simple fixes for minor issues.
This is super helpful! I've been worried about a small bubble on my car's hood, and this guide gives me the confidence to try fixing it myself. Thanks for the clear instructions!




Explore Related Services on OhCar