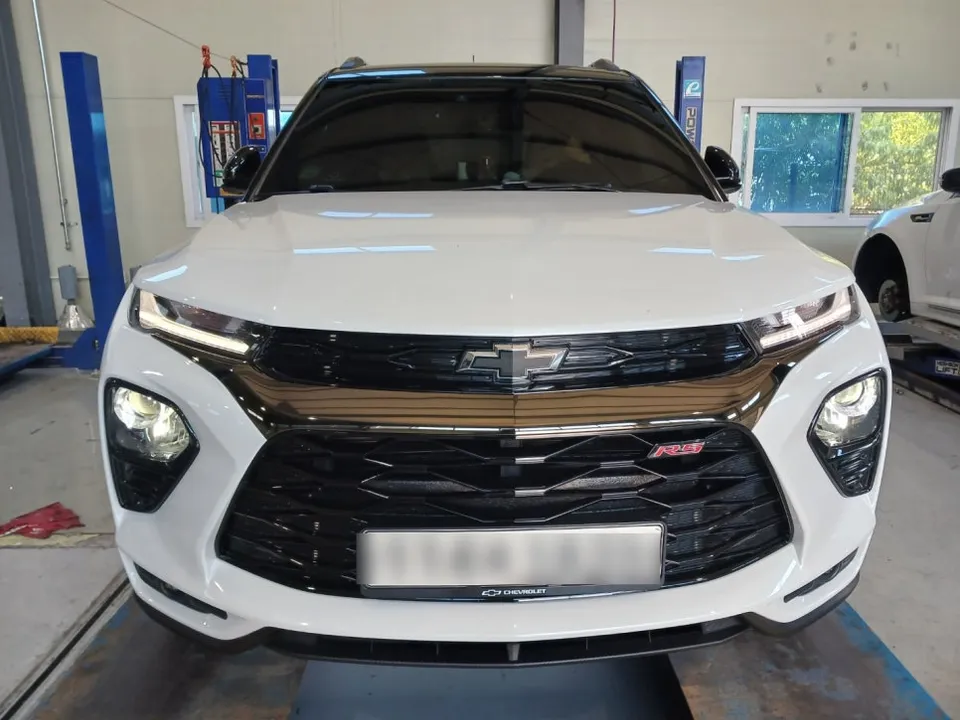
Chevrolet Malibu Body Kit Installation Guide
Service Price
$40–80
Estimated price · Actual price may vary by shop

Chevrolet Malibu body kit installation guide. Step-by-step instructions for lower, mid, and upper grilles. DIY friendly.
Installing a Body Kit on Your Chevrolet Malibu: A DIY Guide
Considering a body kit for your Chevrolet Malibu? Whether you're looking to enhance its aesthetics or improve aerodynamics, this guide will walk you through the installation process. This guide is perfect for those who prefer a DIY approach or live far from specialized shops. With the right tools and a careful approach, installing a body kit on your Malibu is achievable.
Before you begin, gather your essential tools: a thin Phillips head screwdriver, masking tape (or packing tape), and the body kit components. Ensure you have all the included screws and fixing jigs that came with your kit.
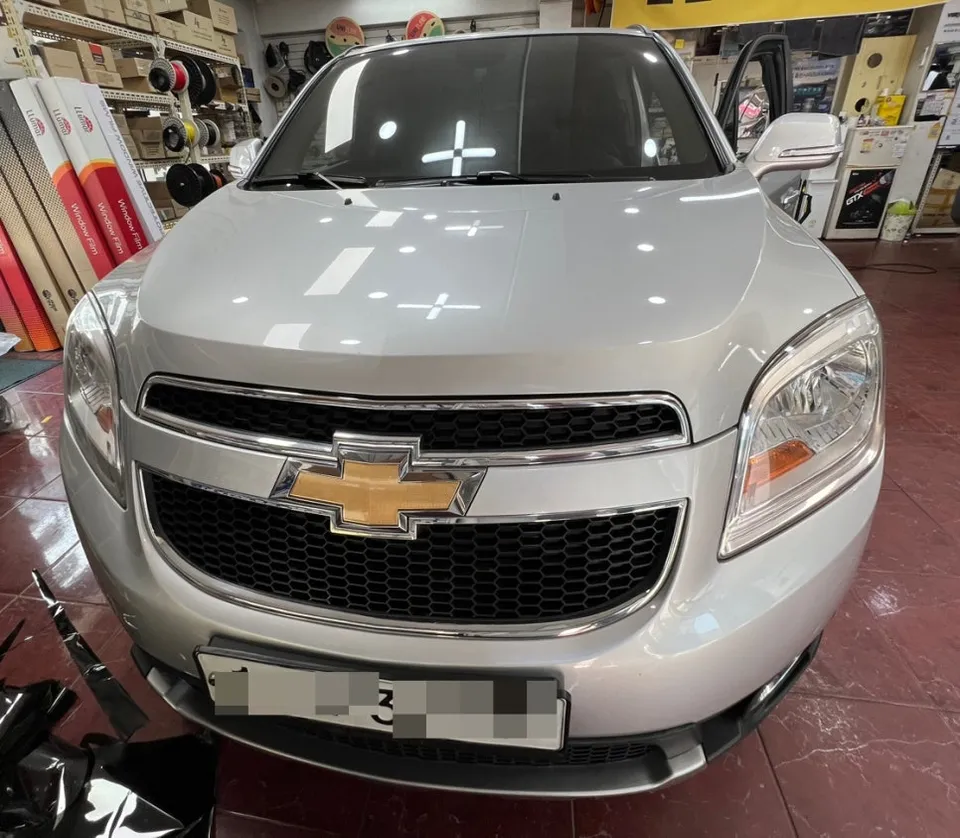
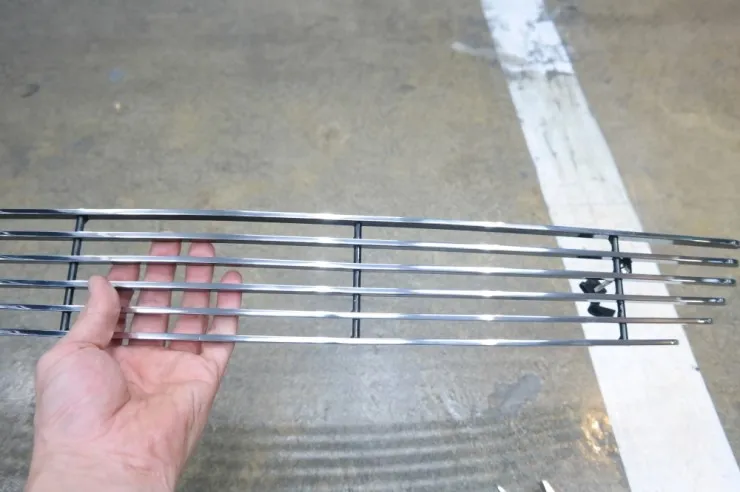
Lower Grille Installation: Securing the Fit
A significant advantage of many Malibu body kits is that they don't require bumper removal. A common mistake during DIY installation is using zip ties for securing the grille. This is strongly discouraged due to the risk of the grille detaching from vibrations during driving or becoming brittle and breaking in cold weather, potentially causing a serious accident. Always use the provided screws and fixing methods.
Start by removing the license plate; this typically involves unscrewing just two bolts. Locate the pre-drilled holes on the lower grille where you'll attach the new kit. Insert the provided screws and secure them from the back using the special jigs.
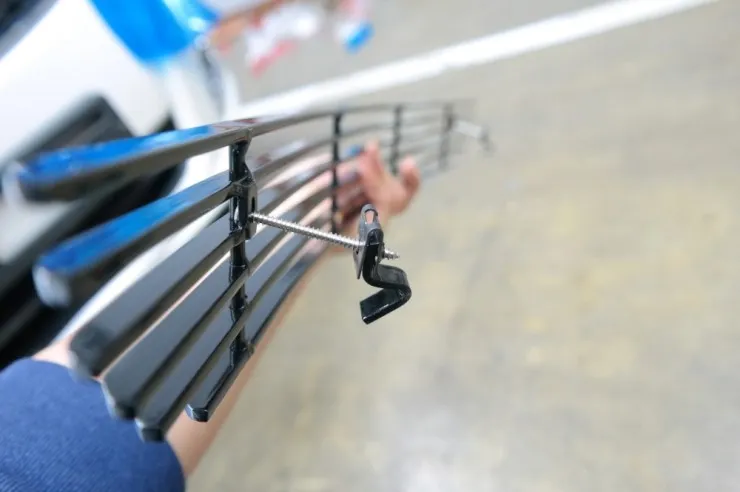
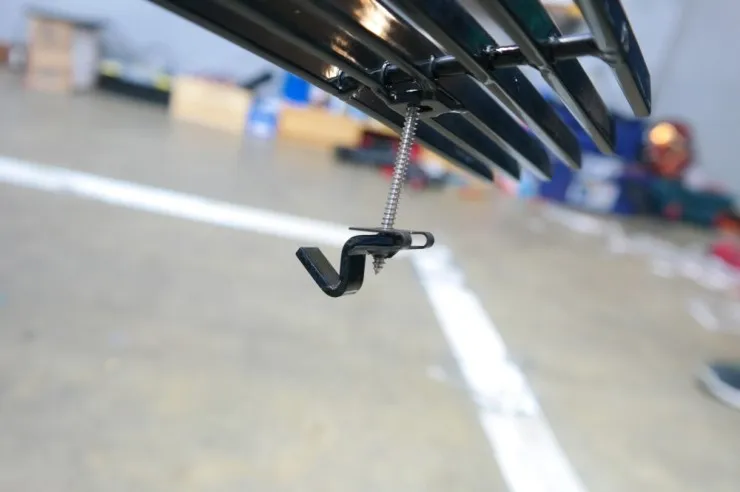
The jigs are L-shaped brackets that hook onto the inside of the lower grille, providing support. Carefully attach these jigs to the screws inserted from the front. Be gentle to avoid damaging the grille material.
Gently pull the grille forward and use your thin Phillips head screwdriver to tighten the screws. The grille will secure as the screws tighten. It's crucial to use a thin screwdriver here; a power drill can easily scratch the surface of the new grille. This is a common point of error for first-time installers.
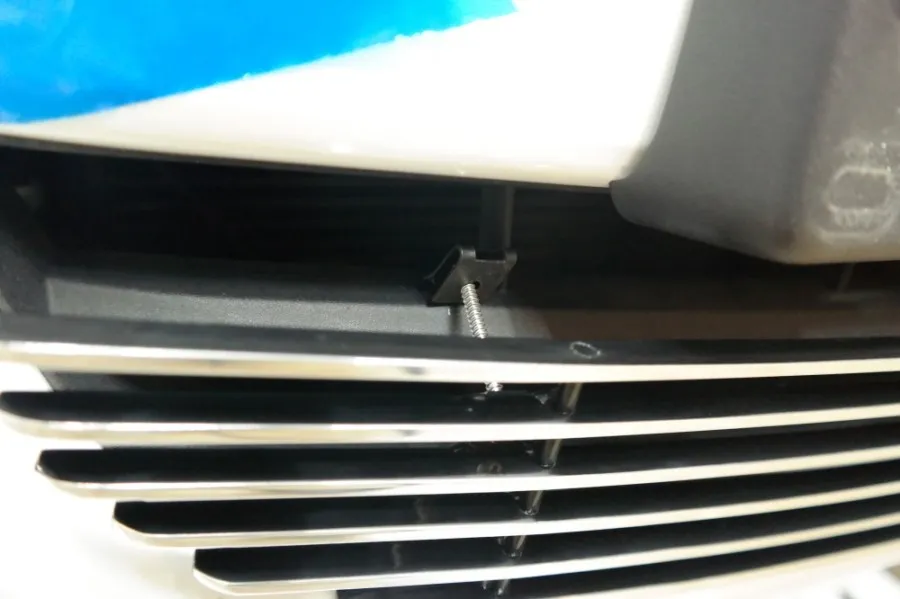
Mid Grille Installation: Precision Alignment
Prepare the mid grille section. You'll find jigs and screws included for this part as well. Pay close attention to the orientation of the jigs; they should be positioned so the opening faces towards you for a balanced installation on both sides.
Once the jigs and screws are correctly set, slide the mid grille into place. Avoid forcing it; a smooth insertion is key. Similar to the lower grille, gently pull it forward and secure it with the screwdriver.
Crucially, protect the chrome trim surrounding the grille by applying masking tape or packing tape beforehand. This simple step prevents scratches during the installation process, a detail many overlook and later regret.
Upper Grille Installation: Accuracy is Key
For the final upper grille, precise positioning is paramount. Before attaching, test-fit the grille against the car's existing grille opening. This will help you identify the exact locations for the screw holes.
Marking the screw hole positions with a pen or tape will make the installation much smoother. Double-check the alignment by holding it in place one last time before proceeding.
A key tip for 2014 and later Malibu models: The back of the upper grille might be solid, but the provided screws are longer. You may need to trim the screws slightly or drill a small hole through the grille's backing to accommodate the screw. This modification is internal and won't be visible externally.
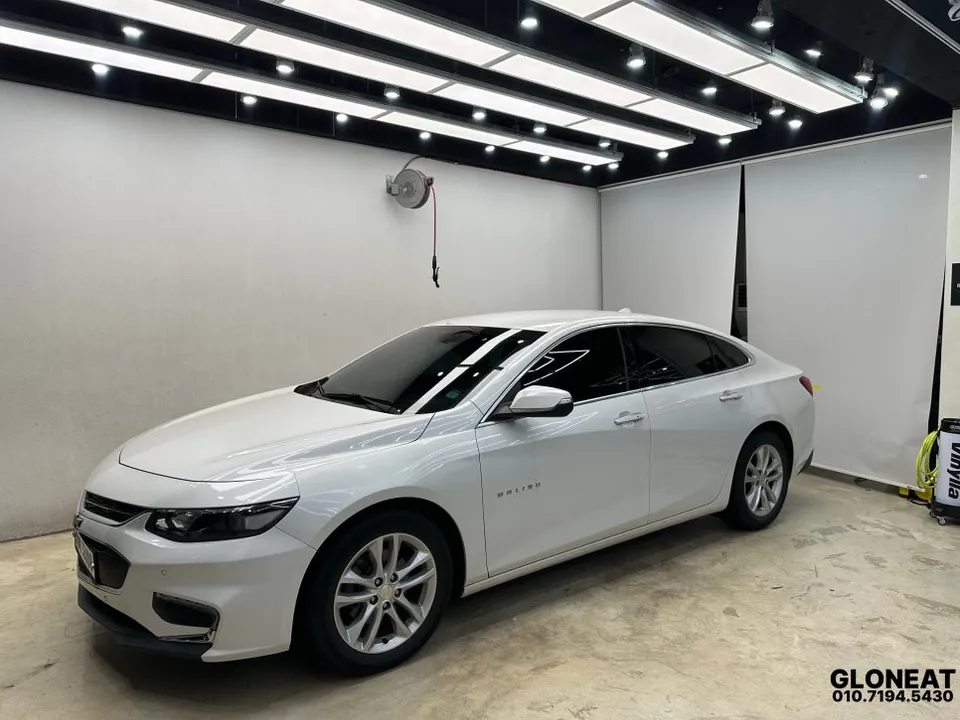
By following these steps, you can successfully install a new body kit on your Chevrolet Malibu, giving it a customized and aggressive look.
Frequently Asked Questions
Q. How much does a body kit cost for a Chevrolet Malibu?
While this guide focuses on installation, body kits for the Chevrolet Malibu can range from approximately ₩500,000 to over ₩2,000,000 in Korean Won, depending on the brand and material. In the US, expect prices typically between $300 and $1500.
Q. How long does body kit installation take on a Chevrolet Malibu?
Installation time can vary, but a typical DIY body kit installation for a Chevrolet Malibu can take anywhere from 2 to 6 hours. Regular maintenance involves checking for loose fittings and ensuring the paint remains chip-free, especially after washing.
Q. Is a body kit worth it for a Chevrolet Malibu?
A body kit is worth it for Chevrolet Malibu owners seeking a more aggressive or personalized aesthetic. It significantly enhances the vehicle's visual appeal, making it stand out from stock models.
Q. How is a body kit installed on a Chevrolet Malibu?
Installation involves several steps: 1. Remove the license plate. 2. Secure the lower grille using provided screws and jigs. 3. Align and attach the mid grille, protecting surrounding trim. 4. Precisely position and fasten the upper grille, potentially modifying screws for specific model years.
Q. What is the difference between FRP and polyurethane body kits for a Chevrolet Malibu?
FRP (Fiber-Reinforced Plastic) kits are typically more rigid and cost-effective but can be prone to cracking on impact. Polyurethane kits are more flexible, durable, and impact-resistant, making them a better choice for daily driving despite a higher cost.
Fox Parts