Genesis EQ900 Instrument Cluster Repair Review
Service Price
$under approx. $400
Estimated price · Actual price may vary by shop
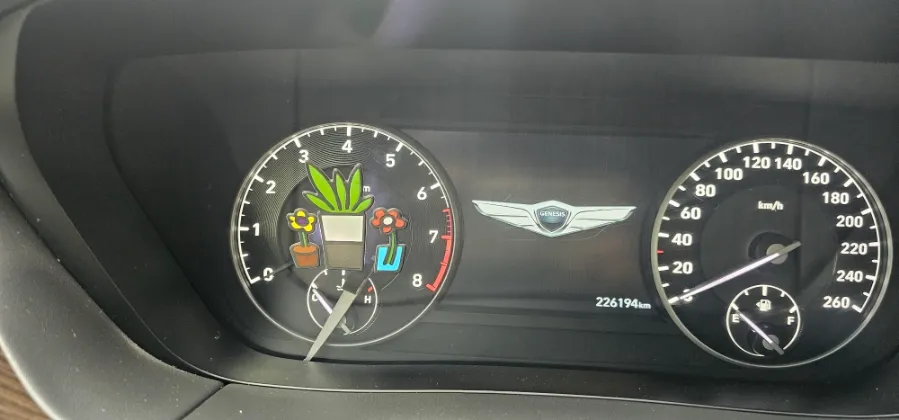
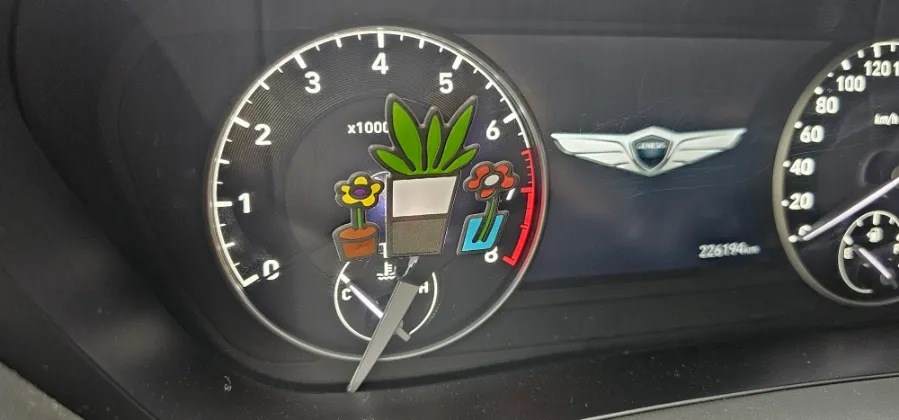
Genesis EQ900 instrument cluster needle repair completed. Resolved detached needle issue for optimal gauge function.
Genesis EQ900 Instrument Cluster Needle Repair: A Detailed Look
When a Genesis EQ900 owner contacted us about a detached instrument cluster needle, we were initially surprised. Needles rarely detach on their own. However, to accurately diagnose and repair their prized Genesis EQ900, an in-person inspection was necessary. After scheduling an appointment, the vehicle arrived, and we were ready to detail the repair process.
Unusual Cause for a Detached Needle
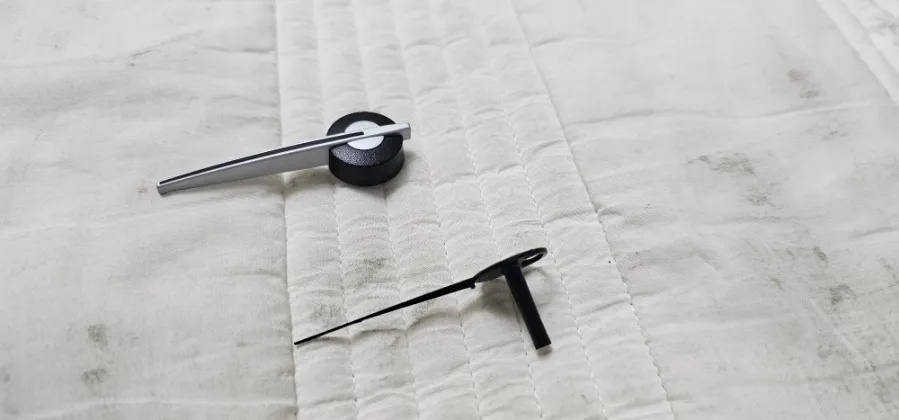
Upon inspecting the instrument cluster, we discovered three stickers adhered to the RPM gauge area. The owner explained they had applied these stickers temporarily to reduce glare from the needle's illumination. Closer examination revealed that the RPM needle itself hadn't completely detached; only the upper casing of the needle had separated. The core needle attachment point remained intact, allowing for normal function. However, such a spontaneous separation is highly unusual. In our extensive experience with instrument cluster modifications since 2005, even on tuned vehicles, complete needle detachment is rare. Needle separation typically occurs during the removal process in tuning jobs.
[IMAGE_1]
Modern Vehicle Disassembly for Complex Repairs
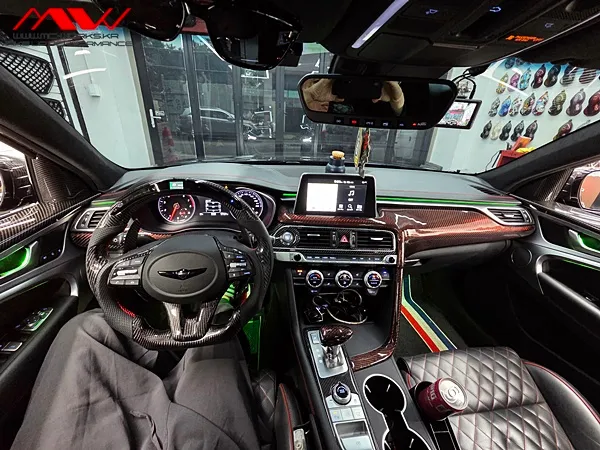
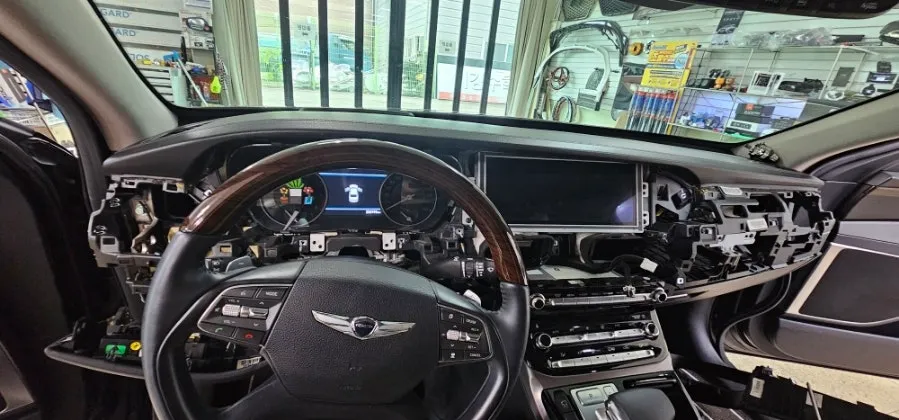
To access the instrument cluster, we needed to remove interior trim panels from both the passenger and driver sides. Older vehicles often allowed for easy instrument cluster cover removal with just a few bolts. However, modern vehicles frequently require the disassembly of more components for maintenance. While this process might seem intricate, for experienced technicians, it takes less than five minutes. We understand that finding specialized repair services can be challenging, especially for owners in areas like Gyeongju. Standard service centers, such as Blue Hands, often lack the specialized skills for such delicate repairs, typically focusing on basic warranty work rather than intricate technical solutions.
[IMAGE_2]
Precise and Delicate Instrument Cluster Needle Repair
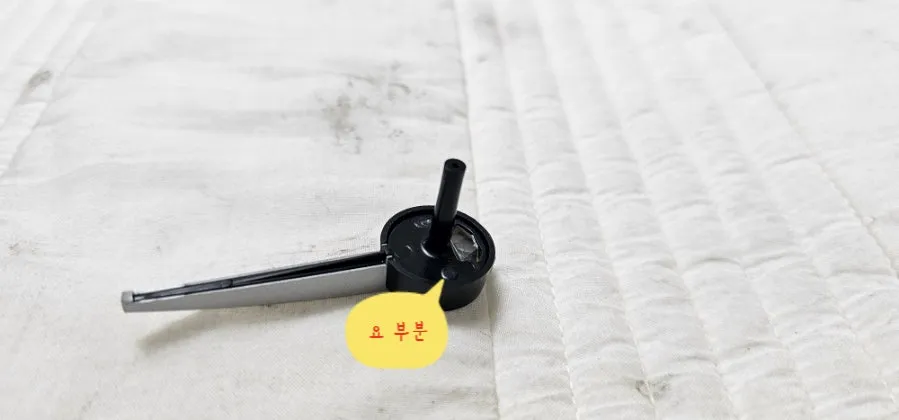
Once the front cover of the instrument cluster was removed, detaching the needle was relatively straightforward. The needle is typically assembled in two parts. In this case, the separation appeared to be due to inadequate heat fusion of the securing components. The smaller part of the needle attaches to the gauge's pivot, while the larger needle body illuminates for visibility. Post-removal, proper initial calibration is crucial. While repairs are possible even if the cluster is sent in alone, we strongly recommend visiting with the vehicle for accurate zero-point calibration. This is especially important for customers sending their clusters via mail from distant regions, as precise setting can be difficult remotely.
[IMAGE_3]
Secure Reassembly and Flawless Finish
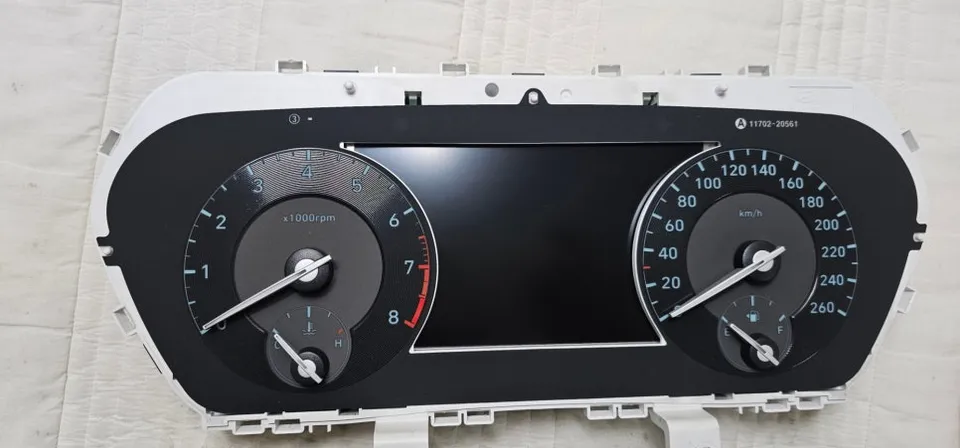
After successful reassembly, the needle should align precisely at the zero mark. We reinforced the areas that lacked proper heat fusion with a high-strength adhesive, ensuring the needle would not separate again. Our service includes a warranty for any issues that may arise post-repair, providing peace of mind. When reinstalling the needle onto the vehicle, it's essential to align it to the zero point with the power connected and the ignition in the 'Key On' position. This step minimizes needle deviation when the engine is turned off. This calibration process is why bringing the vehicle to our facility is vital.
[IMAGE_4]
Final Checks and Assembly Completion
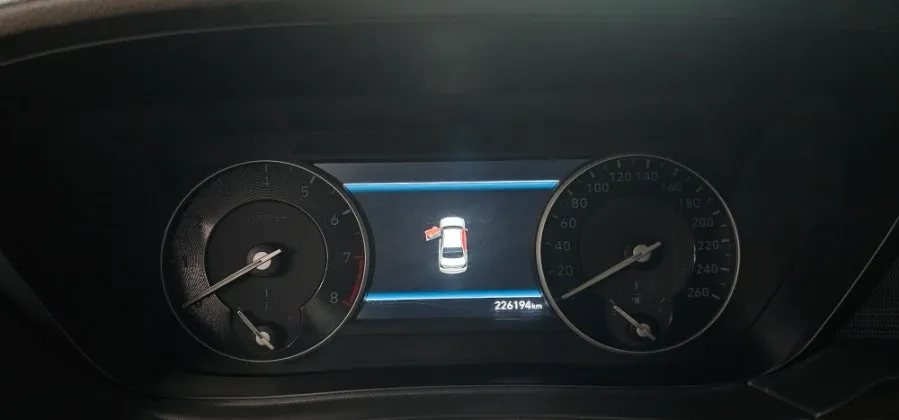
With all repairs completed, we meticulously verified the instrument cluster's proper functionality. Reassembling the cluster in reverse order brought a sense of satisfaction, knowing the owner's inconvenience was resolved. It was regrettable that the owner had to endure this inconvenience for so long for what turned out to be a relatively simple fix. While our shop specializes in LED modifications, we are also equipped to handle straightforward instrument cluster repairs like this. However, for more complex issues such as circuit failures or LCD damage, further assessment would be required.
Frequently Asked Questions
Q. How much does body repair and painting cost for a Genesis EQ900?
The cost for this specific instrument cluster needle repair was minimal, primarily involving labor. Typical body repair and painting for a Genesis EQ900 can range from $500 to $5,000+ depending on the extent of damage.
Q. How long does body repair and painting take for a Genesis EQ900?
This instrument cluster needle repair was completed within a few hours. Major body repairs and painting can take anywhere from a few days to several weeks, depending on the complexity and parts availability.
Q. Is body repair and painting covered by insurance for a Genesis EQ900?
Minor repairs like this instrument cluster needle issue are often handled out-of-pocket. Significant body damage and painting on a Genesis EQ900 are typically covered by comprehensive auto insurance policies, subject to your deductible.
Q. How is body repair and painting done on a Genesis EQ900?
1. Disassemble affected panels and the instrument cluster. 2. Repair or replace damaged body sections using techniques like welding or filling. 3. Prepare surfaces with sanding and priming. 4. Apply paint in multiple layers, followed by clear coat. 5. Reassemble components and perform final detailing.
Q. What is the difference between PDR and conventional body repair for a Genesis EQ900?
Paintless Dent Repair (PDR) is used for minor dents without paint damage, preserving the original finish. Conventional body repair involves filling, sanding, and repainting for larger damage or paint issues.
OhCar Partner Shop