Genesis G70 Ambient Lighting Review: Premium Interior LEDs
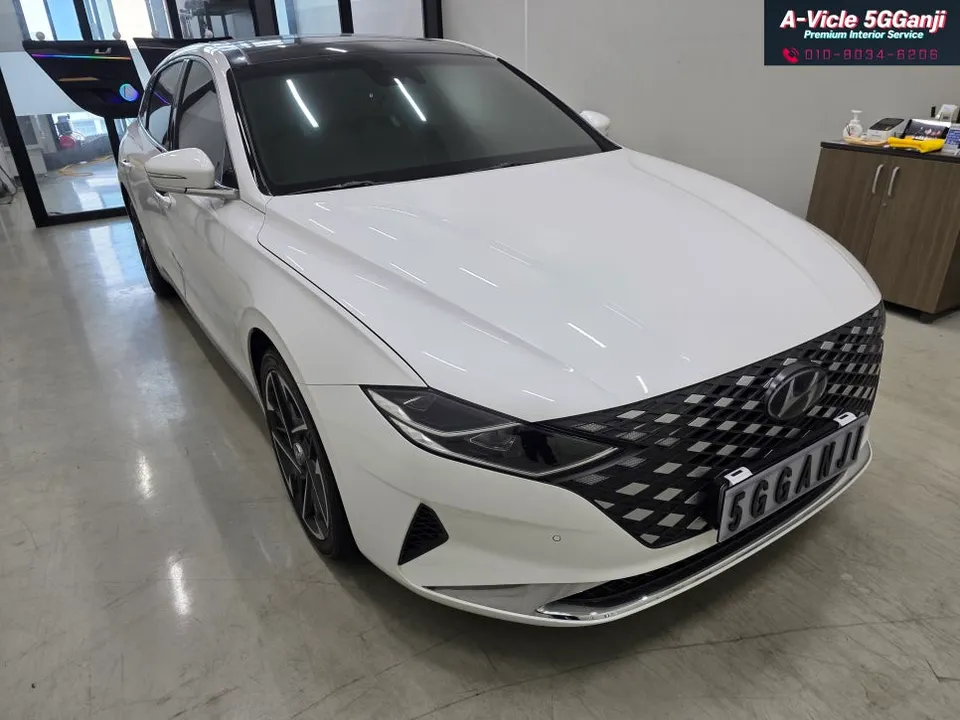
Before

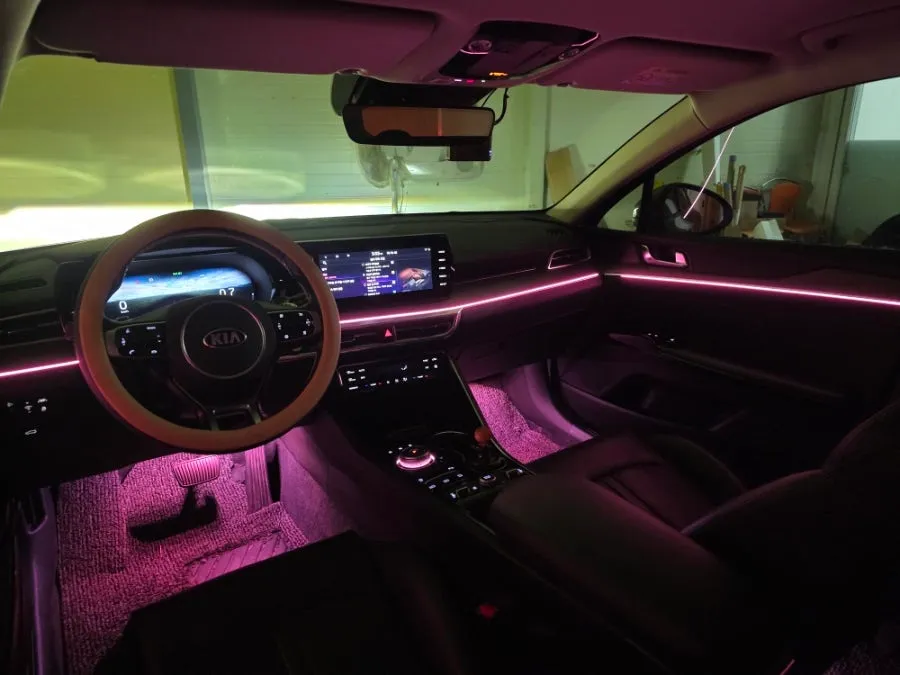
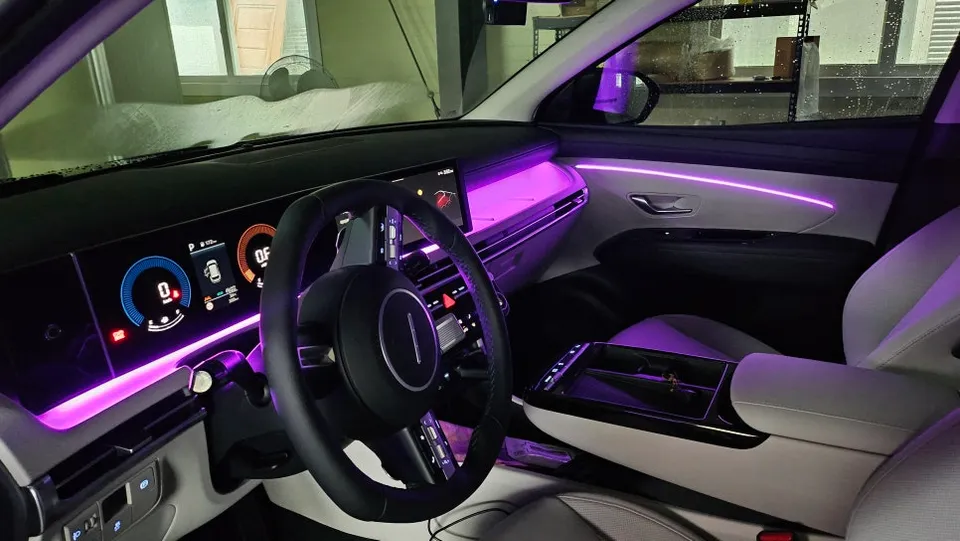
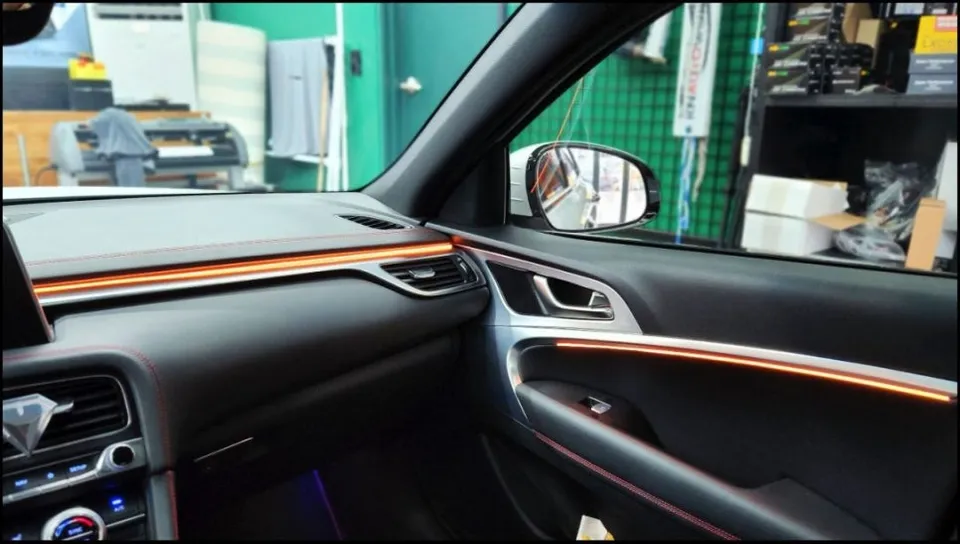
After

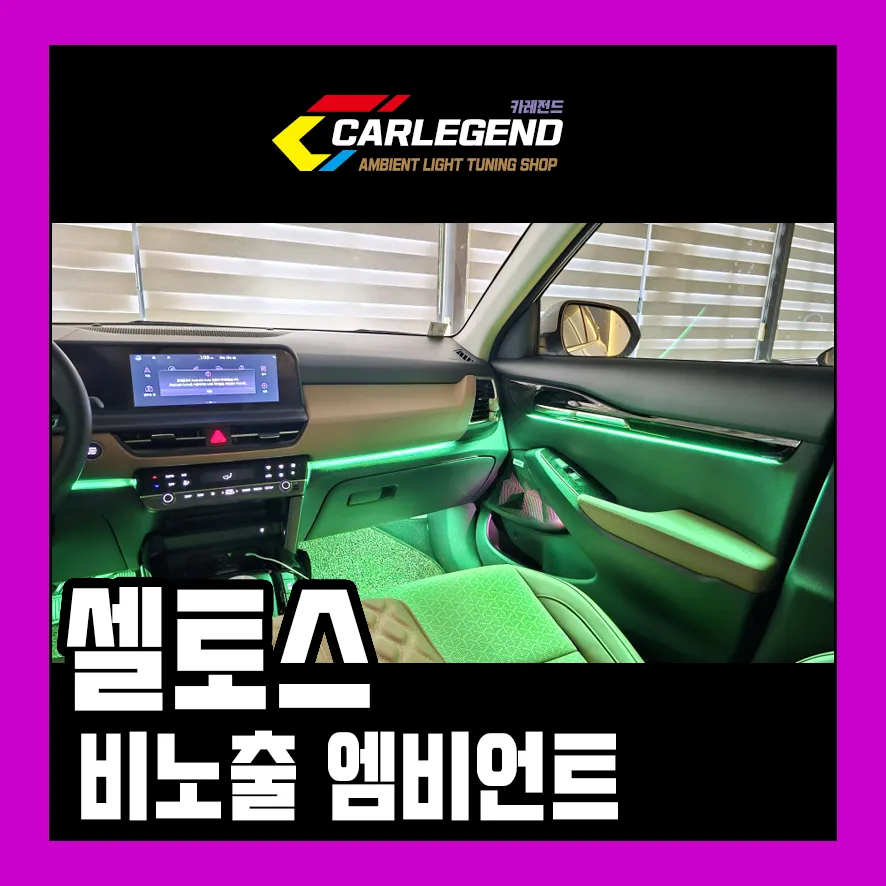
Process photos
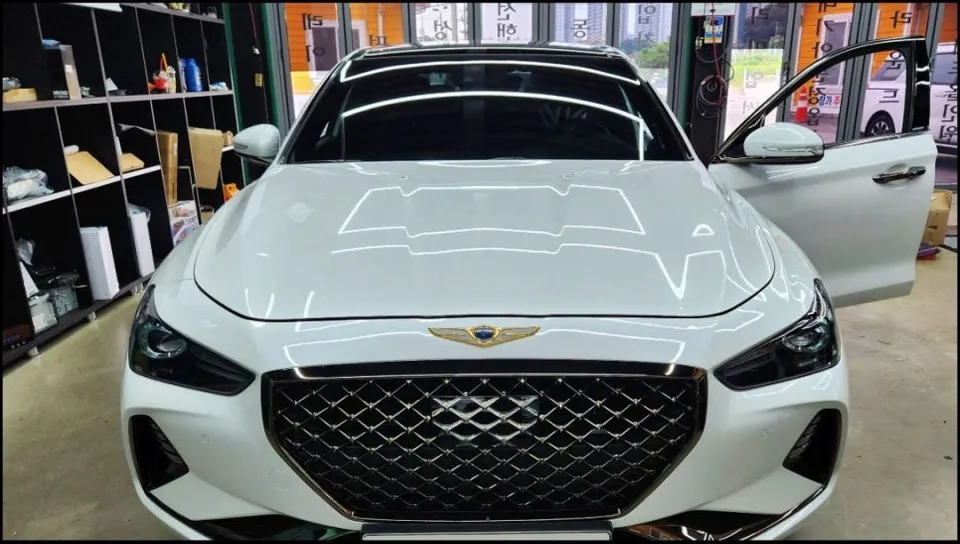
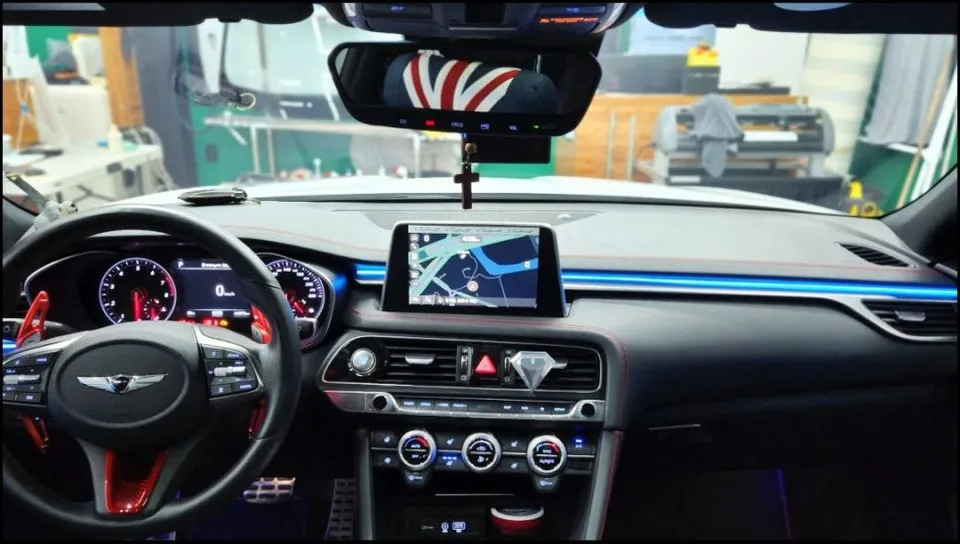
Genesis G70 non-exposed ambient lighting offers customizable mood lighting. Professional installation ensures seamless integration and premium results
Elevate Your Genesis G70 with Custom Ambient Lighting
Considering ambient lighting for your Genesis G70? Many owners desire a more sophisticated interior ambiance but find the factory options expensive or requiring higher trim levels. This post introduces a cost-effective solution: aftermarket ambient lighting installation, specifically showcasing a Genesis G70 project in the Gimpo region to illustrate the process and results.
Why Ambient Lighting Results Vary
The quality of ambient lighting installations can differ significantly. This variation stems from two main factors: the unique structure of each vehicle and the varying techniques and expertise of different installation shops. While you might envision a specific color or mood, the most crucial element is entrusting the job to skilled professionals. Even with the same components and location, differences in wiring, LED placement precision, and brightness uniformity lead to vastly different outcomes. Cheaper installations might look acceptable when illuminated, but the shoddy workmanship becomes apparent when the lights are off, highlighting the importance of professional execution.
The 'Non-Exposed' Ambient Lighting Difference for the G70
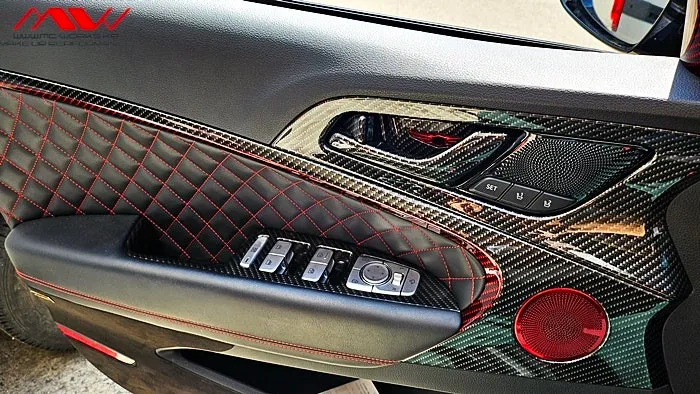
For the Genesis G70, the focus was on the most visually impactful areas: the dashboard lines and the entire length of the 1st and 2nd-row door panels. While older installations often featured basic single colors like white or red, modern setups utilize RGB LEDs for a wide spectrum of colors. The current trend is 'non-exposed' ambient lighting. This method ensures that when the lights are off, the installation is virtually invisible. The LEDs are concealed, allowing light to emit subtly, creating a sophisticated glow. In contrast, traditional embedded acrylic methods involve inserting thin materials into seams, creating a direct light line effect that can be polarizing. For those prioritizing a premium feel, the non-exposed approach is highly recommended.
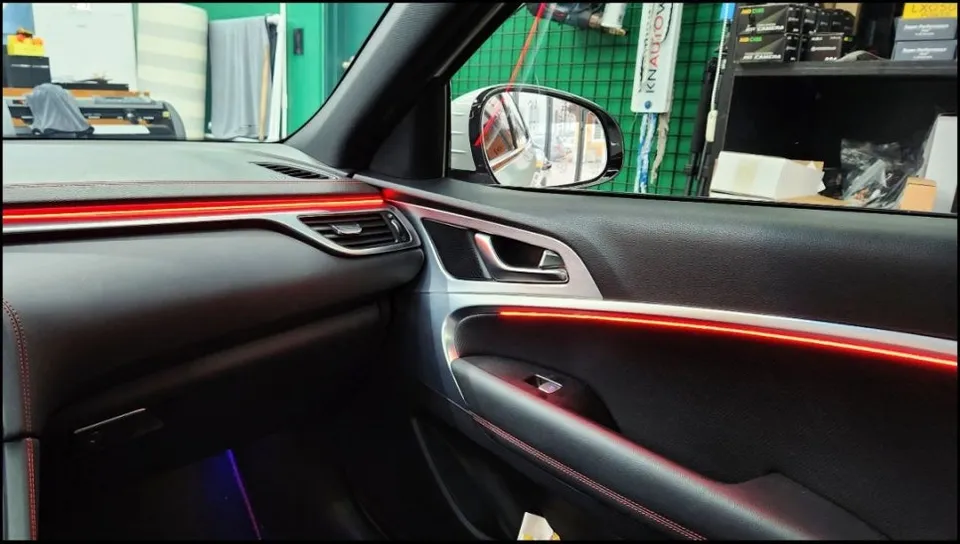
Customization: Color and Brightness Control
Unlike most fixed-color factory options, aftermarket ambient lighting systems leverage RGB technology to offer hundreds of color choices. Control is typically managed via a smartphone app, allowing for easy color changes and even music synchronization modes. A significant advantage is adjustable brightness. You can dim the lights for comfortable night driving or brighten them to make the cabin feel more spacious when parked. This level of customization is a key differentiator from restrictive OEM solutions.
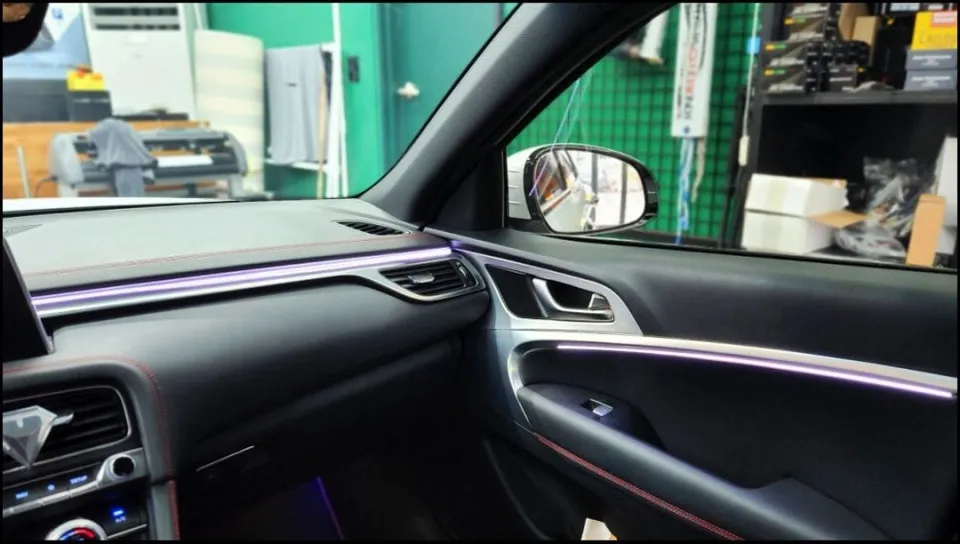
The Mark of Professional Installation: Wiring and Light Uniformity
A superior ambient lighting installation goes beyond simply attaching LEDs. It requires meticulous attention to both external aesthetics and internal wiring. Professional shops in the Gimpo area prioritize secure wiring, often using sound-dampening materials to prevent rattles and noise during driving – a hallmark of a quality job. Furthermore, they ensure consistent, even light distribution from the start to the end of each LED strip. Uneven brightness can make the installation appear cheap and detract from the vehicle's premium feel.
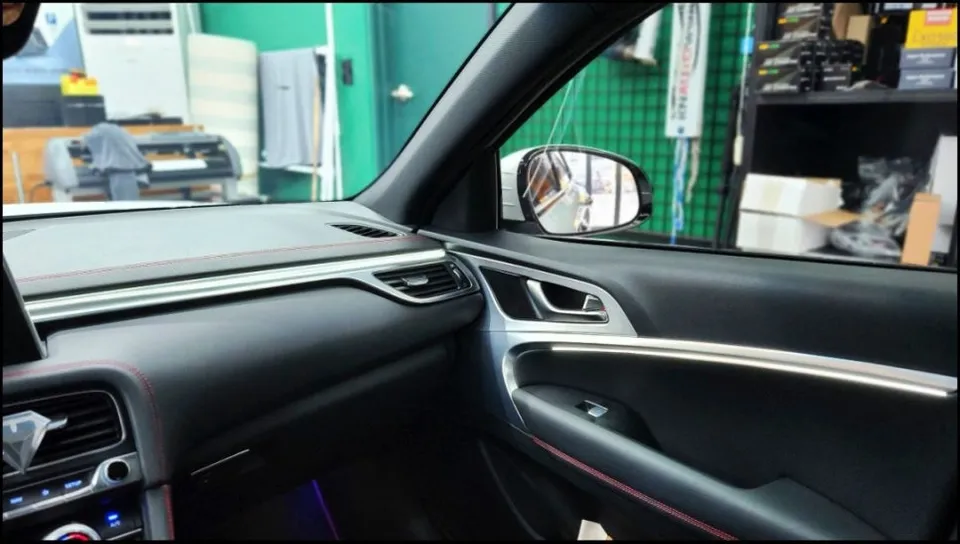
Seamless 1st and 2nd-Row Door Lighting
An inconsistent look, with a vibrant front and a plain rear, can feel disjointed. Professional installations ensure uniformity across all doors, integrating the ambient lighting seamlessly into the entire cabin for a cohesive and luxurious experience.
Installation Process:
- Panel Removal & Preparation: Interior panels are carefully removed to access mounting locations. Surfaces are cleaned and prepared for LED strip application.
- LED Strip Installation: Non-exposed LED strips are precisely positioned along designated lines (dashboard, doors).
- Wiring & Integration: Wiring is discreetly routed, secured, and connected to the power source and control module, often integrating with the vehicle's existing electrical system.
- Sound Dampening: Wiring is insulated and secured with sound-dampening materials to prevent rattles.
- Testing & Reassembly: Lights are tested for color, brightness, and uniformity. Panels are then carefully reinstalled.
Frequently Asked Questions
Q. How much does ambient lighting cost for a Genesis G70?
This specific installation in Gimpo was presented as a cost-effective alternative to factory options, with aftermarket kits typically ranging from $300 to $1000+ in the US depending on complexity and features.
Q. How long does ambient lighting installation take on a Genesis G70?
Installation typically takes between 4 to 8 hours, depending on the complexity of the chosen design and the installer's experience. Proper maintenance involves occasional cleaning of the light strips and ensuring connections remain secure.
Q. Is aftermarket ambient lighting worth it for a Genesis G70?
Aftermarket ambient lighting is ideal for G70 owners seeking enhanced interior aesthetics and customization beyond factory options. It offers significant value by providing a premium look at a lower cost than OEM upgrades.
Q. How is ambient lighting installed on a Genesis G70?
Installation involves carefully removing interior trim panels, precisely applying the LED strips along desired lines (like the dashboard or doors), discreetly routing and securing the wiring, and integrating the system with the vehicle's power. Panels are then reassembled after thorough testing.
Q. What is the difference between OEM and aftermarket ambient lighting for a Genesis G70?
OEM ambient lighting is integrated during manufacturing with limited color options, while aftermarket systems offer extensive color choices, brightness control, and often music synchronization via apps, providing far greater customization.
Today's Car