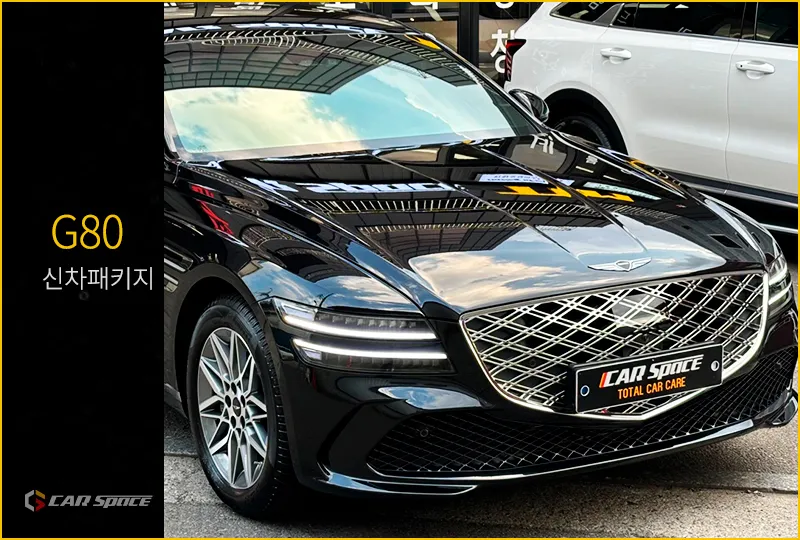
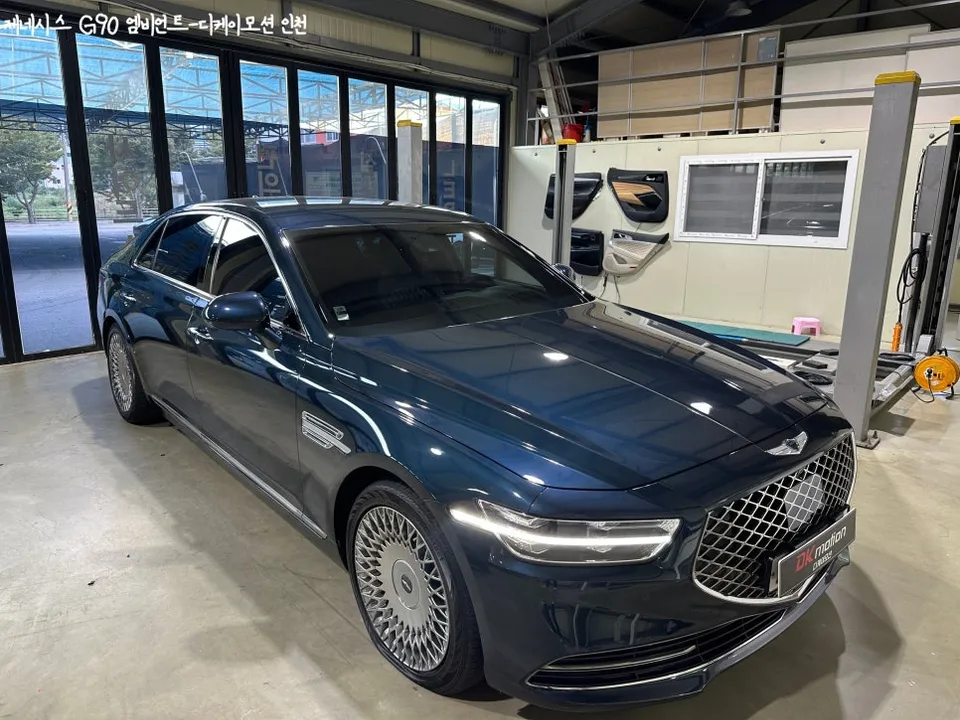
Genesis G80 Dash Cam Installation Review
Service Price
$under approx. $400
Estimated price · Actual price may vary by shop
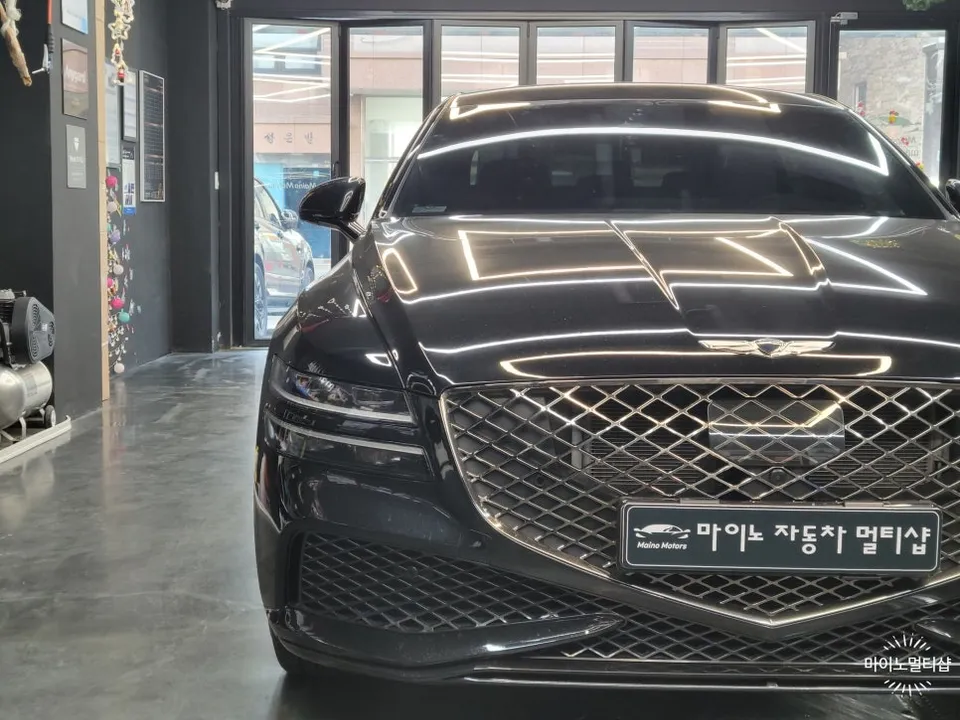
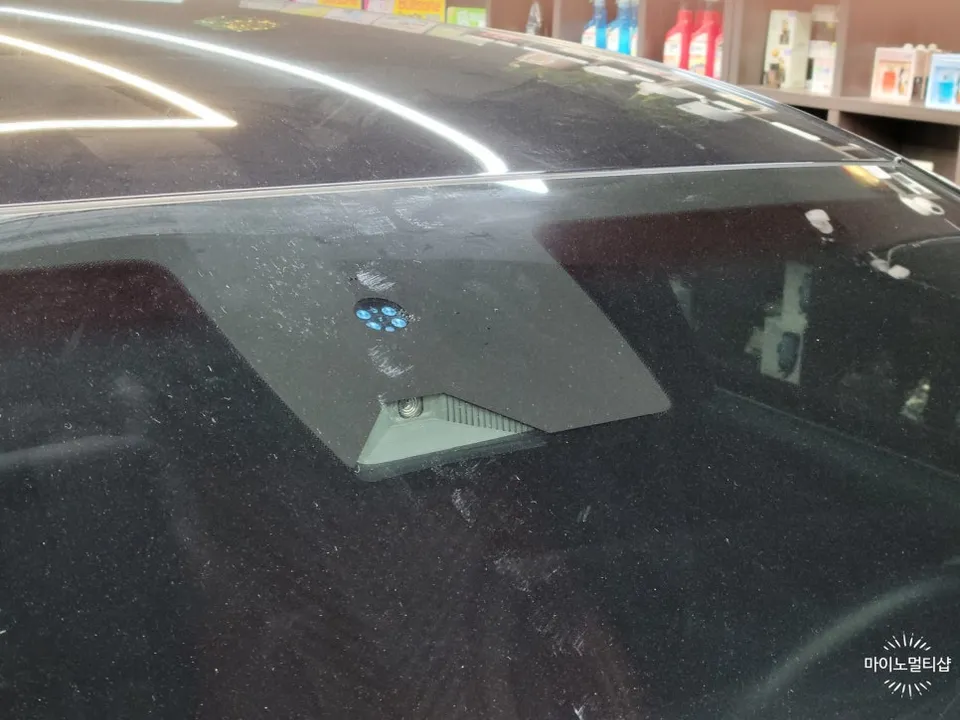
Thinkware QXD1 dash cam installation on Genesis G80: Professional installation ensures clear QHD footage and smartphone access. Worth the investment f
Why Upgrade Your Genesis G80's Dash Cam?
Many Genesis G80 owners find the factory-installed 'built-in cam' limiting, especially when it comes to easily reviewing footage after an incident. If you're experiencing this frustration, consider an aftermarket solution like the Thinkware QXD1. This dash cam offers significant advantages, including high-resolution QHD recording for both front and rear cameras, ensuring you capture crucial details with exceptional clarity. The ability to seamlessly connect with your smartphone makes accessing and sharing recordings incredibly convenient, a stark contrast to the often cumbersome process with integrated systems.
In situations where fault needs to be clearly established, a high-performance dash cam is indispensable. This review will delve into the specifics of installing the Thinkware QXD1 on a Genesis G80, covering its features, the importance of meticulous installation, and the convenience of smartphone connectivity.
Thinkware QXD1: Features and Benefits
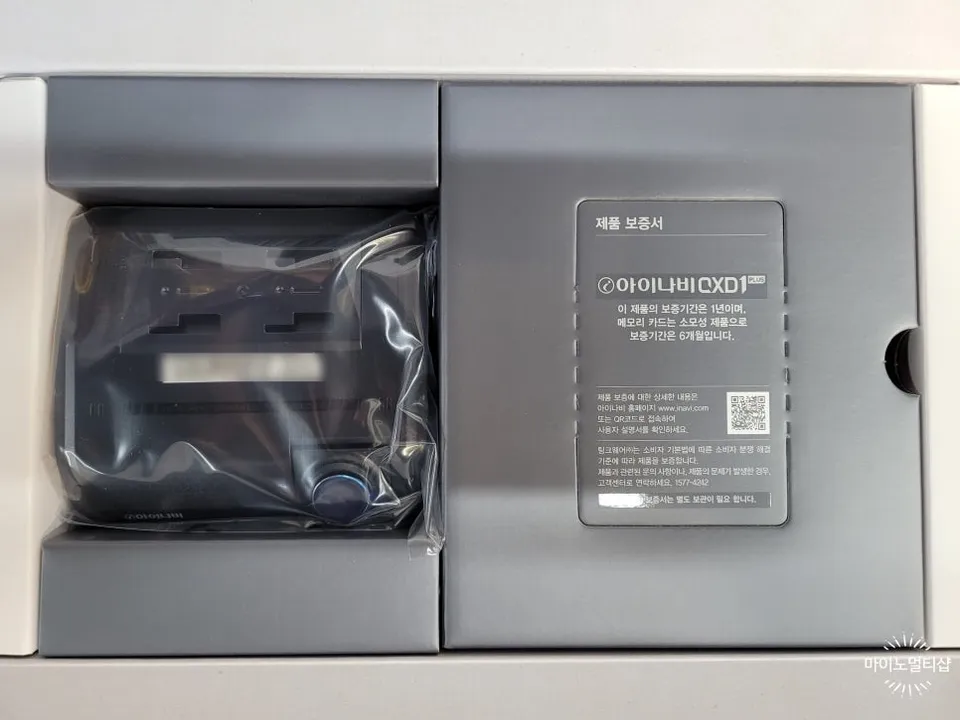
The Thinkware QXD1 is a popular choice for good reason. It boasts QHD resolution for both its front and rear cameras, providing a wide field of view and superior image sharpness. This means even fleeting moments are captured with remarkable detail, leading to high owner satisfaction. The QXD1 comes with a one-year manufacturer's warranty and a six-month warranty on the SD card. A key advantage is its C-type cable connection, allowing for easy video saving and sharing directly to your smartphone. Even in challenging lighting conditions, such as dark tunnels or nighttime driving, the 'Night Vision' feature automatically adjusts contrast and brightness for clear recordings. Additional features like the Low-Voltage Battery Protection (LBP) prevent battery drain during parking mode, and an optional GPS module enables Advanced Driver Assistance Systems (ADAS) for enhanced driving safety.
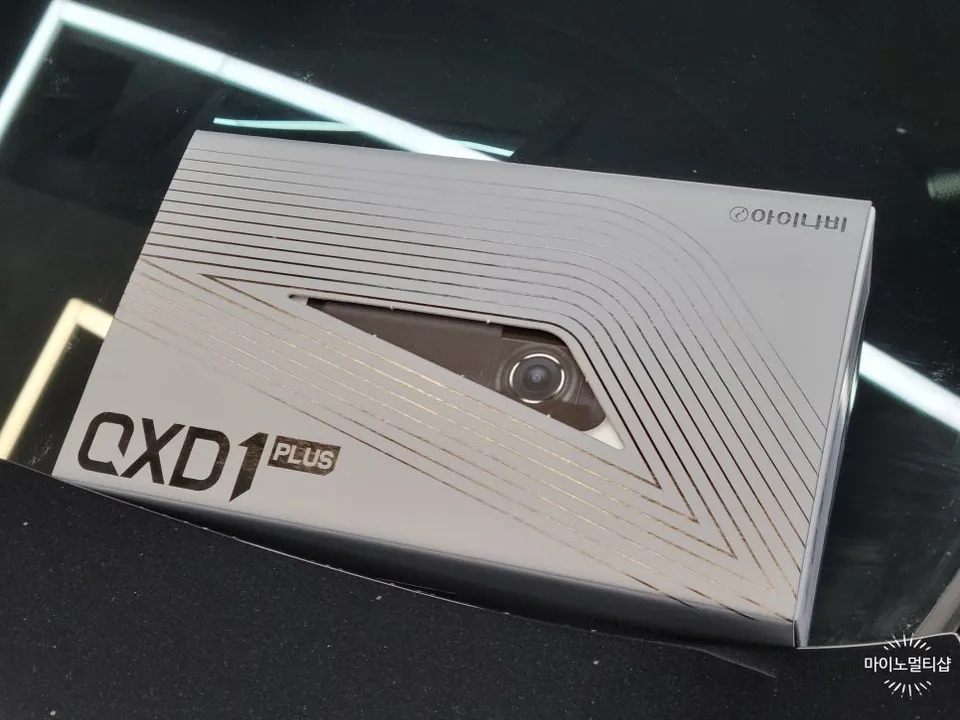
The Importance of Professional Dash Cam Installation
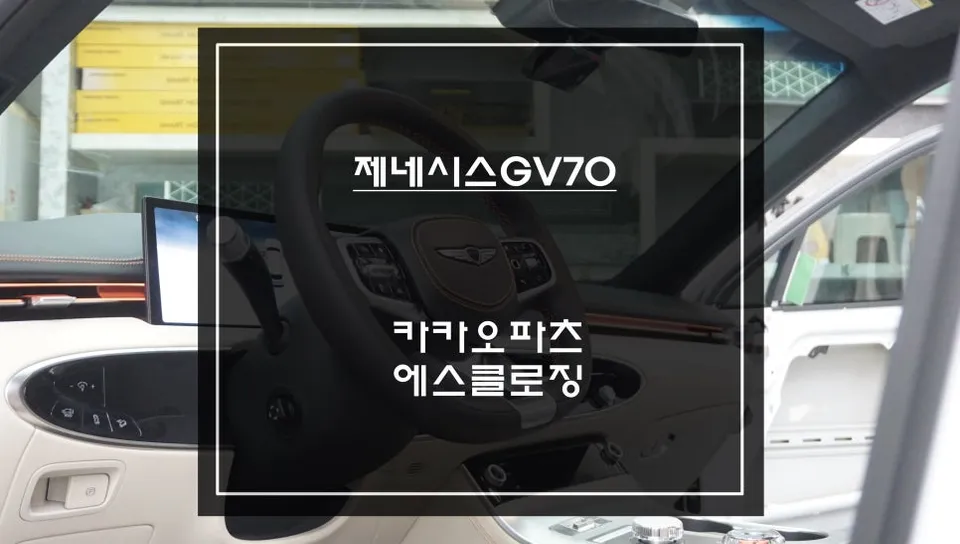
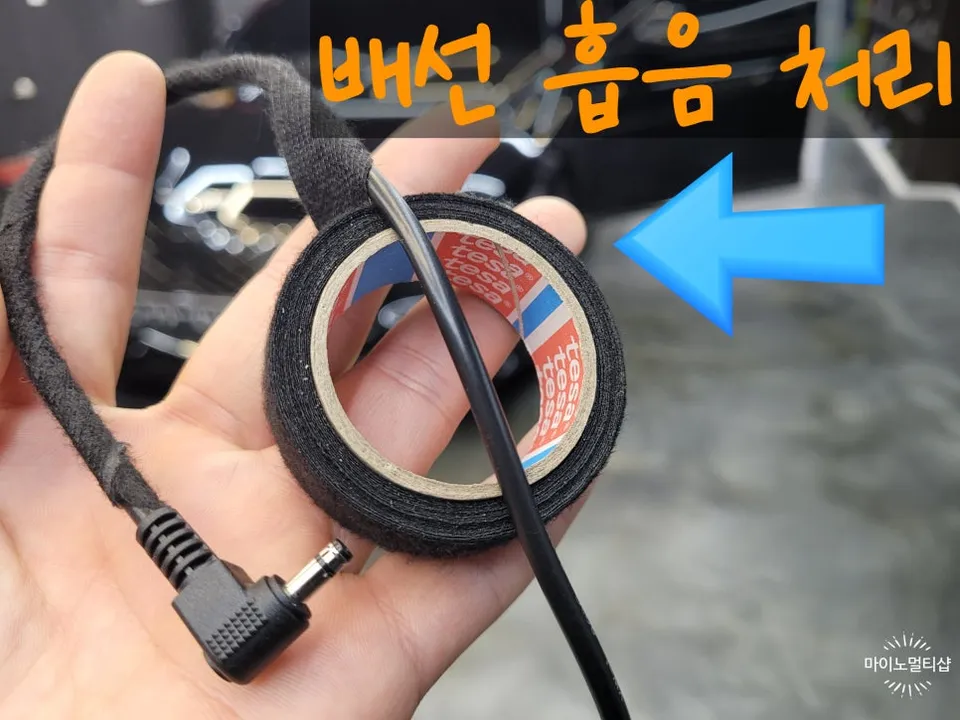
Proper wiring is paramount during dash cam installation. At our facility, we ensure all electrical wiring receives sound-dampening treatment. Standard wiring can stiffen or soften with temperature fluctuations, leading to rattling noises against the car's bodywork when driving over uneven surfaces. To prevent this, we use genuine German TESA® sound-dampening tape for a meticulous finish, which also contributes to better vibration and noise reduction for a more comfortable ride. The main unit and camera wiring are routed along the original factory wiring paths after completely removing the A-pillar trim. Simply tucking wires away without proper A-pillar removal can cause rattles and, more critically, interfere with airbag deployment in the event of an accident. Prioritizing safety means securing wiring along the original lines.
Installation Process:
- Complete removal of the A-pillar trim to access original wiring paths.
- Securely route and affix all dash cam wiring along factory lines using sound-dampening tape.
- Install front and rear cameras, ensuring optimal viewing angles.
- Connect the dash cam to the vehicle's power source, incorporating low-voltage protection.
- Test all functions, including recording, smartphone connectivity, and parking mode.
Choosing a professional installation ensures that your dash cam is not only hidden neatly but also installed safely and durably, preserving your vehicle's interior and safety features. This meticulous approach minimizes the risk of rattles and ensures the system functions reliably for years to come.
Smartphone Integration: Convenience Redefined
Gone are the days of removing the SD card to view footage on a computer. Modern dash cams, including the Thinkware QXD1, offer seamless smartphone connectivity. Using a C-to-C cable, you can easily connect your phone to the dash cam. This allows for quick access to recorded videos, enabling you to review, save, or share them directly from your device. This feature significantly enhances the usability of your dash cam, making it a practical tool for everyday driving and incident documentation.
Frequently Asked Questions
Q. How much does dash cam installation cost for a Genesis G80?
Professional dash cam installation for a Genesis G80 typically ranges from $150 to $300 USD, depending on the complexity and specific model. The Thinkware QXD1 installation detailed here was performed in Korea.
Q. How long does dash cam installation take on a Genesis G80?
Professional dash cam installation on a Genesis G80 usually takes between 3 to 4 hours to ensure all wiring is properly secured and sound-dampened. Regular maintenance involves checking camera alignment and cleaning lenses.
Q. Is a hardwired dash cam worth it over a self-install for a Genesis G80?
A professionally hardwired dash cam is highly recommended for a Genesis G80 to ensure safety features like airbags are not compromised and to prevent rattles. The value lies in professional execution, durability, and peace of mind.
Q. How is a dash cam professionally installed on a Genesis G80?
Professional installation involves removing the A-pillar trim to route wiring along factory paths, applying sound-dampening tape to all cables, and securely mounting cameras. The system is then connected to power, often with low-voltage protection, and tested thoroughly.
Q. What is the difference between a 1-channel and 2-channel dash cam for a Genesis G80?
A 1-channel dash cam records only the front view, while a 2-channel system, like the Thinkware QXD1, includes a rear camera for comprehensive coverage. A 2-channel system is recommended for complete protection.
OhCar Partner Shop