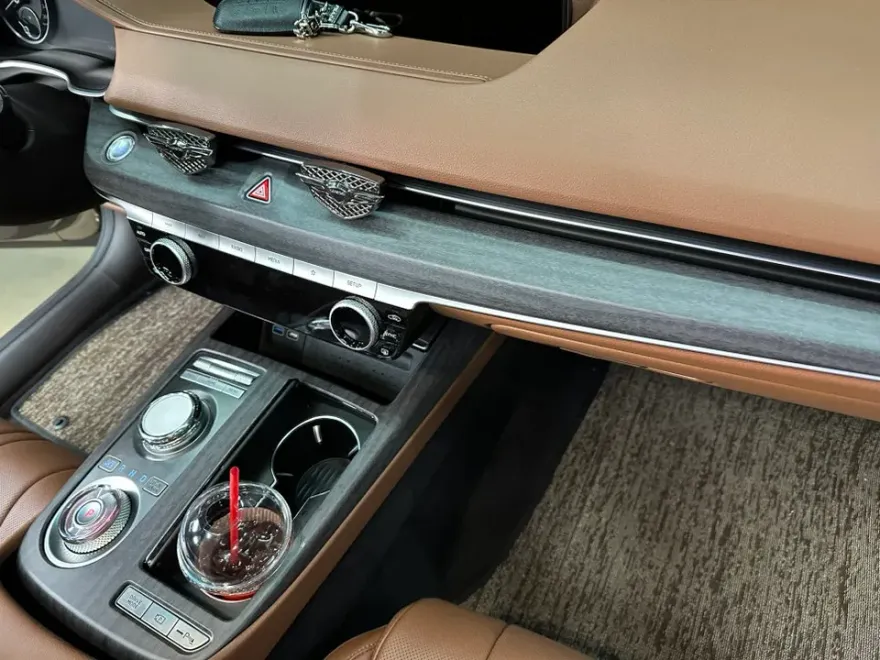
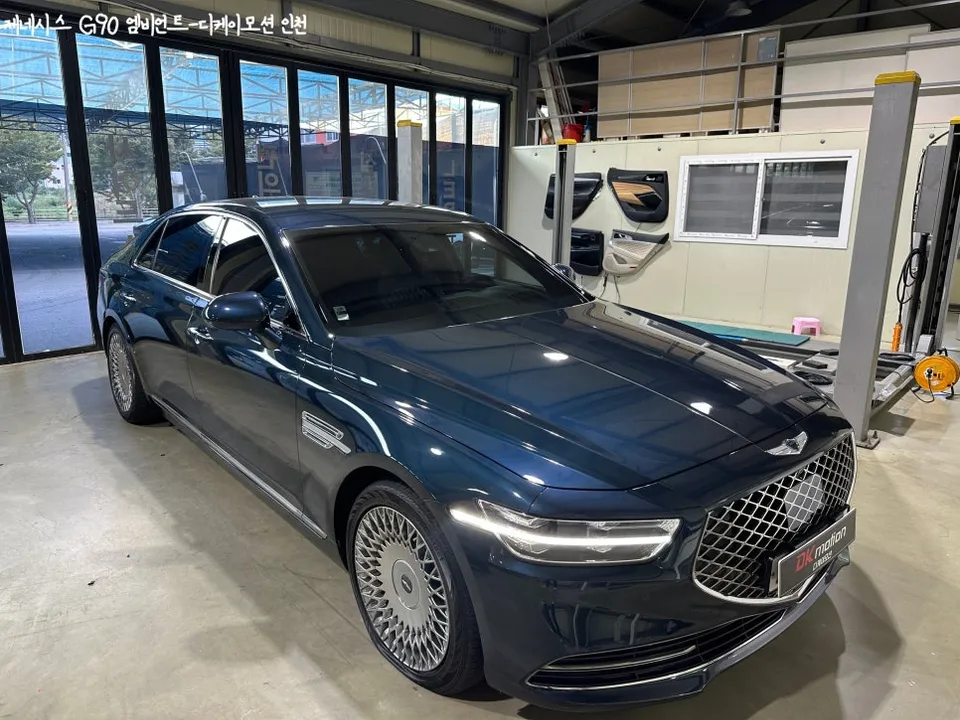
Genesis GV80 Dash Cam Installation Review
Service Price
$approx. $400–800
Estimated price · Actual price may vary by shop
Before
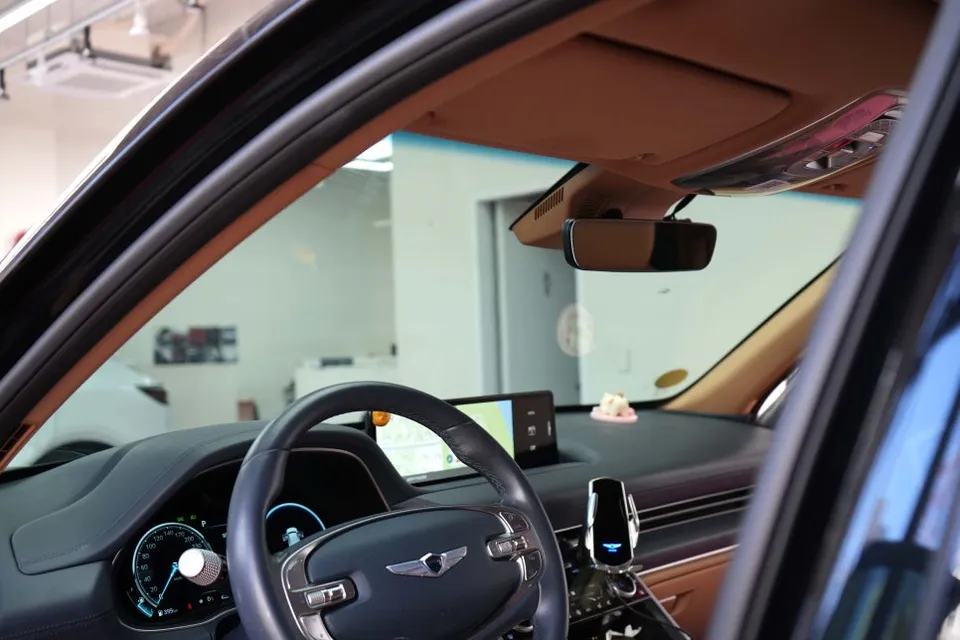
After
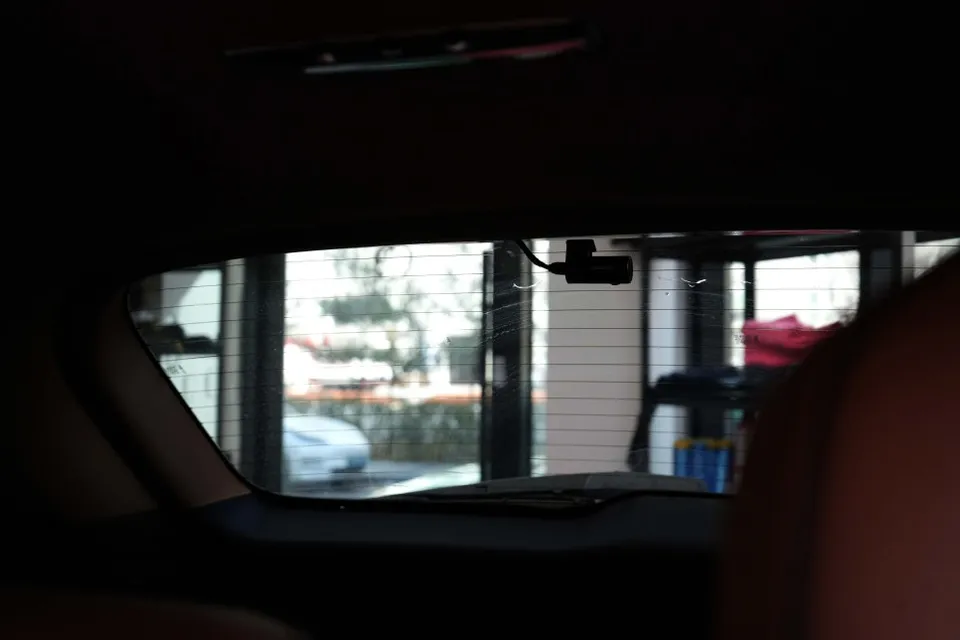
Process photos
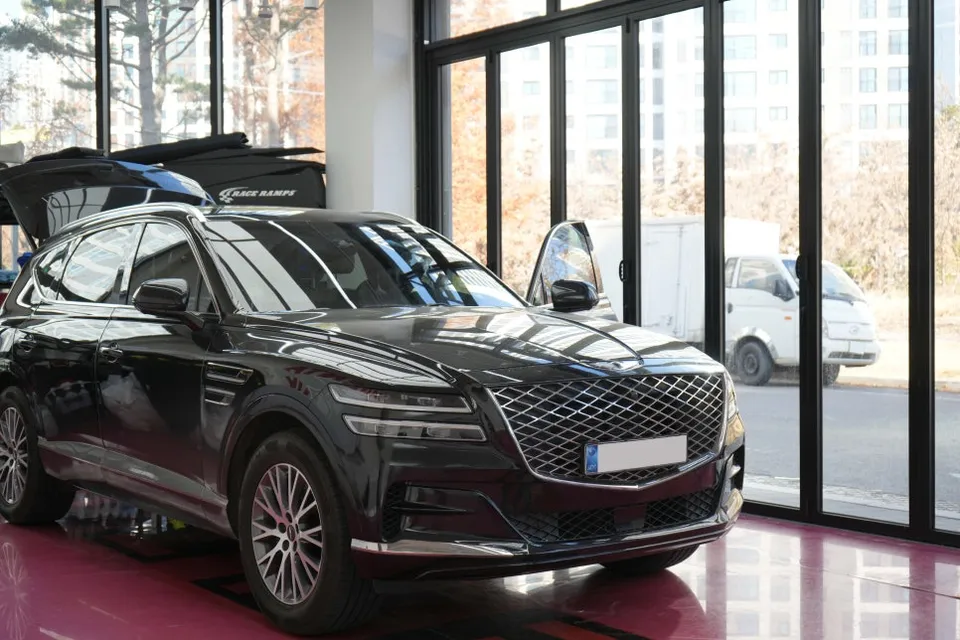
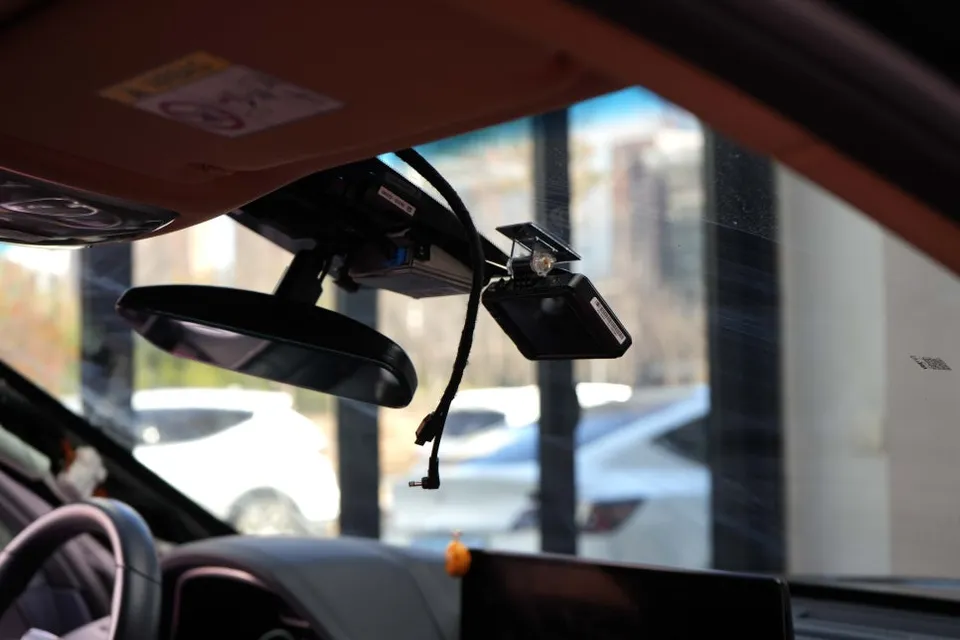
Genesis GV80 dash cam replacement with iNavi QXD1 Plus. Professional installation ensures safety and durability.
Genesis GV80 Dash Cam Upgrade: From Faulty to Flawless
Is your current dash cam leaving you in the dark, causing more stress than security? A malfunctioning black box camera can be a major headache, especially when you need it most. This review details the process of upgrading a Genesis GV80's existing dash cam to the iNavi QXD1 Plus at the 'Today's Car' Hanam branch in Korea. We'll cover why the replacement was necessary, the benefits of the new unit, and what to consider when choosing a dash cam installation service.
Why Your Genesis GV80 Might Need a New Dash Cam
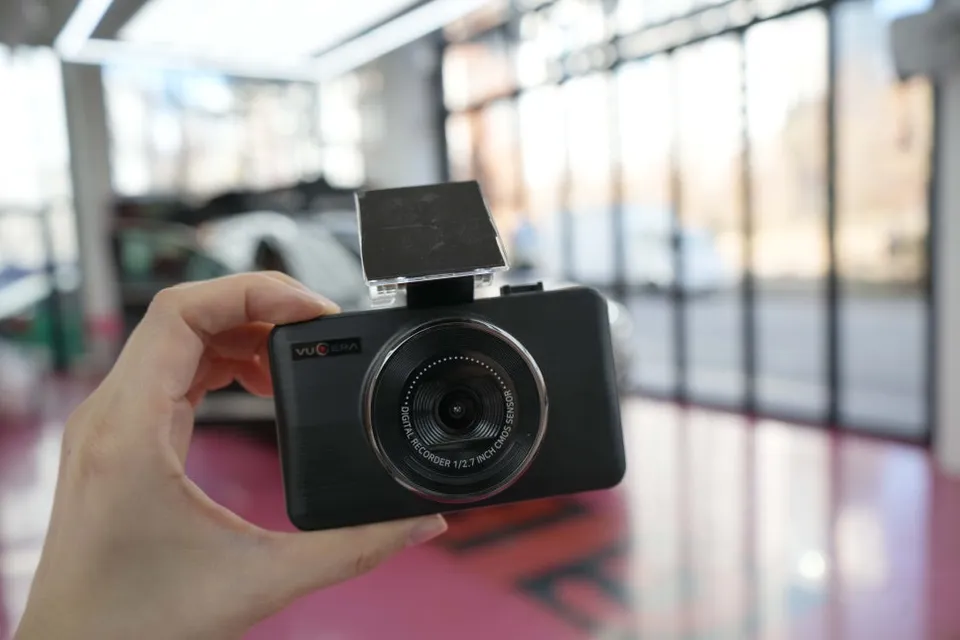
The owner of this Genesis GV80 experienced significant issues with their previous Vugera dash cam. The unit would suddenly stop working, and the LCD screen would repeatedly reboot, rendering it useless for capturing any incidents. The rear camera also failed, leaving the vehicle unprotected. After testing, it was determined that the dash cam unit itself was faulty, beyond a simple SD card issue. The owner sought a replacement with a high-quality, stable dash cam, particularly concerned about potential hit-and-run incidents.
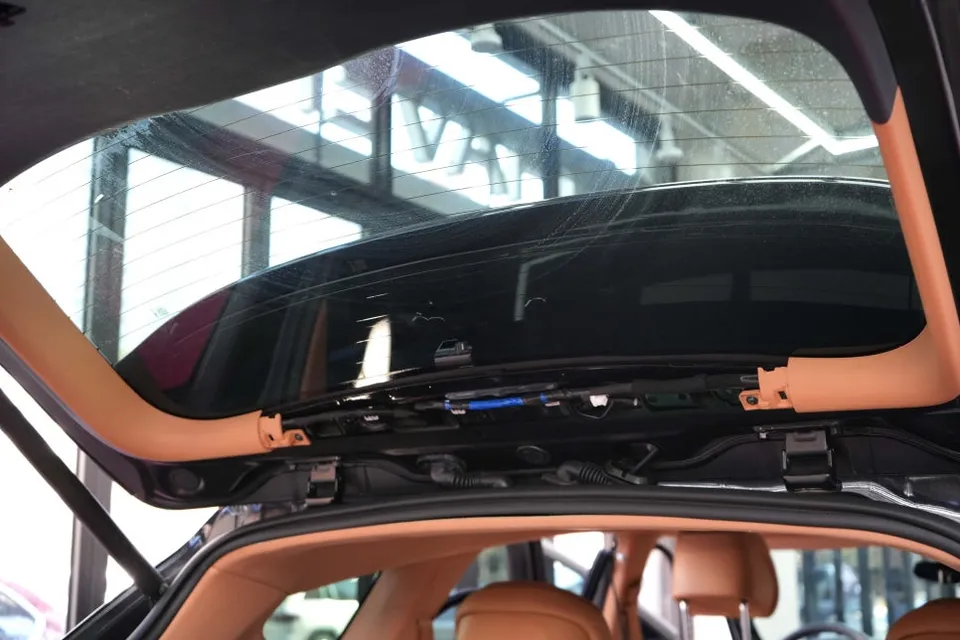
Replacing a dash cam involves more than just plugging in a new device. It requires careful removal of old wiring to avoid damaging the vehicle's interior, such as window tinting. Professional installation ensures that the new wiring is routed safely and discreetly. At 'Today's Car' Hanam, meticulous attention is paid to every detail. The quality of the installation hinges on proper wire management. To prevent rattles and ensure a clean finish, all wiring is secured using genuine TESA sound-dampening tape. This tape not only prevents vibration noise but also protects the wires.
Furthermore, safety is paramount. The installation process ensures that dash cam wiring does not interfere with the vehicle's airbags. Wires are routed along the original wiring paths, away from airbag deployment zones, to guarantee that airbags function correctly in the event of an accident. This commitment to detail is a hallmark of professional dash cam installation services.
The iNavi QXD1 Plus: Enhanced Features and Performance
The iNavi QXD1 Plus offers superior recording quality and enhanced features compared to older models. It provides clear footage for both front and rear views, crucial for capturing details in various lighting conditions. The parking mode functionality ensures continuous recording even when the vehicle is turned off, offering protection against parking lot incidents. The installation included the iNavi Connected Pro Plus, adding advanced connectivity features for remote monitoring and alerts. The entire process, including the front and rear dash cam setup and wiring, took approximately 1.5 to 2 hours, with same-day completion possible.
Dash Cam Installation: Cost and Considerations
While the specific cost for this Genesis GV80 installation in Korea was not detailed in the original context, professional dash cam installation typically ranges from $100 to $300 USD, depending on the complexity and the chosen model. Factors influencing the dash cam cost include the number of channels (front only vs. front and rear), features like parking mode, and the brand of the device. Hardwiring a dash cam ensures a cleaner look and enables features like parking mode without draining the car battery, as it's connected to the vehicle's fuse box.
When choosing a service, look for technicians who prioritize safe wiring practices, use quality materials like sound-dampening tape, and understand vehicle-specific installation requirements, such as avoiding airbag pathways. A professional installation not only ensures durability and optimal performance but also peace of mind.
Installation Process:
- Careful removal of the old dash cam and its wiring.
- Routing new wiring discreetly, avoiding airbag zones and using sound-dampening tape.
- Secure mounting of the new front and rear dash cam units.
- Testing the system to ensure full functionality, including parking mode.
Frequently Asked Questions
Q. How much does dash cam installation cost for a Genesis GV80?
Professional dash cam installation for a Genesis GV80 in Korea was performed in this review. In the US, expect installation costs to typically range from $100 to $300, depending on the system's complexity.
Q. How long does dash cam installation take on a Genesis GV80?
This installation took approximately 1.5 to 2 hours. Proper installation ensures durability, and regular checks of the SD card and connections can help maintain its longevity.
Q. Is a hardwired dash cam worth it over a self-install for a Genesis GV80?
A hardwired dash cam is worth it for seamless parking mode operation and a cleaner look, especially for owners who value professional integration. Professional installation ensures safety, correct wiring, and avoids potential damage or interference with vehicle systems.
Q. How is a dash cam professionally installed on a Genesis GV80?
Professional installation involves carefully removing old wiring, routing new cables along safe paths away from airbags using sound-dampening tape, and securely mounting the front and rear cameras. The system is then tested to confirm all features, including parking mode, are operational.
Q. What is the difference between a 1-channel and 2-channel dash cam for a Genesis GV80?
A 1-channel dash cam records only the front view, while a 2-channel system includes both front and rear cameras for comprehensive coverage. For full protection against parking incidents and rear-end collisions, a front and rear dash cam setup is recommended.
OhCar Partner Shop