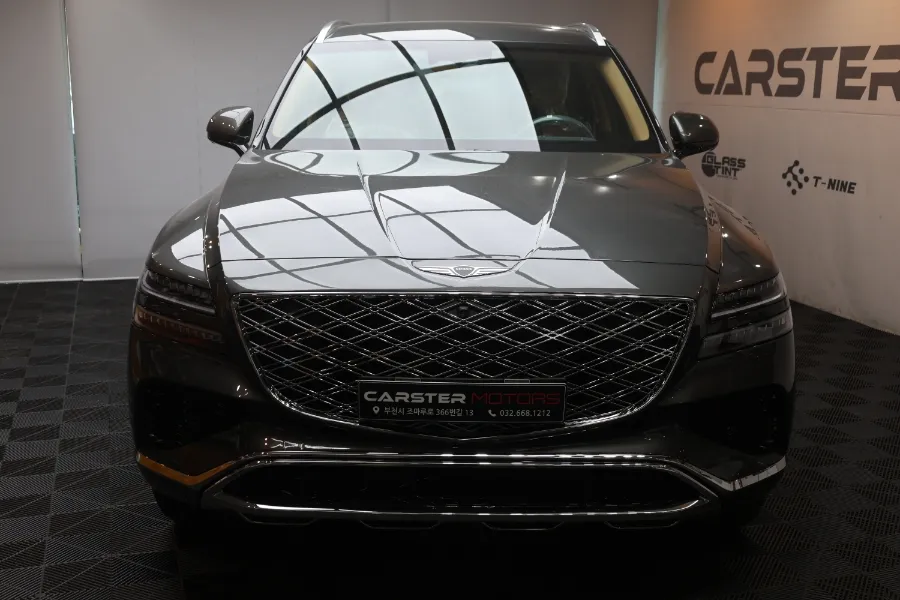
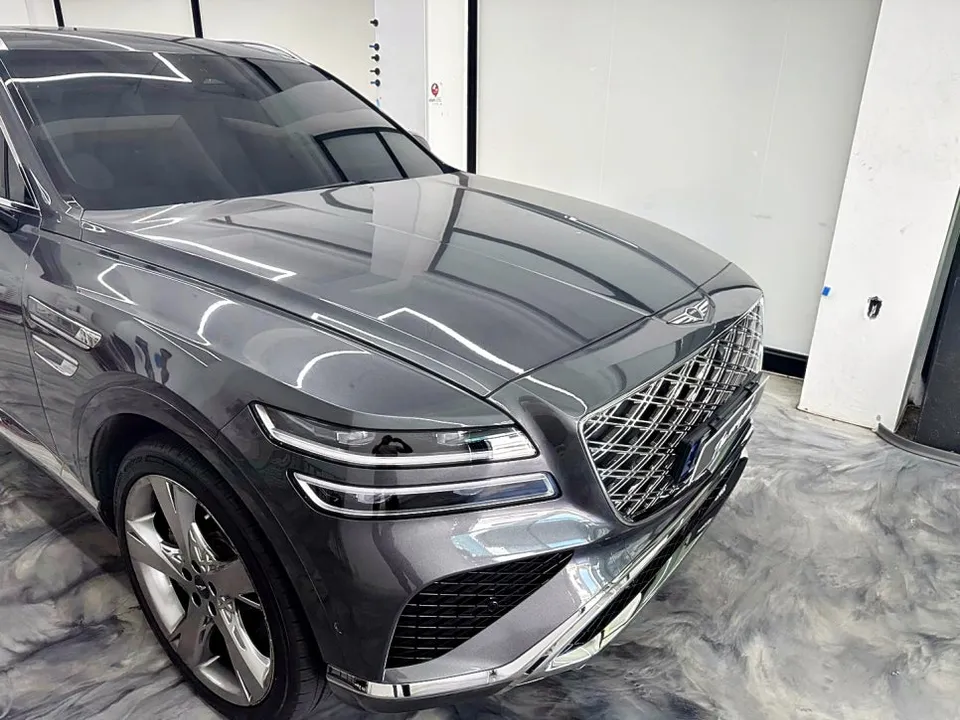
Genesis GV80 Remote Start & Coding Review — Enhanced Convenience
Service Price
$150+
Estimated price · Actual price may vary by shop
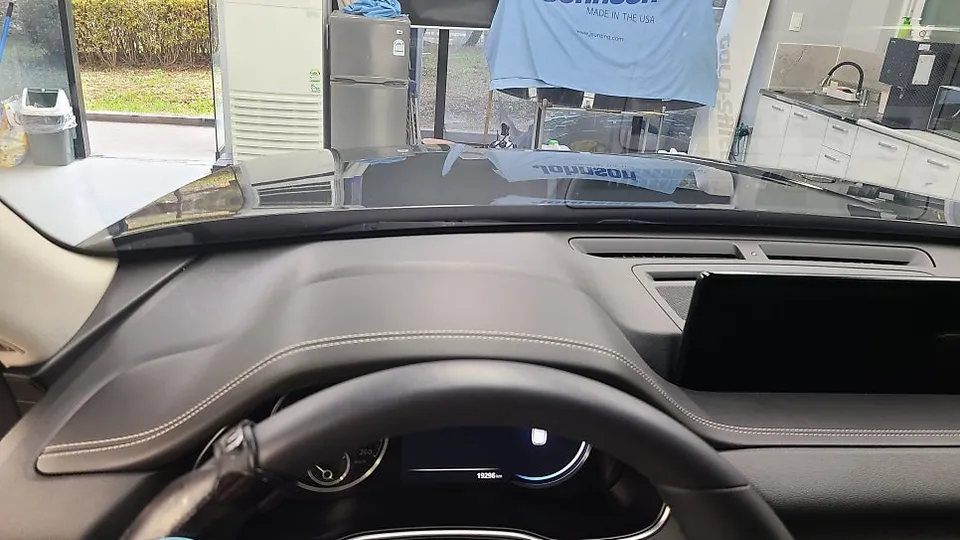
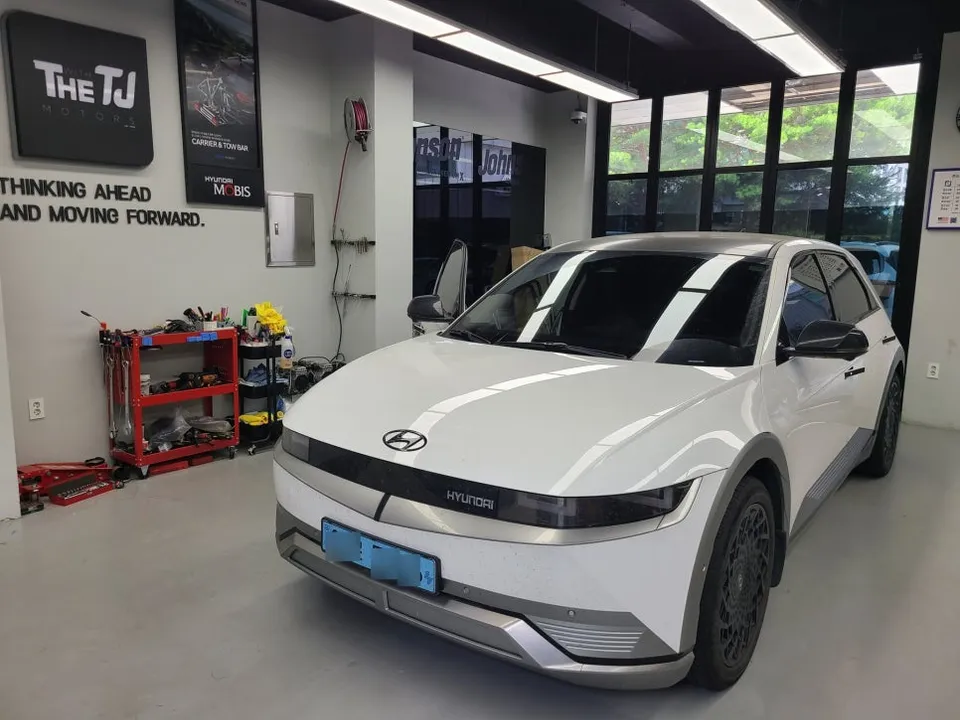
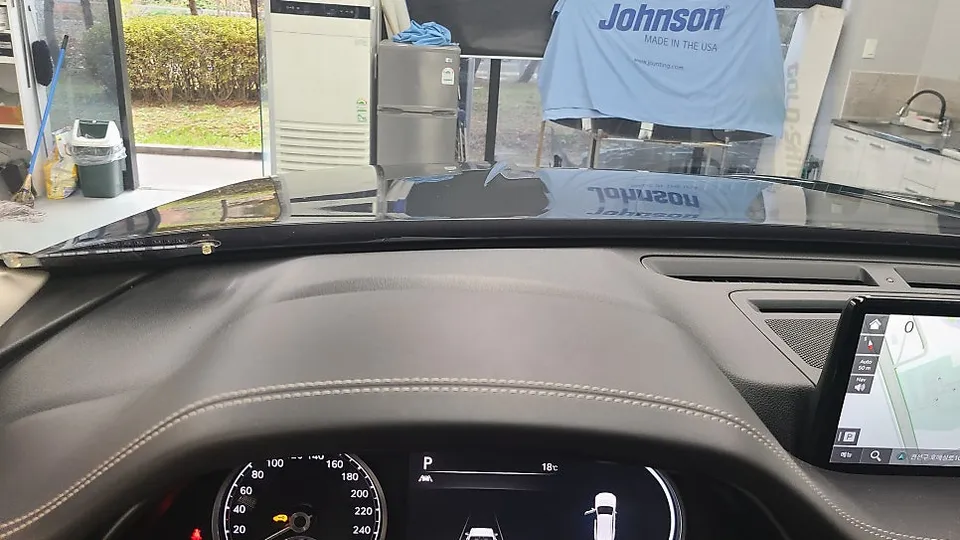
Genesis GV80 HUD installation: Genuine parts ensure seamless integration. Enhances driving convenience and safety by displaying key info on the windsh
Upgrade Your Genesis GV80 with Remote Start & Coding
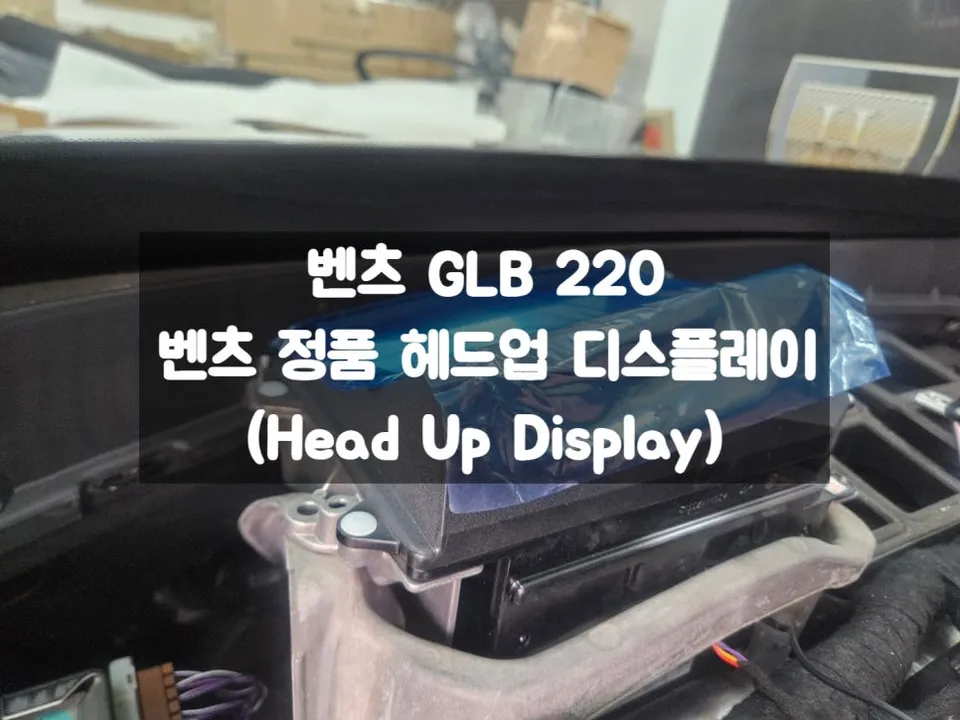
The Genesis GV80 is a highly sought-after premium SUV, and many owners who have experienced the convenience of features like Head-Up Displays (HUD) in previous vehicles find themselves wanting them in their new GV80. A HUD allows drivers to see crucial information such as speed, navigation, and safety alerts within their line of sight, eliminating the need to look down at the dashboard. If your GV80 was not originally equipped with a HUD, it's possible to add this genuine factory option using OEM parts.
This review details a recent installation of a genuine GV80 HUD at our shop, performed for an owner who greatly valued the HUD's benefits from their prior car. We'll walk through the precise installation process, which utilizes genuine parts for a seamless integration.
Understanding the GV80 Dashboard for HUD Installation
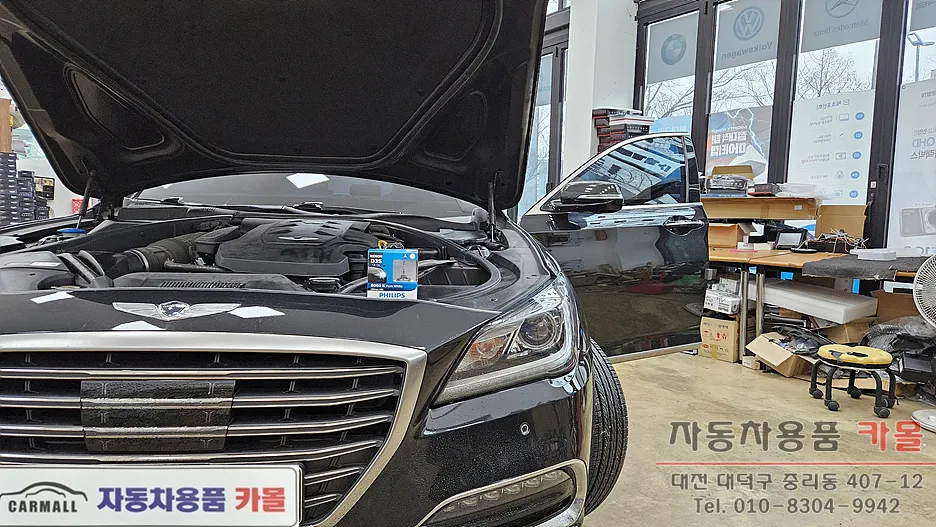
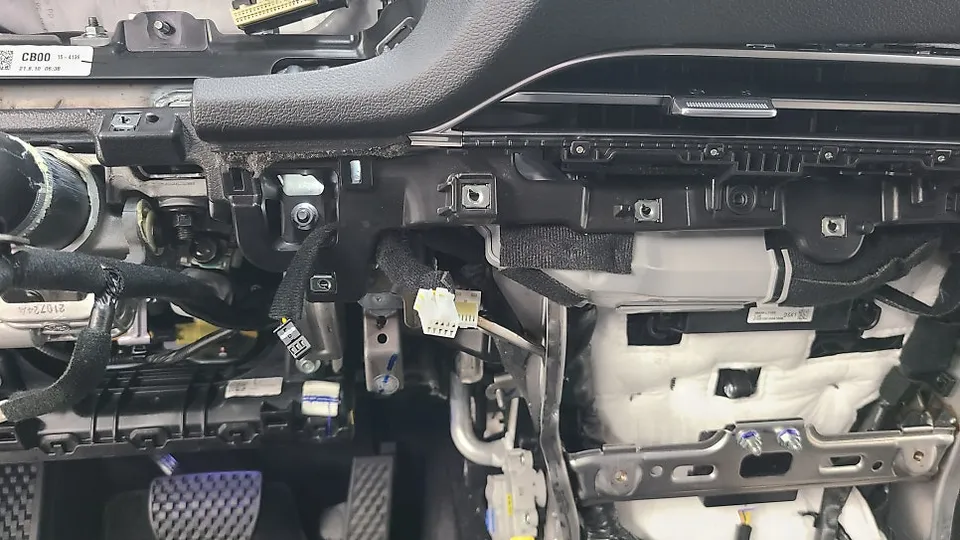
A critical aspect of adding a HUD to a GV80 is the replacement of the dashboard's upper panel. The design of the GV80 dashboard differs significantly depending on whether the HUD option was selected from the factory. This is because the structure must accommodate the projection of information onto the windshield at the correct angle and position. Therefore, a post-purchase HUD installation requires not just the HUD unit itself, but also a dedicated dashboard upper panel designed for HUD integration to ensure proper projection and angle adjustment.
The Installation Process: Precision and Care
Installation process: 1. Dashboard Disassembly: The existing dashboard upper panel is carefully removed. This is a delicate procedure as the dashboard contains airbags, wiring harnesses, and various sensors. Improper force can lead to broken clips or damaged wiring. 2. Component Transfer & HUD Unit Installation: Existing components like clips, sensor holders, and air vents are transferred to the new HUD-compatible dashboard panel. The new HUD unit is then precisely mounted according to manufacturer specifications, ensuring the correct projection angle. 3. Wiring and Reassembly: All necessary wiring is connected to the HUD unit and other integrated systems. The dashboard is then meticulously reassembled in reverse order of disassembly, ensuring all connections are secure and components are properly seated. 4. Coding and Activation: Using diagnostic tools, the vehicle's systems are coded to recognize and activate the newly installed HUD unit. This step ensures all functions operate correctly. 5. Final Inspection: A thorough inspection is conducted to verify the HUD displays information clearly and accurately, and all related vehicle functions are operating as expected.
The reassembly phase is as crucial as the disassembly. It requires more than just fitting parts back together; it involves verifying the exact position of each component and the integrity of all wiring connections. Components reused from the original dashboard, such as clips and sensor mounts, need to be carefully adapted to the new HUD dashboard panel. Ensuring every wire connects to its correct terminal is a meticulous task.
Activating Your GV80's New HUD Features
Once the physical installation is complete, the final step involves coding the vehicle's systems. This process allows the GV80's computer to recognize the new HUD unit and enable its functionality. Diagnostic tools are used to program the car's modules, activating features like speed display, navigation prompts, and safety warnings on the HUD. After coding, a comprehensive final inspection is performed to confirm that the HUD operates flawlessly and all other vehicle systems remain unaffected.

Frequently Asked Questions
Q. How much does Remote Start & Coding cost for a Genesis GV80?
The cost for this specific Genesis GV80 HUD installation was detailed in Korean Won within the original context. Typical US pricing for similar aftermarket or OEM retrofits can range from $800 to $2,500 depending on the complexity and parts used.
Q. How long does Remote Start & Coding last on a Genesis GV80?
When installed using genuine parts and professional coding, the remote start and coding features are designed to last the lifetime of the vehicle. Regular software updates for the vehicle's systems can help maintain optimal performance.
Q. Is Remote Start & Coding worth it for a Genesis GV80?
Remote start and coding are highly beneficial for GV80 owners who prioritize enhanced driving convenience and safety. The ability to see critical information without diverting your eyes from the road significantly improves the driving experience.
Q. How is Remote Start & Coding done on a Genesis GV80?
Installation involves replacing the dashboard upper panel with a HUD-compatible one, precisely mounting the HUD unit, connecting wiring harnesses, and then coding the vehicle's systems via diagnostic tools to activate the new features.
Q. What is the best Remote Start & Coding option for a Genesis GV80?
Opting for genuine OEM parts and professional installation, as detailed in this review, provides the most seamless and reliable integration for your Genesis GV80. This ensures all features function correctly and maintain the vehicle's aesthetic.
OhCar Partner Shop