Infiniti Q50 Alternator Replacement Review
Service Price
$approx. $400–800
Estimated price · Actual price may vary by shop
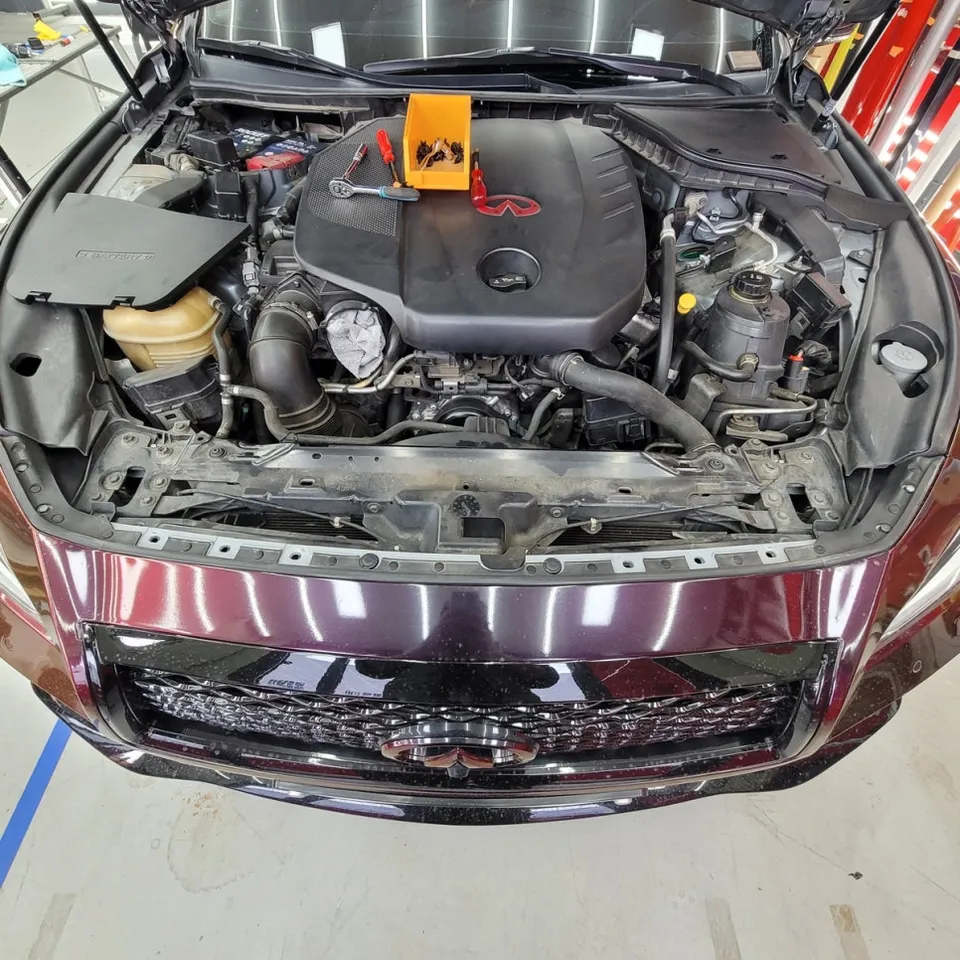
Infiniti Q50 alternator replacement after 220,000 km. Detailed review of the process and successful voltage test results.
Infiniti Q50 Alternator Replacement: A 220,000 km Journey Review
Many Infiniti Q50 owners might panic when a warning light illuminates on the dashboard while the engine is running, especially if there were no prior symptoms. Recently, an Infiniti Q50 owner encountered this exact situation on their way home from work. With the vehicle having accumulated 220,000 km, the owner suspected alternator wear and decided on a replacement. This review details the actual repair process, the role of the alternator, and related information.
Understanding the Infiniti Q50 Alternator Warning Light
The alternator is a critical component, akin to the heart of a car, responsible for continuously supplying electricity to the battery. While the engine is running, it acts as a generator, powering all the vehicle's electrical systems and recharging the battery. A failing alternator forces the car to rely solely on the battery, eventually leading to battery discharge and a no-start condition. In this Q50's case, the warning light appeared after about 18 km of driving, but fortunately, the engine continued to run, allowing the owner to reach the service center. This indicated the battery was still in a reasonably good state before the replacement.
Upon initial testing, the voltage was measured at 11.8V with the engine off and rose to 12.3V after starting. This confirmed that the battery itself was not the primary issue. The readings clearly showed the alternator was not performing its charging function correctly. Considering the vehicle's high mileage of 220,000 km, a failure due to normal wear and tear was highly probable.
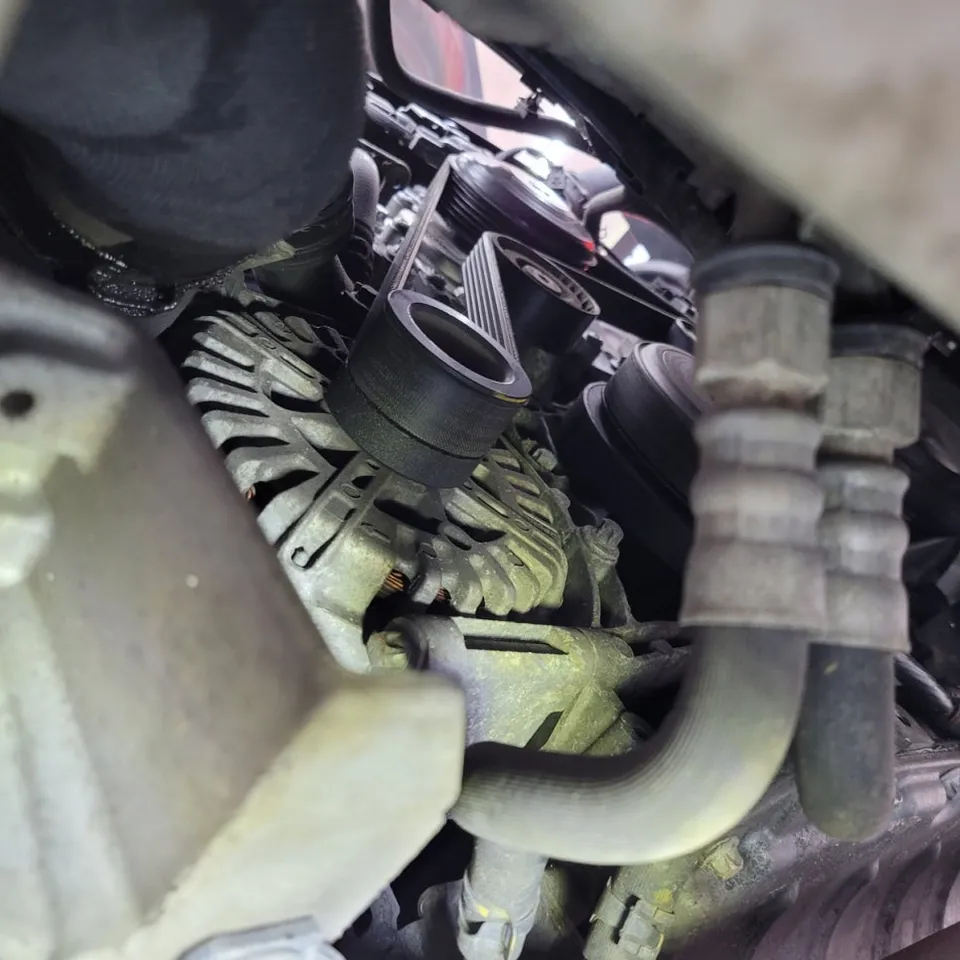
Preparing for the Alternator Replacement
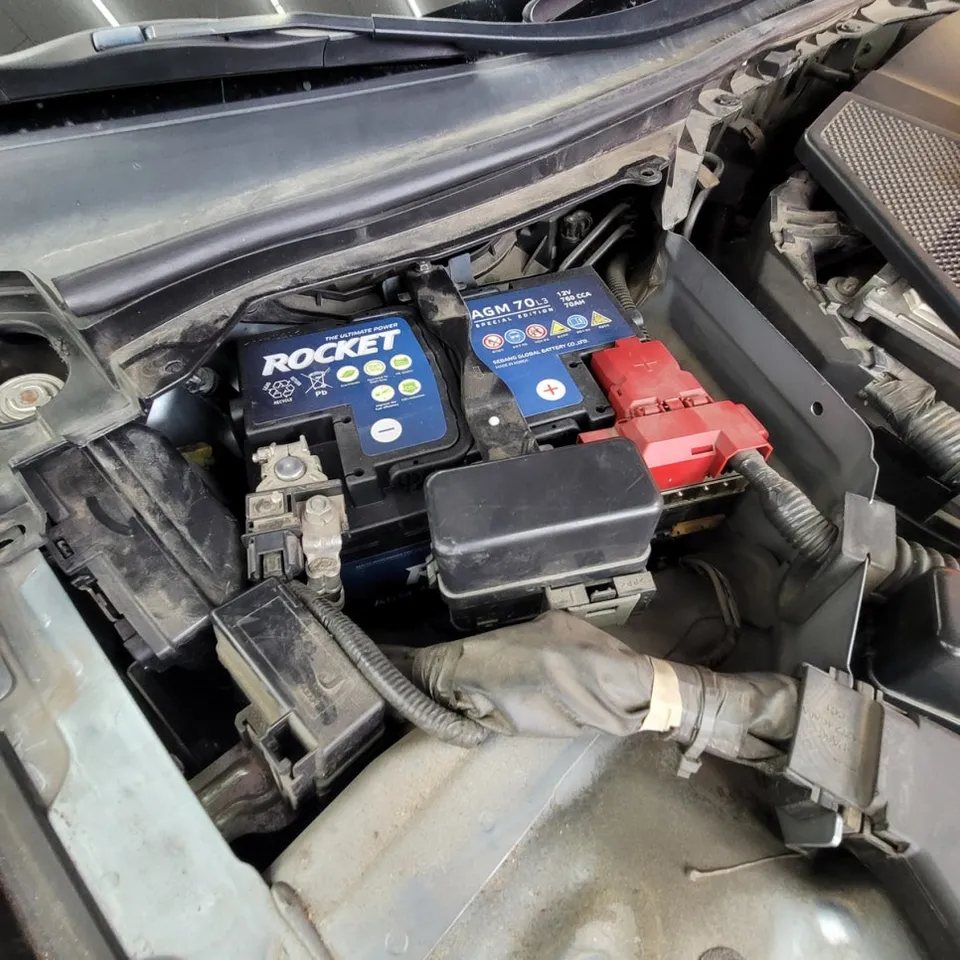
Before commencing the alternator replacement, safety is paramount. The first step involves disconnecting the negative (-) terminal of the battery to prevent any electrical hazards. Next, the underbody cover of the vehicle must be removed to gain access to the alternator's mounting bolts. The electrical connector attached to the alternator needs to be carefully detached, along with any other connections secured by rubber caps.
The engine drive belt, which transmits rotational power from the engine to the alternator, must then be loosened. This is typically achieved by using a 17mm 12-point wrench to slightly release tension on the belt tensioner, allowing it to be slipped off the alternator pulley.
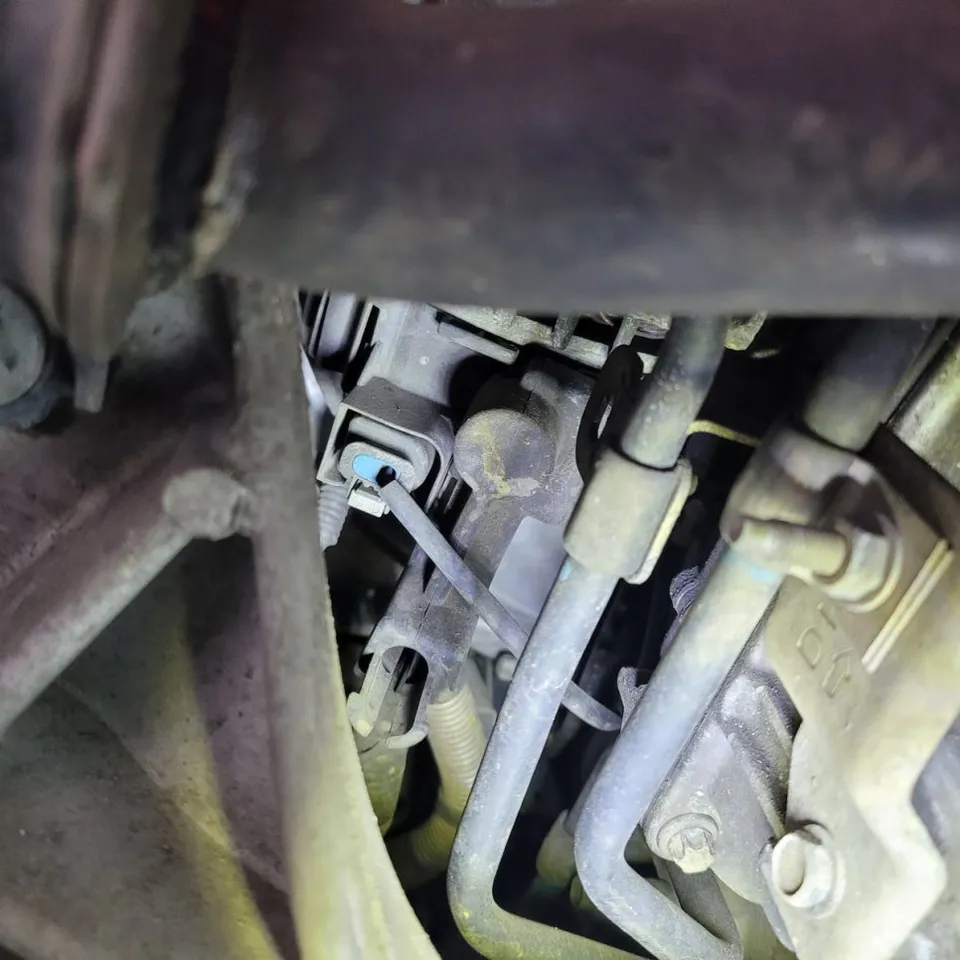
Removal and Installation of the New Alternator
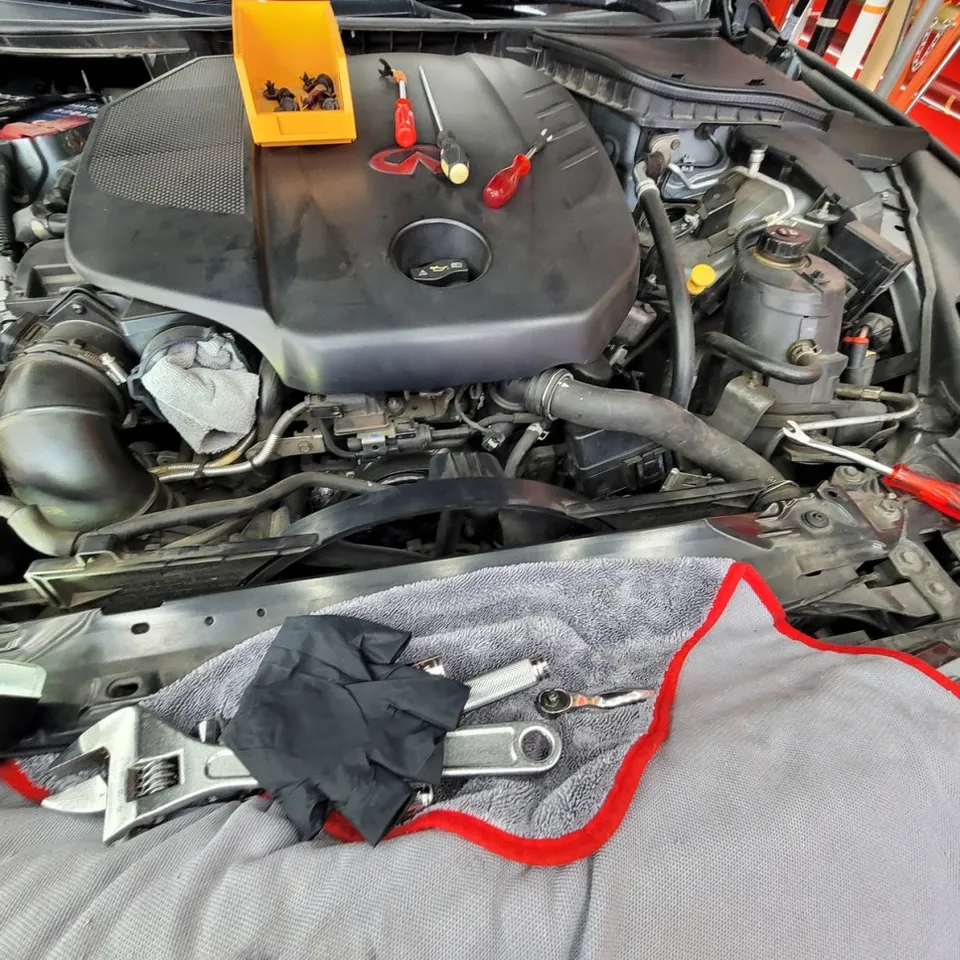
The most challenging aspect of the alternator removal process was navigating the cooling fan assembly. The alternator's size, coupled with the fan, created a very confined space, making direct removal difficult. The cooling fan assembly was not bolted but rather seated, and it interfered with surrounding hoses. To overcome this, it was necessary to disconnect several hoses, including the radiator hose, air inlet hose, and turbo inlet hose. During this process, preventing coolant leaks and ensuring accurate reassembly of the hoses in their original positions were crucial.
Once the old alternator was removed, the new unit was installed. The replacement part used in this service was of Chinese origin but came with a test certificate, enhancing confidence in its quality. The difference was immediately apparent, with the new component looking significantly different from the worn-out original.
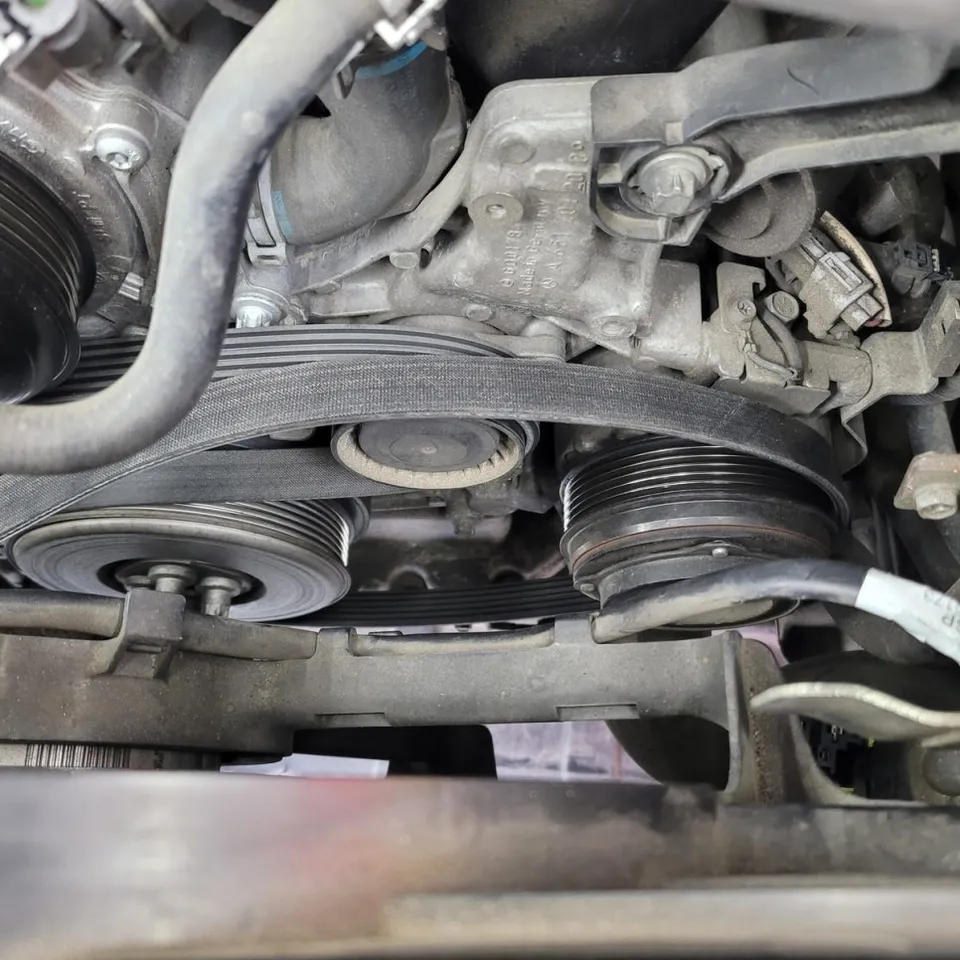
Post-Installation Voltage Testing
After completing all reassembly steps, the critical voltage test was performed. This involves measuring the battery voltage before starting the engine and immediately after starting it to verify the alternator's proper function. Unlike the pre-replacement readings, the voltage stabilized at a healthy level immediately after the engine was started, confirming the successful installation and operation of the new alternator.
Frequently Asked Questions
Q. How much does auto body repair cost for an Infiniti Q50?
This review details an alternator replacement, not general body repair, which can vary significantly in cost. Typical auto body repairs for an Infiniti Q50 can range from a few hundred to several thousand dollars depending on the damage.
Q. How long does auto body repair take for an Infiniti Q50?
The time for auto body repair on an Infiniti Q50 depends heavily on the extent of the damage; minor repairs might take a day, while major structural work could take weeks. Regular maintenance, like alternator checks, is crucial for longevity.
Q. Is auto body repair covered by insurance for an Infiniti Q50?
Auto body repairs for an Infiniti Q50 are typically covered by comprehensive or collision insurance policies, provided the damage is not due to normal wear and tear. This coverage is most beneficial for accident-related damage.
Q. How is auto body repair done on an Infiniti Q50?
Auto body repair involves several steps: 1. Damage assessment and estimation. 2. Panel repair or replacement using specialized tools. 3. Surface preparation including sanding and priming. 4. Painting to match the original finish. 5. Clear coat application and buffing for protection and shine.
Q. What is the difference between PDR and conventional body repair for an Infiniti Q50?
Paintless Dent Repair (PDR) is used for minor dents without paint damage, preserving the original finish. Conventional body repair involves filling, sanding, and repainting for larger dents or damage that has compromised the paint.
OhCar Partner Shop