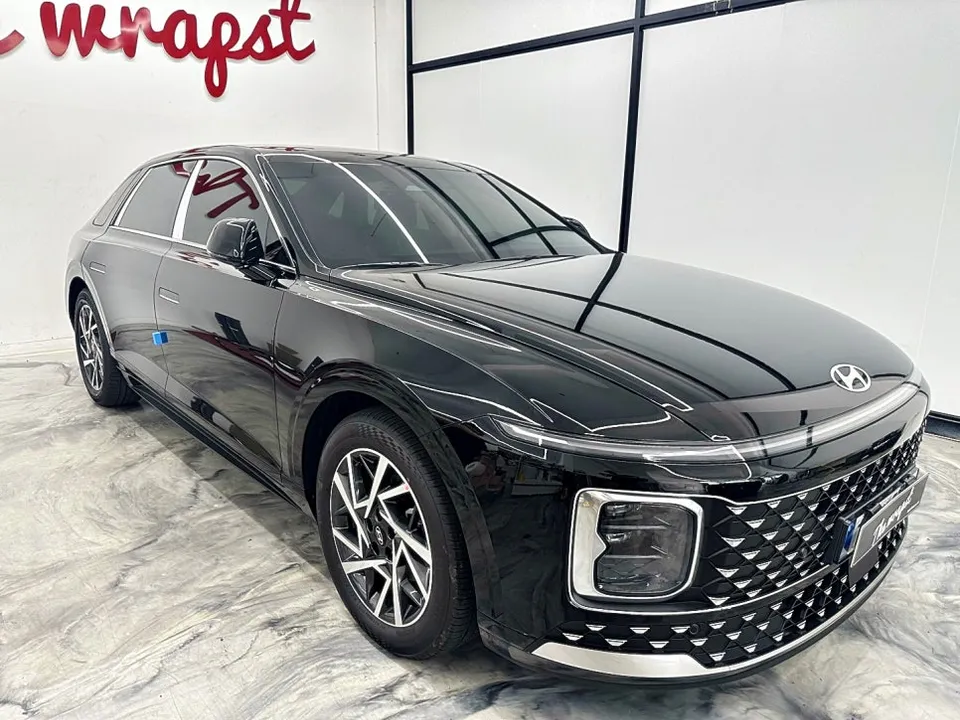
Kia Stinger Ambient Lighting Review: Seamless Integration
Service Price
$115–150
Estimated price · Actual price may vary by shop
Before
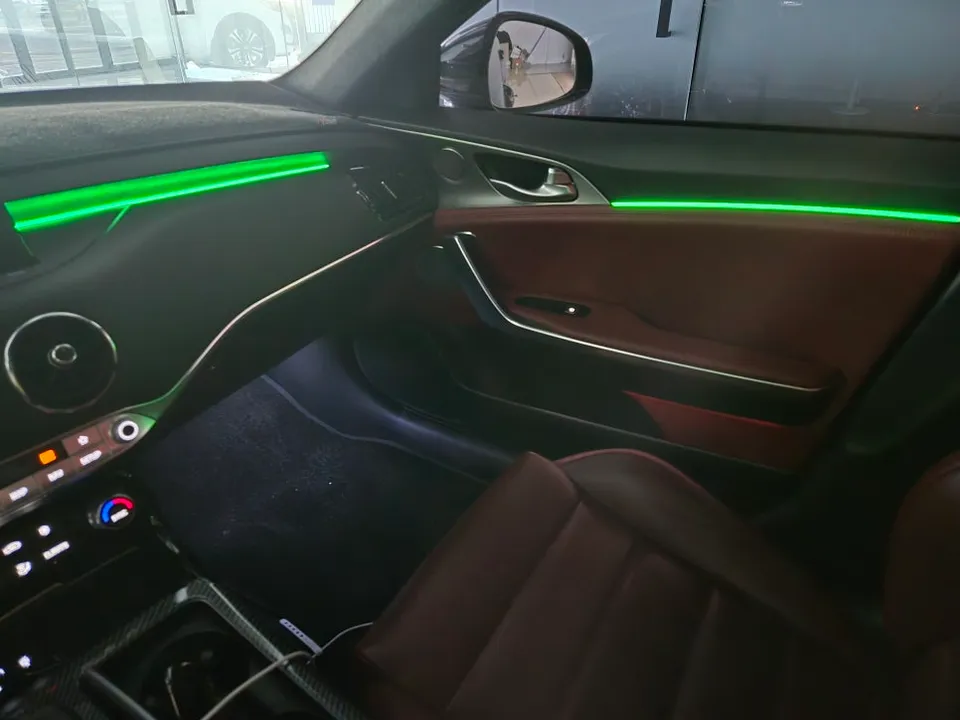
After
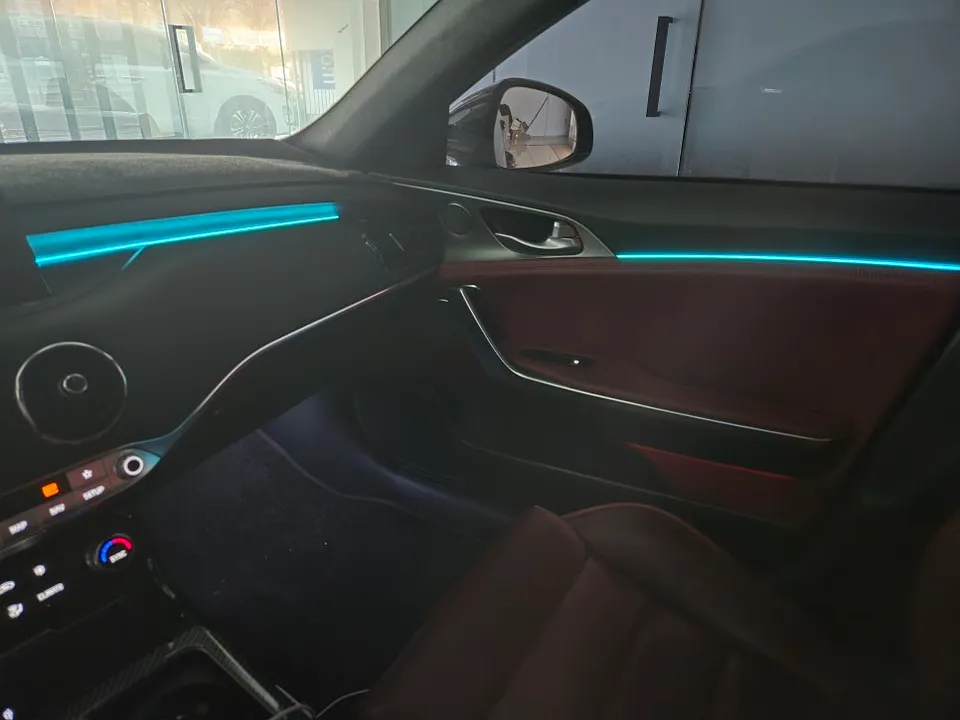
Process photos
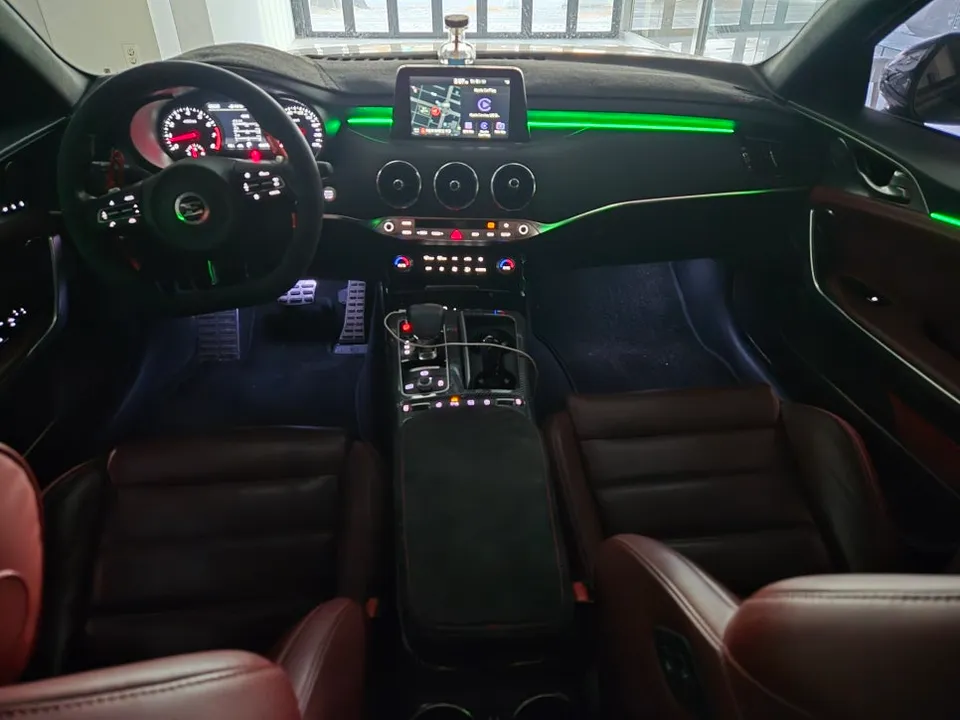
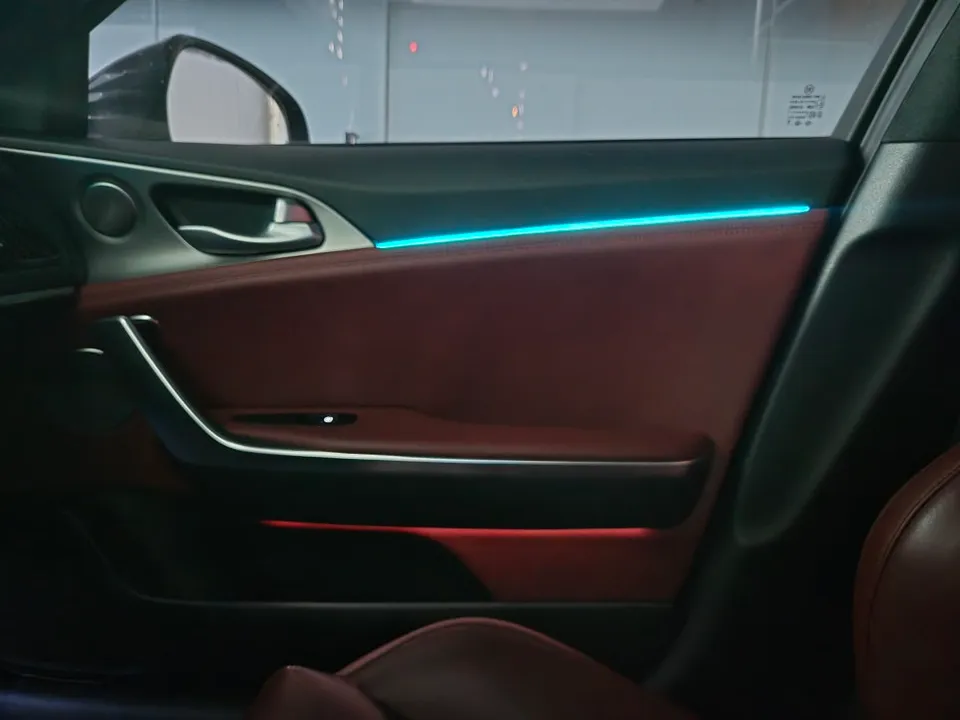
Kia Stinger Meister ambient lighting upgrade with wireless, OEM-linked Glow RGB Air. Seamless acrylic embedding for a factory look. Enhances cabin amb
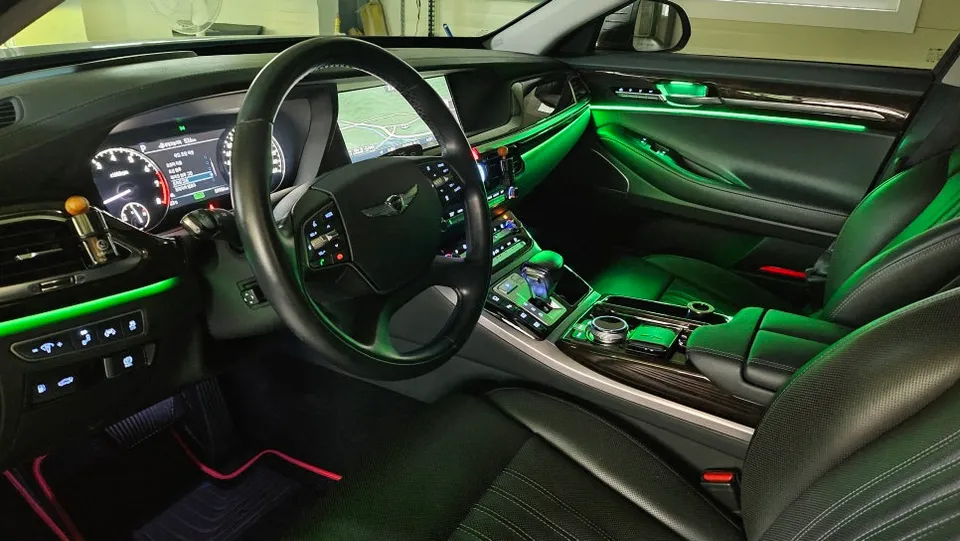
Kia Stinger Meister: Elevating Interior Ambiance with Ambient Lighting
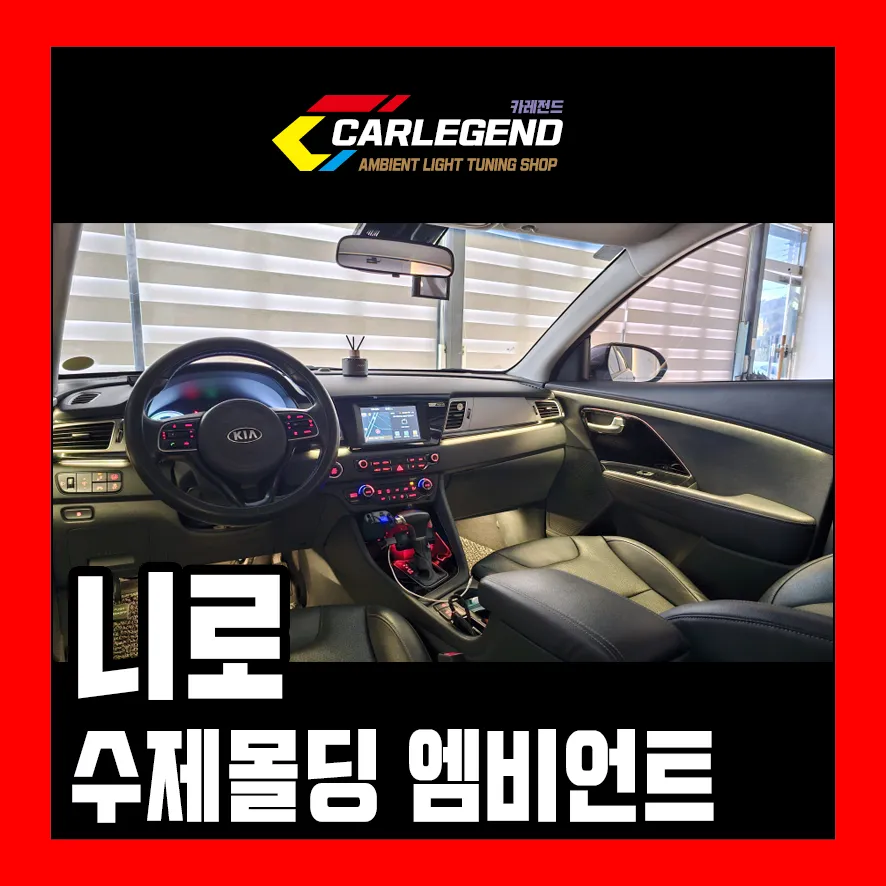
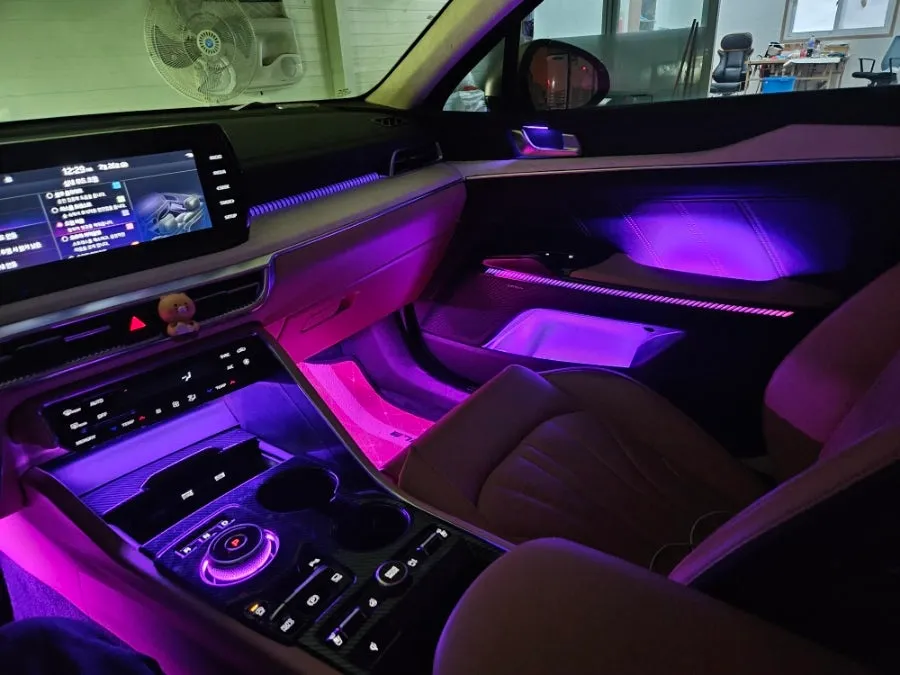
The Kia Stinger Meister, though discontinued, remains a beloved sedan among its owners. We're exploring a recent installation of ambient lighting for the Kia Stinger, utilizing a wireless, OEM-linked method. This review delves into how Stinger ambient lighting transforms the interior space and details the installation process.
Understanding Ambient Lighting Options: OEM-Linked vs. Standalone
When considering ambient lighting, you'll encounter two primary choices: OEM-linked or standalone systems. OEM-linked systems integrate with the vehicle's native functions, reacting automatically to driving conditions like climate control or door openings. Standalone systems, on the other hand, are typically controlled manually via a smartphone app.
For the Stinger, the chosen system was the 'Glow RGB Air' module, a wireless and OEM-linked type. The 'wireless' aspect signifies installation without interfering with existing internal wiring, minimizing potential vehicle damage. Furthermore, its dedicated app allows for color customization and function control, enhancing user convenience.
The Advantage of OEM Integration: Automatic Responsiveness
The primary benefit of an OEM-linked system is its automatic adaptation to driving scenarios. For instance, it might flash blue when the air conditioning is activated and red for heating. The lighting can also react to door openings and temporarily switch off when reversing to prevent glare at night.
These automatic features extend beyond mere aesthetics, contributing to driving safety. The door-open detection, for example, can alert pedestrians or other vehicles to prevent collisions.
The Appeal of Standalone Systems: Flexibility
Standalone systems offer the freedom to change colors or turn off the lighting precisely when desired. They are often more budget-friendly and simpler to install. However, they lack the automated convenience of integrated systems, requiring manual control for all functions.
Achieving a Factory Look with Acrylic Embedding on the Stinger Meister
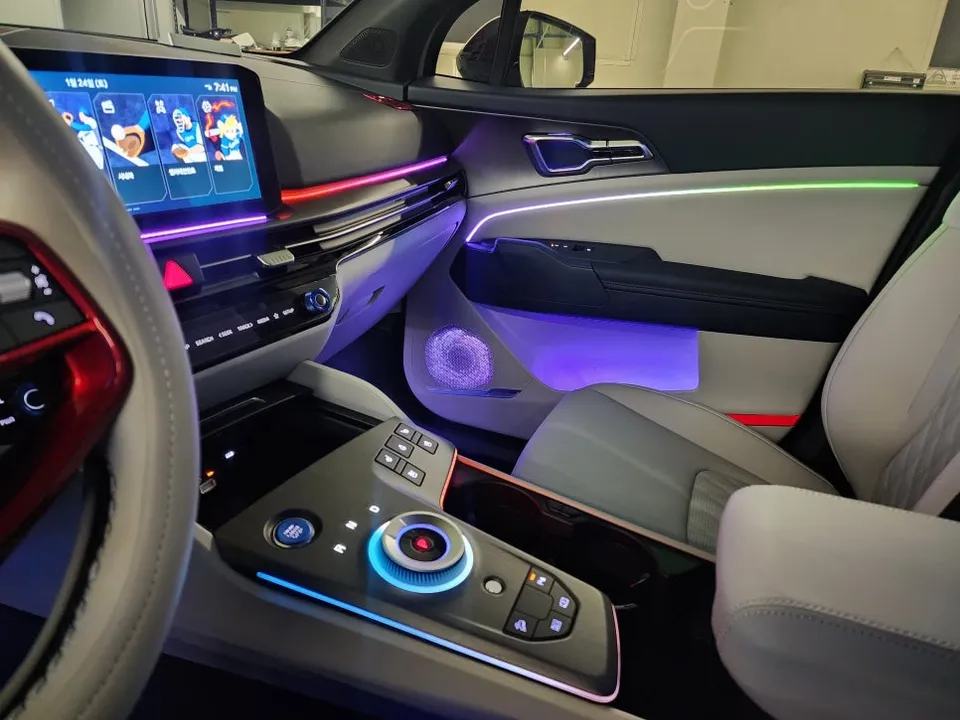
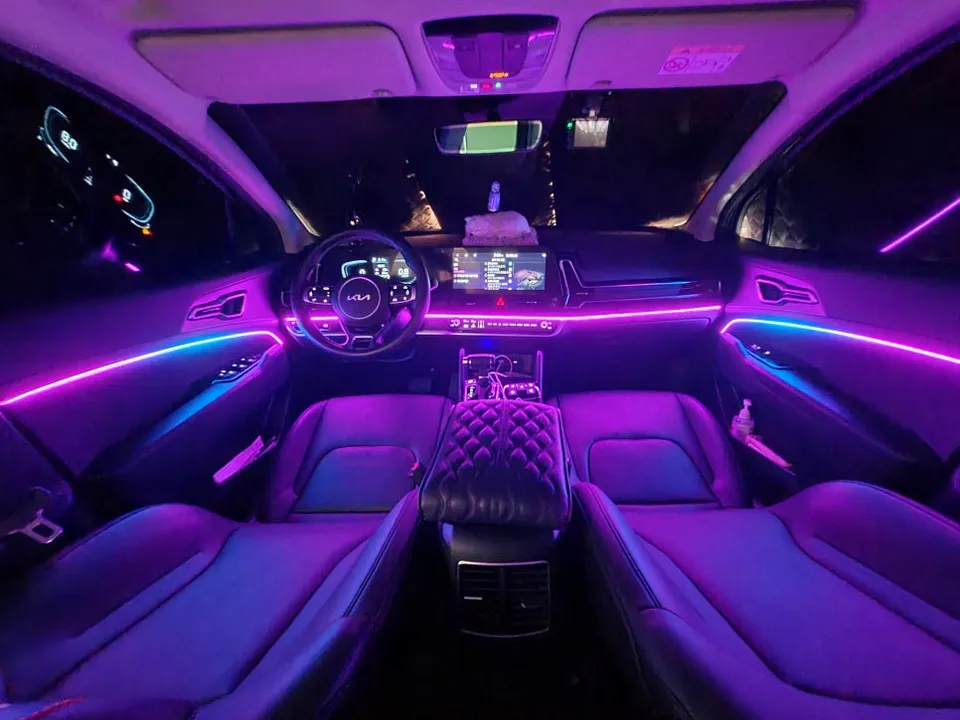
A key technique in this installation is 'acrylic embedding.' This method involves recessing the LEDs within the door lines and around the navigation system, using acrylic to create a seamless, integrated finish that feels like a factory component. The result is a smooth surface that doesn't protrude and blends naturally with the interior trim.
The Stinger Meister's design necessitates minimal modification for acrylic embedding. The primary areas for installation are the upper and lower door lines, and the sides of the navigation unit. This particular installation included the base package: all four doors and the dashboard line.
Door Line Installation (Front and Rear)
Both the front and rear doors receive the same treatment. Acrylic is embedded within the trim's natural limits to avoid damage. The precision of the installer is crucial here; embedding too deeply can harm the trim, while too shallow an embedding diminishes the lighting effect.
Navigation Surround Installation
The areas flanking the navigation system are highly visible. It's essential that the acrylic embedding here appears completely natural, making the ambient lighting look like an original factory feature.
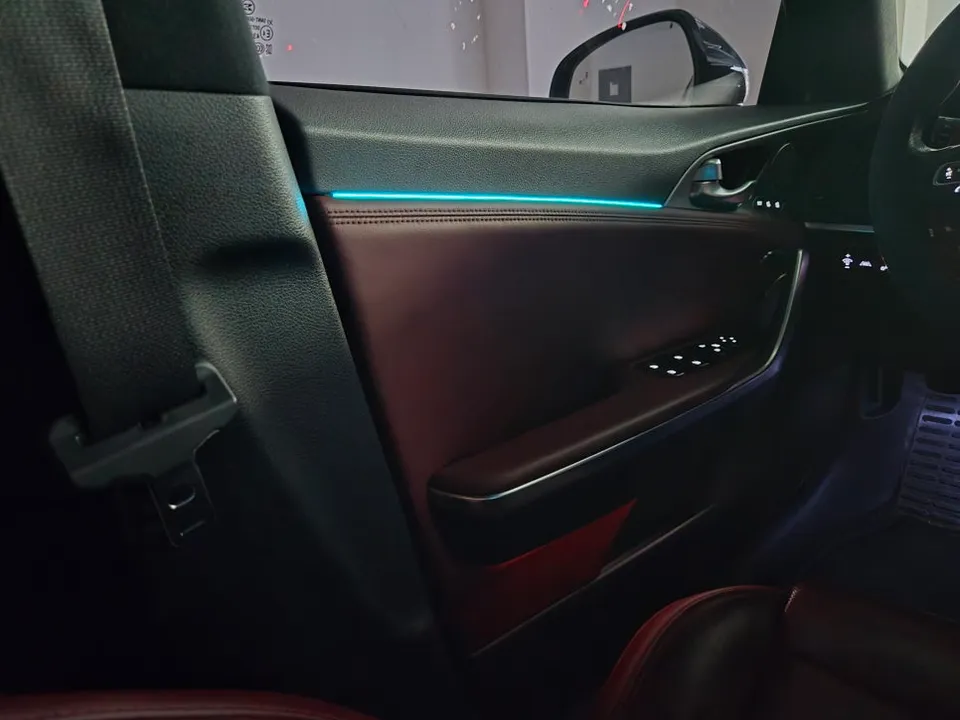
Glow RGB Air Features Explored
The Glow RGB Air system installed in the Stinger boasts a wide array of features, from basic to advanced functionalities. Let's take a closer look.
1. Flashing Modes
One of the most fundamental features of the Glow RGB Air system is its various flashing modes, allowing for dynamic visual effects.
2. Color Customization
Users can select from a vast spectrum of colors to match their mood or interior theme via the dedicated app.
3. Brightness Control
The intensity of the ambient lighting can be adjusted to suit different times of day or personal preferences, ensuring optimal visibility and ambiance.
4. OEM Function Integration
As an OEM-linked system, it seamlessly integrates with vehicle functions like turn signals, door openings, and climate control, providing intuitive and automatic lighting responses.
5. Wireless Installation
The wireless installation method ensures a clean finish without compromising the vehicle's original wiring harness, preserving the car's integrity.
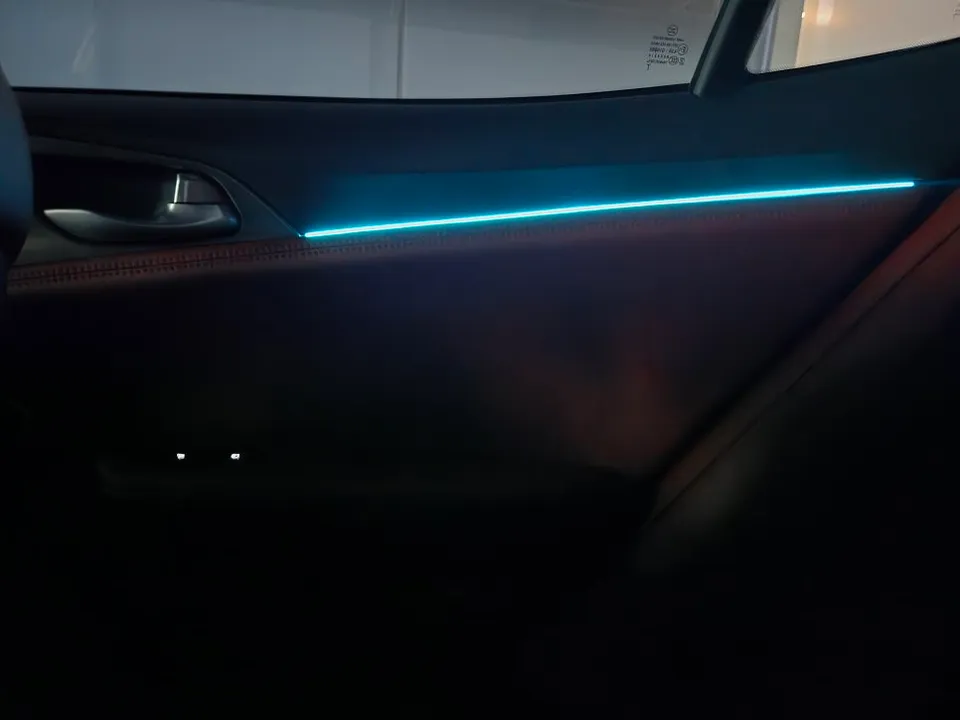
Conclusion: A Worthwhile Upgrade for the Kia Stinger
The ambient lighting upgrade for the Kia Stinger Meister, particularly with the wireless, OEM-linked Glow RGB Air system and acrylic embedding, offers a significant enhancement to the driving experience. It combines aesthetic appeal with functional safety features, making it a compelling modification for Stinger owners seeking to personalize their vehicle's interior.
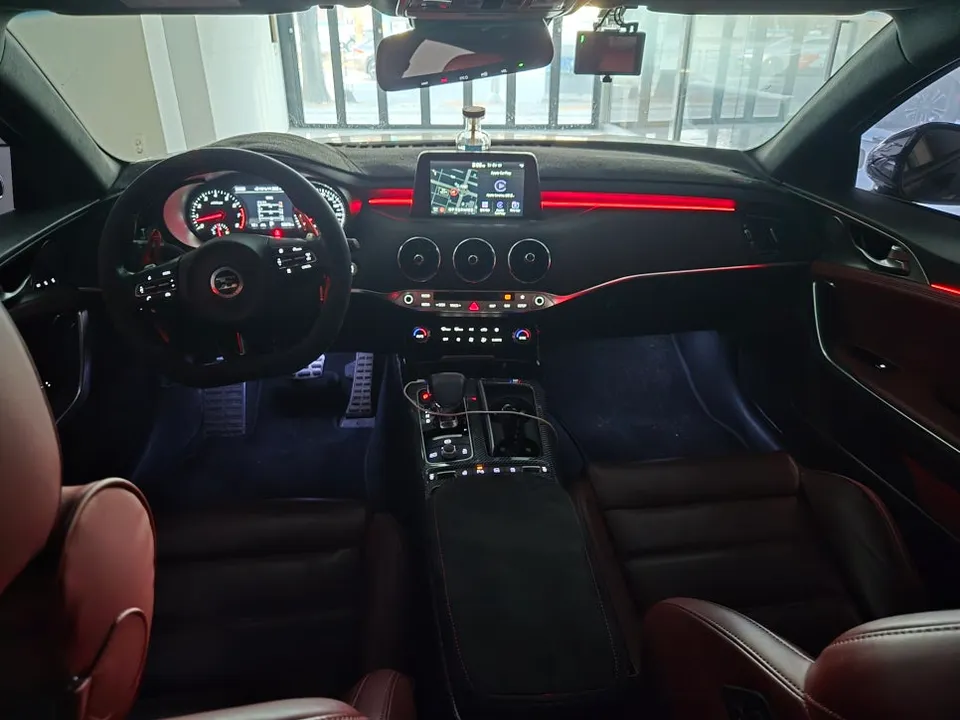
Frequently Asked Questions
Q. How much does ambient lighting cost for a Kia Stinger Meister?
The specific cost for this Kia Stinger Meister ambient lighting installation, including wireless OEM-linked module and acrylic embedding, was detailed in Korean Won within the original context. Typical US installations for similar quality aftermarket ambient lighting can range from $500 to $1500, depending on the vehicle and complexity.
Q. How long does ambient lighting installation take on a Kia Stinger Meister?
The installation time for ambient lighting on a Kia Stinger Meister can vary, but complex integrations like the acrylic embedding described may take several hours to a full day. Proper maintenance involves occasional cleaning of the LED strips and ensuring the control module remains dust-free.
Q. Is aftermarket ambient lighting worth it for a Kia Stinger Meister?
Aftermarket ambient lighting is a worthwhile upgrade for Kia Stinger Meister owners who prioritize interior customization and a premium cabin feel. It adds significant aesthetic value and can enhance the driving experience, especially with OEM-linked features.
Q. How is ambient lighting installed on a Kia Stinger Meister?
Installation typically involves 1. Carefully removing interior trim panels to access wiring and mounting locations. 2. Routing and connecting the LED strips and control module, often using wireless technology to avoid splicing factory wires. 3. Embedding the LEDs within trim using methods like acrylic embedding for a seamless, factory-integrated look, followed by reassembly of panels.
Q. What is the difference between OEM and aftermarket ambient lighting for a Kia Stinger Meister?
OEM ambient lighting is factory-installed and fully integrated with the vehicle's systems, offering seamless functionality but limited customization. Aftermarket options, like the wireless Glow RGB Air system, provide extensive customization and advanced features, often with professional installation for a high-quality finish.
OhCar Partner Shop