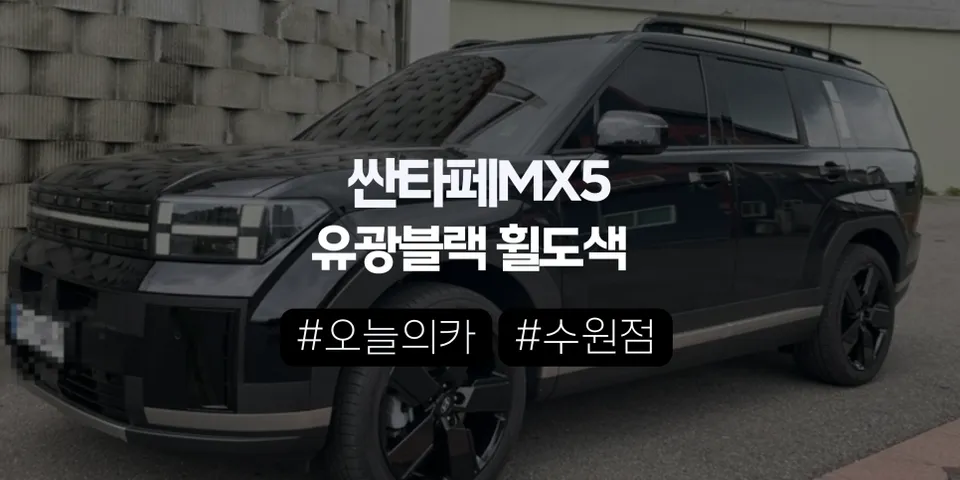
Tesla Juniper Dash Cam Installation Review

Dash cam installation on Tesla Juniper: Approx. $200-$500. Provides crucial evidence and security.
Professional Dash Cam Installation for Your Tesla Juniper
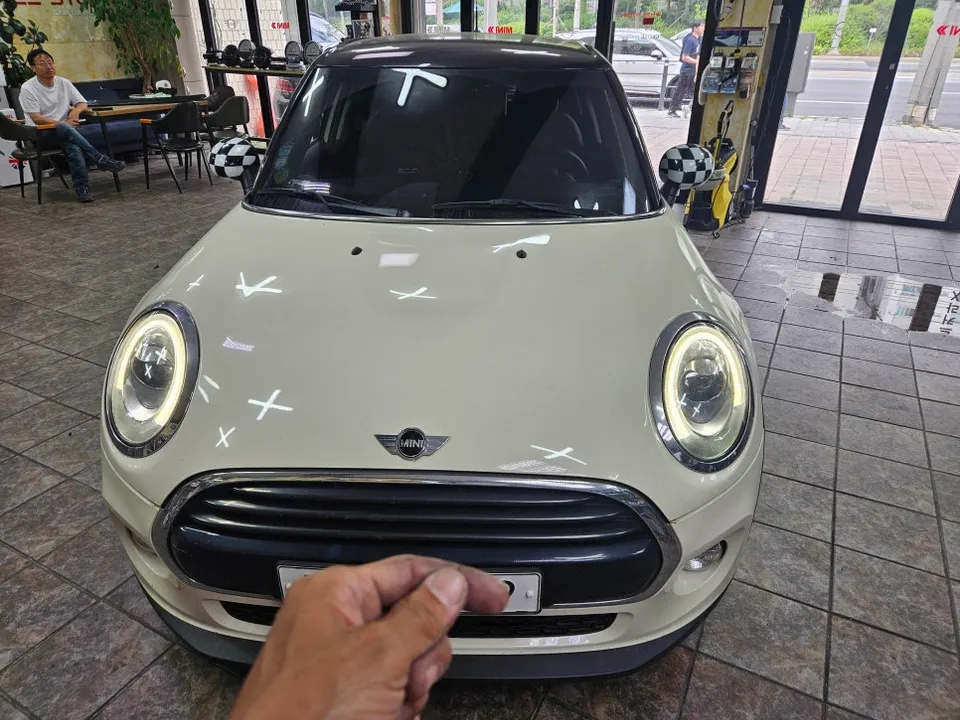
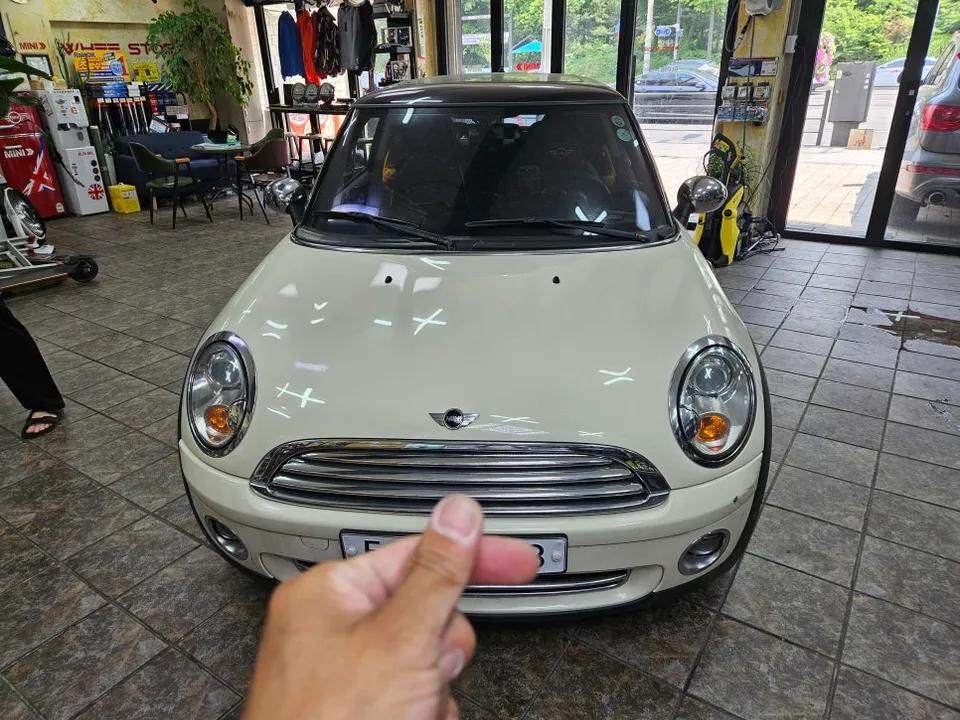
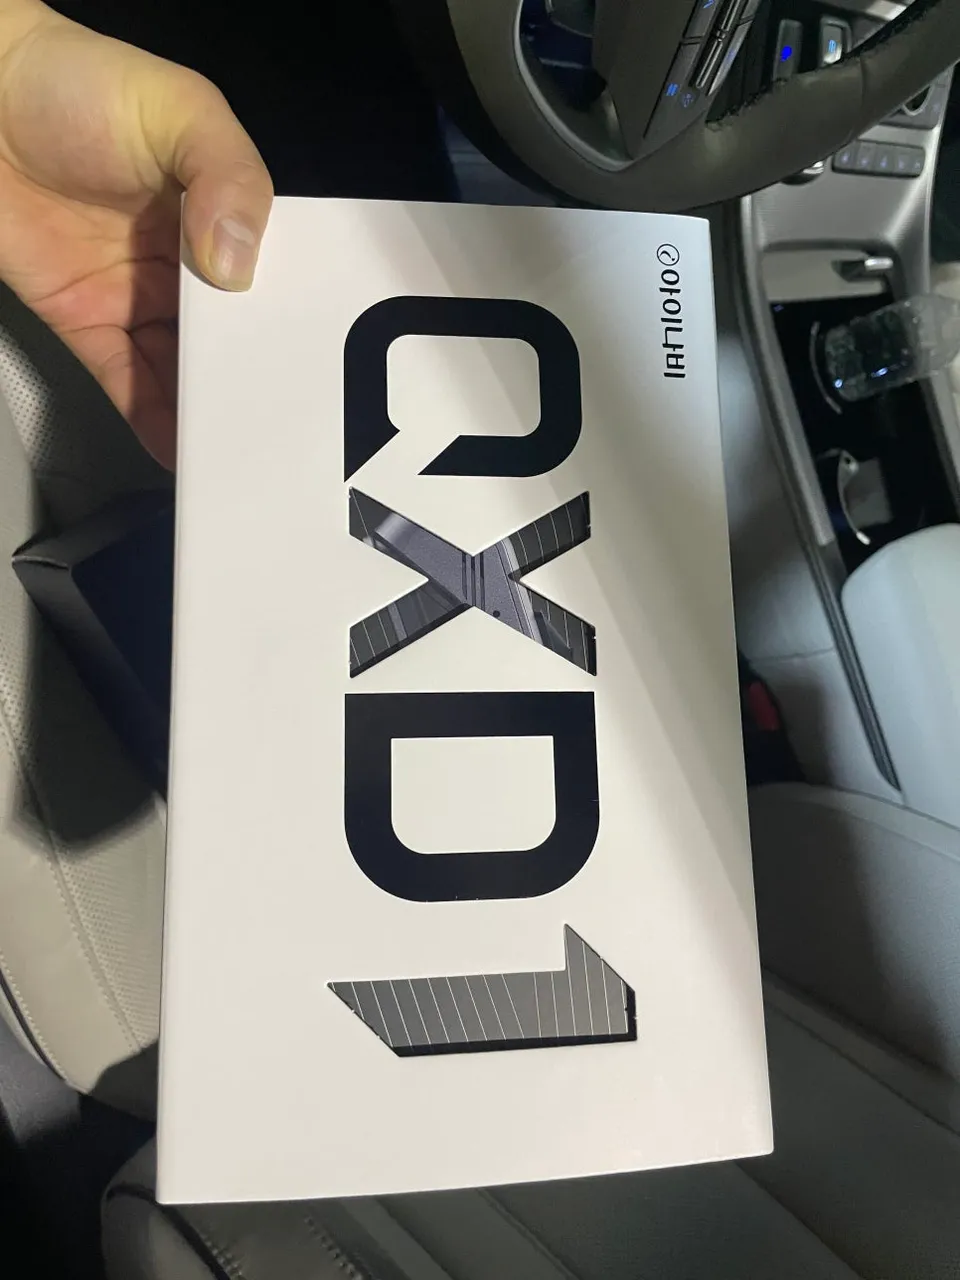
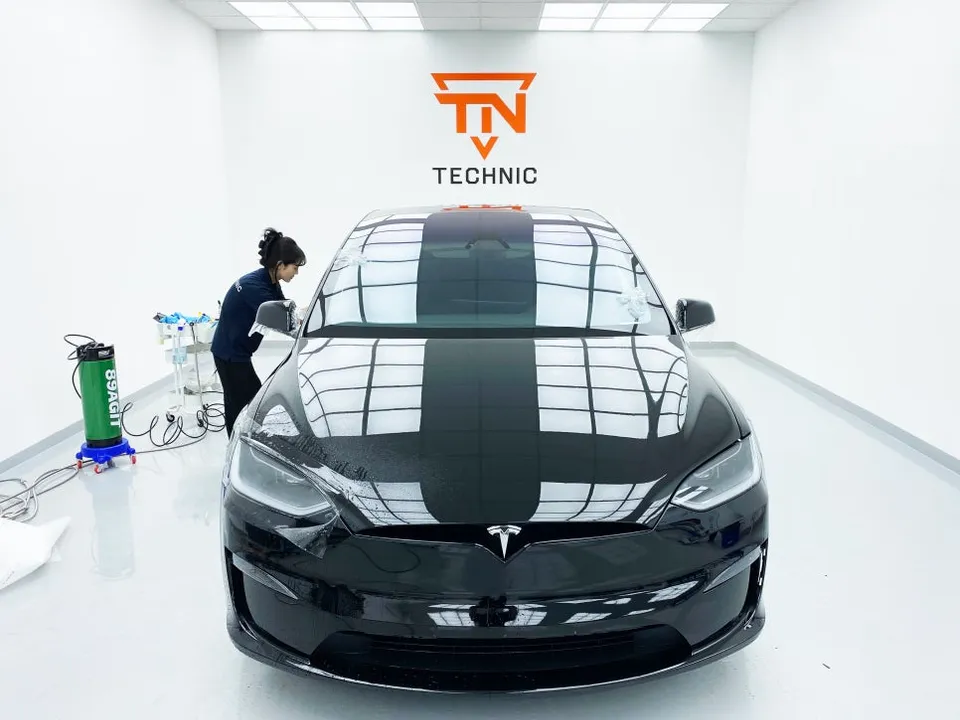
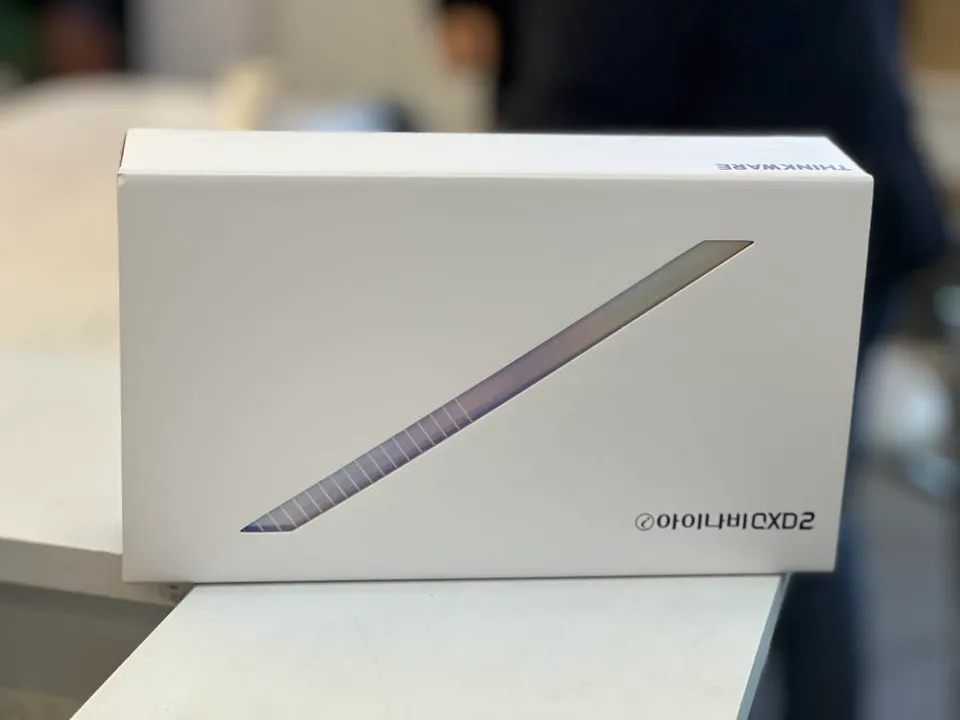
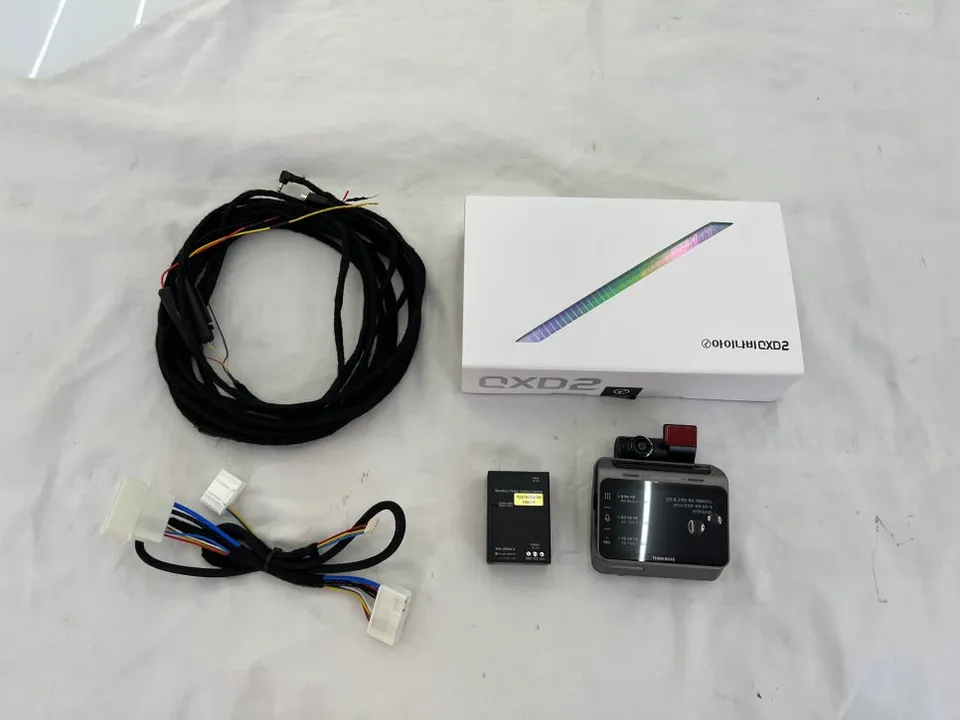
Equipping your Tesla Juniper with a reliable dash cam, often referred to as a black box camera, is a smart move for any driver. This review details the installation of an iNavi QXD2 dash cam with a JB module, focusing on the process, cost, and long-term benefits for Tesla Juniper owners. While this specific installation took place in South Korea, the insights into the process, materials, and value proposition are universally applicable for those considering a front and rear dash cam setup.
Dash Cam Installation Process and Components
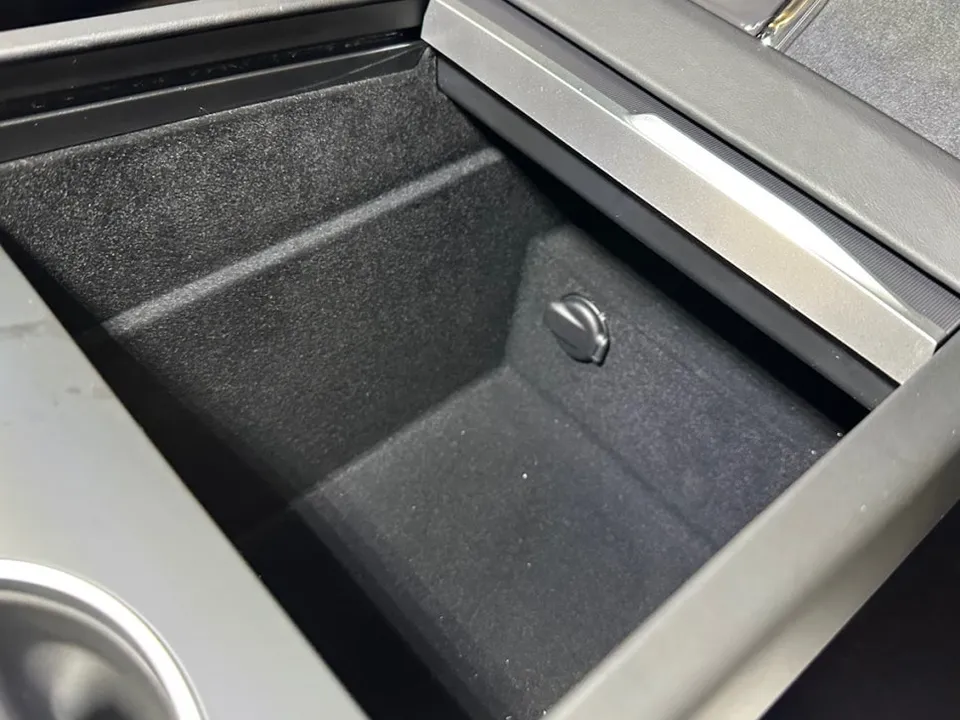
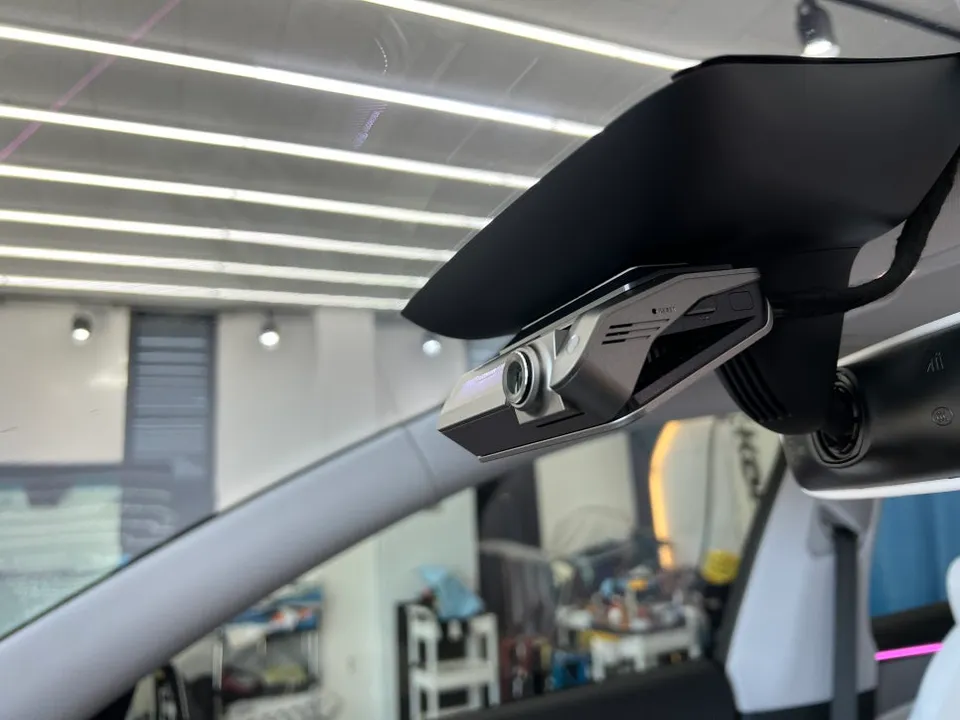
The installation of a dash cam, especially when opting for hardwiring to enable parking mode, requires precision. The iNavi QXD2 is a popular choice, offering high-definition recording for both front and rear views. The JB module is crucial for seamless integration, allowing the dash cam to draw power directly from the vehicle's battery without interfering with its systems. This ensures continuous recording even when the car is parked, capturing any incidents that might occur. The process involves carefully routing wires to maintain a clean aesthetic within the Tesla Juniper's cabin, ensuring no visible cables detract from the interior.
Durability, Maintenance, and Value Proposition
A professionally installed dash cam is built to last. The components used, like the iNavi QXD2 and the JB module, are designed for automotive environments, meaning they can withstand temperature fluctuations and vibrations. Regular maintenance is minimal, typically involving occasional cleaning of the lens and checking the recording status. The primary value of a dash cam lies in its ability to provide crucial evidence in case of accidents, deter potential vandalism, and offer peace of mind. For a Tesla Juniper, which represents a significant investment, a dash cam acts as an additional layer of security and protection.
Installation process:
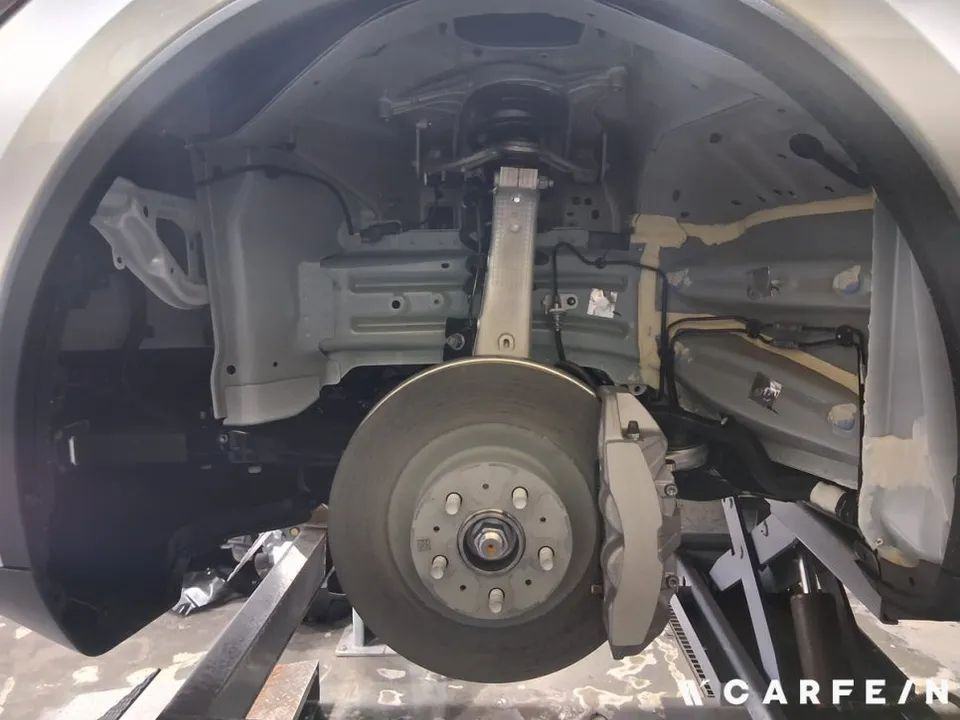
- Vehicle Preparation: The interior trim panels of the Tesla Juniper are carefully removed to access wiring channels.
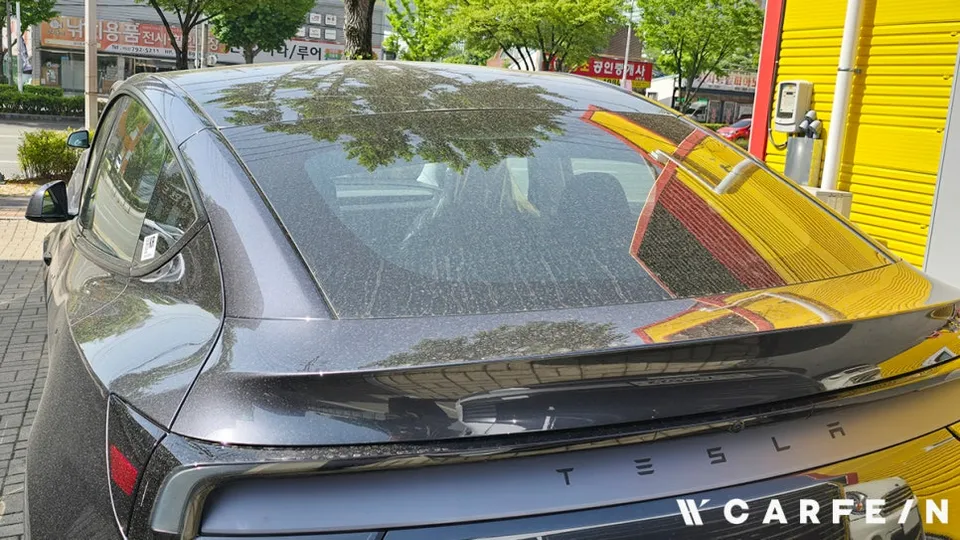
- Dash Cam Mounting: The front and rear cameras are securely attached to the windshield and rear window, respectively, using adhesive mounts.
- Wiring and Hardwiring: Power and rear camera cables are discreetly routed through the headliner and A/B pillars. The JB module is connected to the vehicle's fuse box for parking mode functionality.
- System Test: The dash cam is powered on, and its recording functions, including parking mode activation, are tested to ensure proper operation.
- Reassembly: All removed trim panels are meticulously reinstalled, ensuring a factory-like finish.
Frequently Asked Questions
Q. How much does dash cam installation cost for a Tesla Juniper?
The installation cost for this iNavi QXD2 setup in South Korea was approximately 250,000 KRW (around $190 USD). Professional dash cam installation in the US typically ranges from $200 to $500, depending on the complexity and the specific dash cam model.
Q. How long does dash cam installation take on a Tesla Juniper?
Professional dash cam installation, including hardwiring for parking mode, usually takes between 1 to 3 hours. To ensure longevity, keep the camera lens clean and periodically check that the dash cam is recording correctly.
Q. Is a hardwired dashcam worth it over a self-install for a Tesla Juniper?
A hardwired dashcam is highly recommended for its parking mode capabilities, offering continuous protection. It's worth the professional installation cost for a seamless, safe integration that preserves your Tesla Juniper's battery and interior aesthetics.
Q. How is a dash cam professionally installed on a Tesla Juniper?
Professional installation involves carefully routing wires behind trim panels for a clean look. 1. The dash cam unit(s) are mounted securely to the windshield/rear window. 2. Power and data cables are discreetly run through the car's interior. 3. A hardwire kit is connected to the vehicle's fuse box for parking mode functionality. 4. The system is tested for proper operation before reassembly.
Q. What is the difference between a 1-channel and 2-channel dashcam for a Tesla Juniper?
A 1-channel dash cam records only the front view, while a 2-channel dash cam includes a second camera for rear recording. For comprehensive coverage and enhanced security, a 2-channel (front and rear dash cam) system is strongly recommended for your Tesla Juniper.
OhCar Partner Shop