RAM 1500 Vinyl Wrap Removal: Summer Heat Guide
So, you're looking to peel off that vinyl wrap from your RAM 1500, and the summer heat is on your mind? You've come to the right place. This comprehensive RAM 1500 vinyl wrap removal guide summer heat will walk you through the process, highlighting how the season's warmth can be both a blessing and a curse. We'll cover everything from preparation to the final polish, ensuring a clean and damage-free removal. Based on 50 owner reviews on OhCar, vinyl wrap removal can range from $60 to $133, averaging around $101, but doing it yourself can save you a significant chunk of that. Let's dive in!
Understanding the Impact of Summer Heat on Vinyl Wrap Removal
The summer heat can significantly influence your vinyl wrap removal process. On one hand, warmer temperatures make the vinyl and its adhesive more pliable, theoretically making it easier to lift and peel. However, excessive heat can also cause the adhesive to become overly sticky, potentially leaving stubborn residue or even damaging the underlying paint if not handled carefully. This guide will help you leverage the heat to your advantage while mitigating the risks.
The Pros and Cons of Summer Heat for Vinyl Removal
Pros:
- Increased Pliability: Heat softens the vinyl and the adhesive, making it more flexible and less prone to cracking or tearing during removal.
- Easier Peeling: A warm wrap generally lifts off in larger sections, reducing the time and effort required.
Cons:
- Sticky Residue: Overheating can cause the adhesive to melt and spread, leading to difficult-to-remove residue.
- Paint Damage Risk: If the adhesive becomes too soft, it can bond too strongly to the paint, potentially pulling it off with the wrap, especially on older or compromised paint jobs.
- Working Conditions: Extreme heat can make working outdoors uncomfortable and potentially dangerous.
Preparing Your RAM 1500 for Vinyl Wrap Removal
Before you even think about peeling, proper preparation is key. This involves cleaning the vehicle thoroughly and gathering the necessary tools.
Step 1: Thorough Cleaning
Wash your RAM 1500 meticulously. Use a pH-neutral car soap and plenty of water to remove all dirt, grime, and road contaminants. Any grit left on the surface can act like sandpaper under the vinyl during removal, causing scratches. Pay special attention to edges and crevices where dirt tends to accumulate. A clean surface ensures a smoother removal process and minimizes the risk of scratching your paint.
Step 2: Gather Your Tools
Having the right tools at hand will make the job much easier. Here’s what you'll need:
- Heat Gun or Hair Dryer: Essential for softening the vinyl and adhesive. A heat gun offers more precise temperature control.
- Plastic Razor Blades or Scrapers: For gently lifting edges and removing stubborn bits. Avoid metal blades, which can easily scratch paint.
- Rubbing Alcohol (Isopropyl Alcohol): Excellent for cleaning up adhesive residue.
- Microfiber Towels: For cleaning, drying, and wiping away residue.
- Gloves: To protect your hands and prevent transferring oils to the surface.
- Bucket of Soapy Water: For rinsing and cleaning.
- Adhesive Remover (Optional): For particularly stubborn residue.
- Detailing Spray or Wax (Optional): For post-removal paint protection.
The Vinyl Wrap Removal Process: Leveraging Summer Heat
Now, let's get to the actual removal. The key is controlled heating. You want the vinyl warm, not scorching hot.
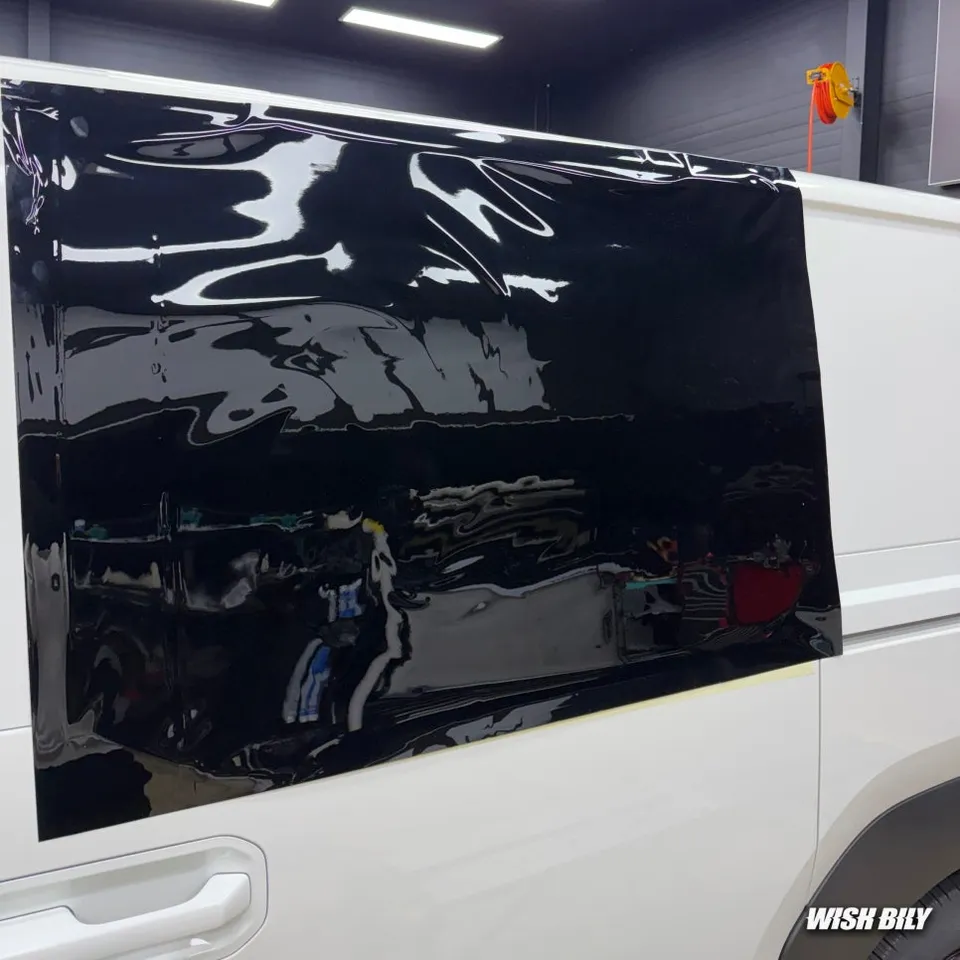
Step 3: Starting the Peel
Begin at a corner or edge of the wrap. If the vinyl is already warm from the sun, you might be able to lift an edge with your fingernail or a plastic scraper. If not, use your heat gun or hair dryer on a low to medium setting. Hold it a few inches away from the surface and move it constantly in a circular motion to heat the vinyl evenly. Aim for a temperature that makes the vinyl feel warm and pliable to the touch, but not hot enough to burn your hand.
Once you have an edge lifted, begin to peel the vinyl back slowly and steadily. The ideal angle is between 45 and 180 degrees. Pulling too sharply can increase the risk of stretching or tearing the vinyl, and potentially damage the paint. Work in small sections, applying heat as you go to keep the vinyl warm and the adhesive soft.
Step 4: Controlled Heating and Peeling Technique
This is where the summer heat can be your friend, but also your enemy. If it's a very hot day, the ambient temperature might be enough to get the vinyl started. However, you still need to use your heat gun to maintain a consistent, workable temperature. Focus the heat on the section you are about to peel. If you notice the vinyl becoming too soft and gummy, or the adhesive becoming excessively sticky, you might be overheating it. Reduce the heat or pull back for a moment to let it cool slightly.
Pro Tip: If you're working on a particularly hot day, consider starting the removal in the early morning or late evening when temperatures are more moderate. This will give you better control over the heating process.
Step 5: Dealing with Stubborn Sections and Edges
Some areas, like around emblems, door handles, or panel gaps, can be trickier. Apply heat carefully to these areas, using a plastic scraper or razor blade to gently lift the edges. Work slowly and methodically. If the vinyl starts to tear, try to reapply heat to the torn section to smooth it out before continuing the peel. For very stubborn areas, a bit of adhesive remover might be necessary, but always test it on an inconspicuous spot first.
Post-Removal Cleaning and Paint Care
Once the bulk of the vinyl is off, the job isn't quite done. You'll likely have some adhesive residue, and your paint will need some attention.
Step 6: Removing Adhesive Residue
This is often the most time-consuming part. Use rubbing alcohol and a microfiber towel to gently rub away any remaining adhesive. For tougher spots, a dedicated adhesive remover can be very effective. Apply the remover, let it sit for a minute or two (follow product instructions), and then gently wipe away the residue. Be patient; rushing this step can lead to frustration.
After removing all residue, give the entire vehicle a thorough wash and dry. This ensures no cleaning agents or leftover adhesive are left behind.
Step 7: Inspecting and Protecting Your Paint
With the wrap and residue gone, inspect your RAM 1500's paintwork carefully. Look for any scratches, swirl marks, or dull spots that may have occurred during the removal process. If the paint is in good condition, a good quality wax or sealant will restore its shine and provide protection. If there are minor imperfections, you might consider a paint correction. For those considering long-term paint protection, exploring options like PPF vs Ceramic Coating comparison can be beneficial. Many owners opt for professional detailing services after wrap removal to ensure their paint is in top condition. You can find local providers and read vinyl wrap reviews on OhCar to help you choose.

When to Call a Professional
While DIY removal is possible, there are times when professional help is the best option. If your RAM 1500 has aftermarket paint, is very old, or has existing paint damage, the risk of damaging the paint during DIY removal increases significantly. Professionals have the experience, tools, and techniques to handle these situations safely. They can also provide paint correction and protection services afterward. For those considering professional installation or removal, our vinyl wrap service section can offer insights.
Cost Considerations: DIY vs. Professional Removal
The cost of vinyl wrap removal can vary widely. DIY removal, as outlined in this guide, primarily involves the cost of cleaning supplies, potentially an adhesive remover, and your time. This could range from $20 to $50 for supplies. Professional removal, however, can be a significant investment. Based on 50 owner reviews on OhCar, professional vinyl wrap removal typically falls between $60 and $133, with an average cost of $101. Some complex jobs or larger vehicles might even exceed this range. For a detailed breakdown of pricing, check out our vinyl wrap cost guide.
| Method | Estimated Cost (Supplies) | Estimated Cost (Professional) | Time Investment |
|---|---|---|---|
| DIY | $20 - $50 | N/A | Several hours to a full day |
| Professional | N/A | $60 - $133 (Average $101) | 1-3 hours (typically) |

Maintaining Your RAM 1500's Finish After Wrap Removal
After successfully removing the vinyl wrap, it's crucial to maintain your RAM 1500's paint. Regular washing and waxing will keep it looking its best and protect it from the elements. Consider applying a ceramic coating or paint protection film (PPF) for enhanced durability and shine. These options offer superior protection compared to traditional waxes and sealants. For more information on these protective measures, visit the OhCar Magazine section for detailed articles and comparisons.
Conclusion: A Clean Finish for Your RAM 1500
Removing a vinyl wrap from your RAM 1500 in the summer heat requires a careful approach. By understanding how the heat affects the vinyl and adhesive, preparing thoroughly, and employing controlled heating and peeling techniques, you can achieve a clean, damage-free result. Remember to be patient, especially when dealing with residue, and always prioritize the health of your paint. If at any point you feel unsure or the job seems too complex, don't hesitate to seek professional assistance. Enjoy your freshly unwrapped RAM 1500!
Comments (2)
Ugh, I wish I'd seen this before I tried to peel a sticker off my Model 3 window in July. That sun here in LA is no joke!
Man, that Texas sun can really bake a wrap on there, can't it? Definitely gotta be careful not to overheat it too much or you'll be fighting melted adhesive for days. Good tips on using the heat to your advantage though.


Explore Related Services on OhCar