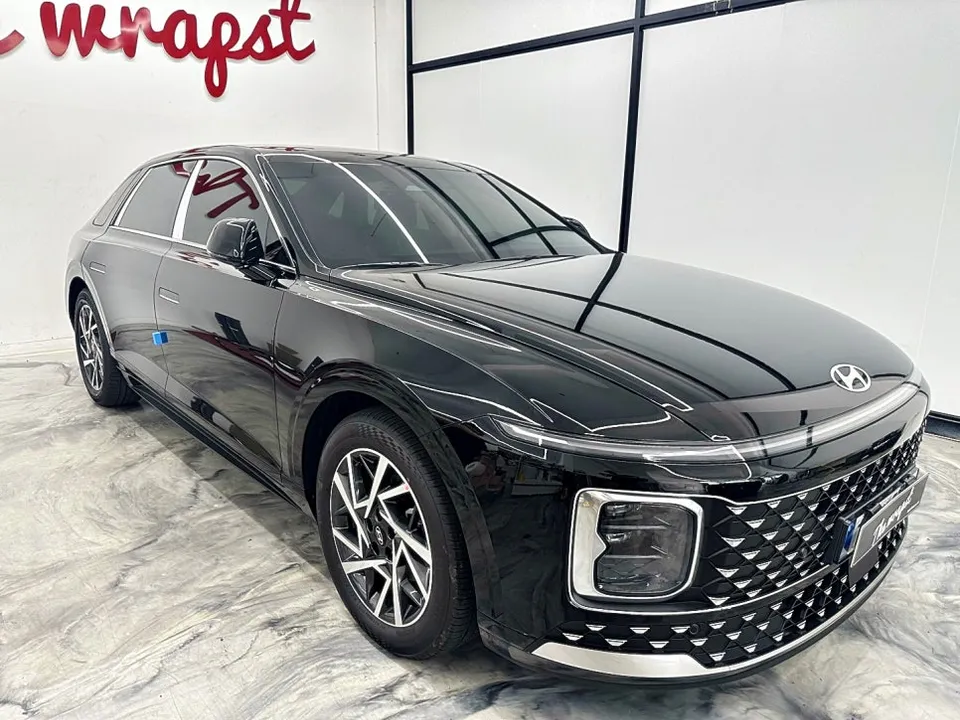
Tesla Model 3 Front Lip Installation Review
Before

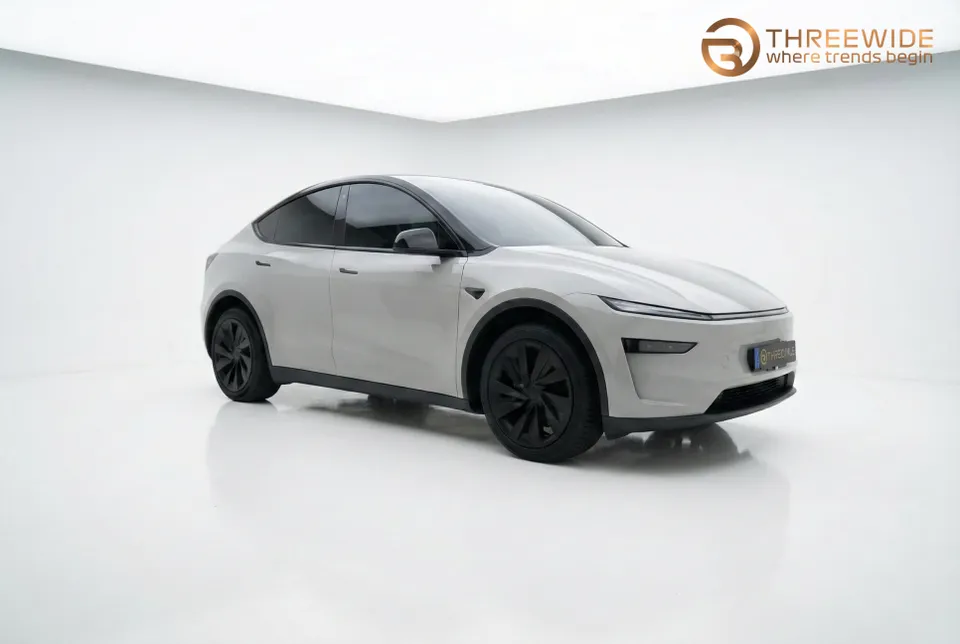
After

Process photos
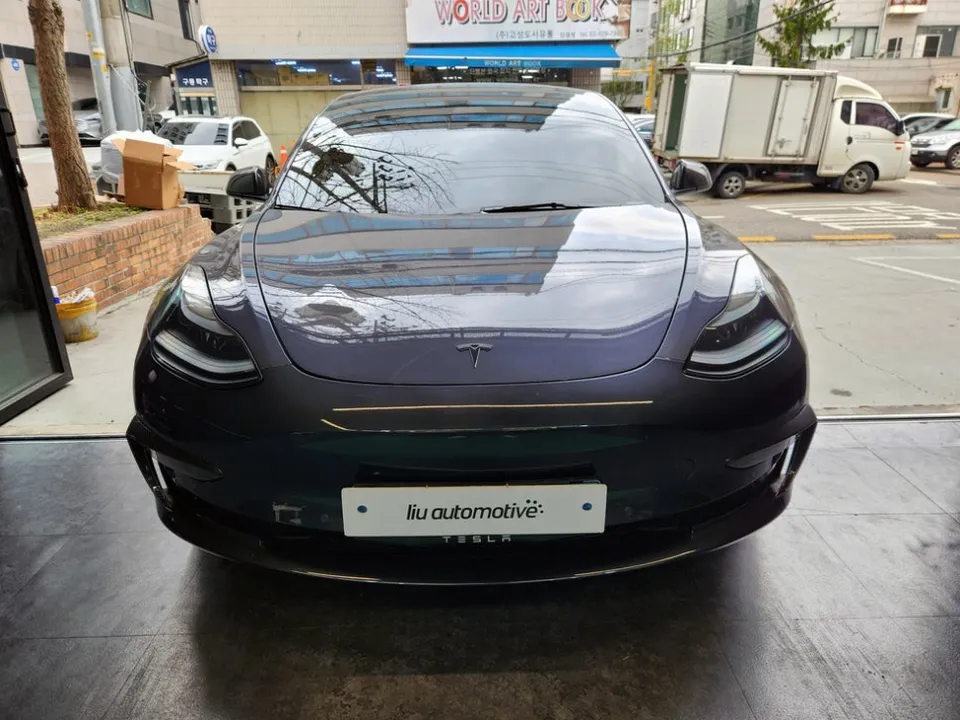
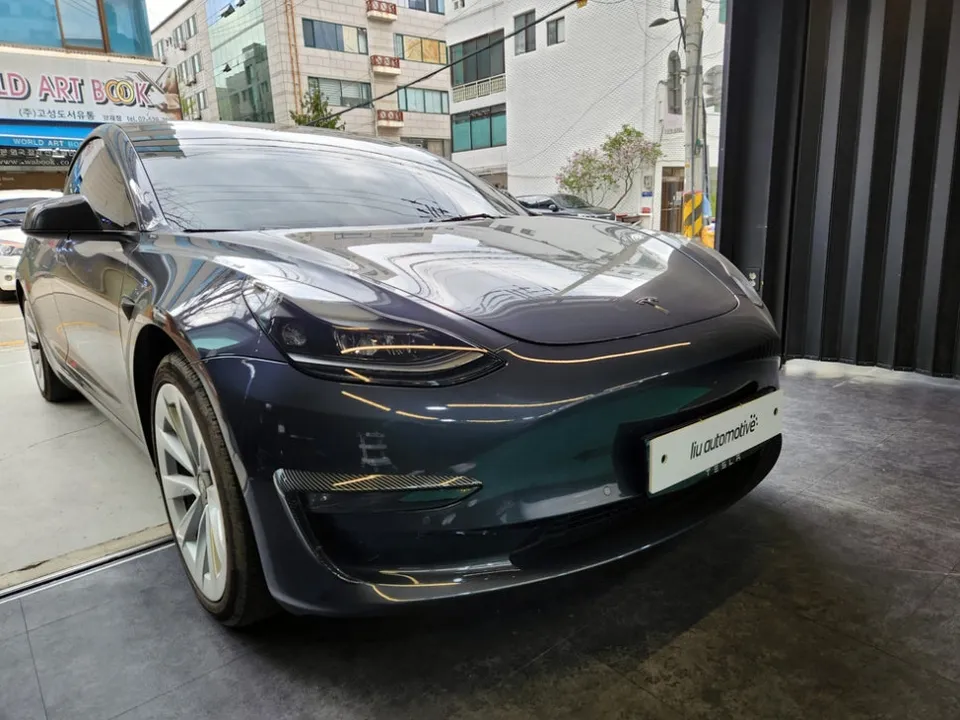
Tesla Model 3 front lip installation: Enhances aggressive styling and aerodynamics. See the results!
Enhancing the Tesla Model 3's Aesthetics with a Front Lip
The Tesla Model 3, known for its sleek and minimalist design, can be further personalized with aftermarket body kits. This review focuses on the installation and impact of a front lip, a popular modification for enhancing the vehicle's sporty appearance. A front lip, also known as a front splitter or air dam, is designed to reduce drag and improve aerodynamics while giving the car a more aggressive stance. For the Tesla Model 3, this modification can significantly alter its visual profile, making it stand out.
Installation Process and Results
Installing a front lip on a Tesla Model 3 typically involves careful alignment and secure fastening to the existing bumper. The process requires precision to ensure a perfect fit and a seamless look. The result is a more dynamic and performance-oriented appearance, complementing the Model 3's electric powertrain. The added visual aggression often appeals to owners looking to customize their vehicles beyond factory specifications. This specific installation focused on a front lip designed to integrate smoothly with the Model 3's front fascia, enhancing its lines without appearing overly ostentatious.
Installation process:
- Thoroughly clean the front bumper area where the lip will be attached.
- Carefully position the front lip, ensuring proper alignment with the bumper's contours.
- Secure the lip using the provided hardware, typically screws or clips, into pre-drilled holes or designated mounting points.
- Double-check all connections for stability and a flush fit.
The visual transformation is immediate, with the front end appearing lower and more purposeful. This modification is a relatively straightforward way to achieve a custom look, making the Model 3 appear more athletic and performance-ready. The material of the body kit, often ABS plastic or polyurethane, contributes to its durability and impact resistance, though specific details vary by product.
Frequently Asked Questions
Q. How much does a body kit cost for a Tesla Model 3?
The front lip reviewed was installed for ₩300,000 (approximately $225 USD). Typical front lip kits for the Tesla Model 3 in the US can range from $150 to $500 depending on the material and brand.
Q. How long does body kit installation take on a Tesla Model 3?
The installation of a front lip typically takes 1-2 hours. Regular cleaning and avoiding harsh impacts will help maintain its condition and longevity.
Q. Is a body kit worth it for a Tesla Model 3?
A body kit, like a front lip, is worth it for owners seeking a more aggressive and personalized aesthetic for their Model 3. It offers a significant visual upgrade for those who value a sportier appearance.
Q. How is a body kit installed on a Tesla Model 3?
Installation involves cleaning the bumper, precise alignment of the lip, and securing it with screws or clips. Ensure all connections are stable for a flush fit.
Q. What is the difference between FRP and polyurethane body kits for a Tesla Model 3?
FRP (Fiber-Reinforced Plastic) kits are often more rigid and can be cheaper but are prone to cracking on impact. Polyurethane kits are more flexible, durable, and impact-resistant, making them a better choice for daily driving despite a potentially higher cost.
OhCar Partner Shop