Step-by-Step RAM 1500 Dash Cam Hardwire Install
Let's get started with the actual installation. Remember to work patiently and double-check each step.
Step 1: Locate Your RAM 1500's Fuse Box
Your RAM 1500 typically has at least two fuse boxes: one under the dashboard (usually on the driver's side) and sometimes another in the engine bay. For a dash cam hardwire install, the interior fuse box is usually the most accessible and convenient. Consult your owner's manual if you have trouble locating it. It's often hidden behind a small panel or cover.
Step 2: Identify the Correct Fuses for Constant and Switched Power
This is arguably the most crucial step. You'll need to find two types of fuses:
- Constant Power Fuse: This fuse provides power even when the ignition is off, essential for parking mode.
- Switched Power Fuse (Accessory Power): This fuse only receives power when the ignition is turned to the accessory (ACC) or ON position. This is ideal for powering the dash cam when the vehicle is running, preventing unnecessary battery drain.
How to identify them:
- Consult Your Owner's Manual: The manual will have a diagram of the fuse box and list the function of each fuse.
- Use a Test Light or Multimeter: This is the most reliable method. With the ignition OFF, use your test light to check which fuse slots have constant power. Then, turn the ignition to ACC or ON and re-check the slots. The ones that now have power are your switched circuits.
Pro Tip: Look for fuses that power non-essential accessories like the radio, power outlets (that turn off with the ignition), or interior lights. Avoid critical systems like airbags, ABS, or engine control modules.
Step 3: Install the Fuse Taps
Your hardwiring kit will include fuse taps. These devices allow you to safely tap into an existing fuse circuit without disrupting it. Each tap has two fuse slots: one for the original circuit and one for your dash cam's power wire.
- Remove the Original Fuse: Use a fuse puller to carefully remove the fuse from the chosen circuit.
- Insert the Fuse Tap: Place the fuse tap into the fuse slot, ensuring it's oriented correctly.
- Insert the Original Fuse: Place the original fuse into the lower slot of the fuse tap.
- Insert the Dash Cam's Fuse: Place the small fuse (usually 2A or 3A) that came with your hardwiring kit into the upper slot of the fuse tap. This fuse protects your dash cam.
Repeat this process for both your constant power and switched power circuits. Ensure you use the correct fuse tap for each circuit (e.g., if you're tapping into a mini fuse circuit, use the mini fuse tap).
Step 4: Connect the Ground Wire
Every electrical circuit needs a ground connection to complete the loop. Your hardwiring kit will have a ground wire, typically a ring terminal at the end.
- Locate a Suitable Ground Point: Look for an unpainted metal bolt or screw connected directly to the vehicle's chassis. Common locations are near the fuse box or under the dashboard.
- Ensure Clean Contact: If the connection point is painted or dirty, use sandpaper or a wire brush to expose bare metal. This ensures a solid ground connection.
- Secure the Ground Wire: Use a wrench to loosen the bolt or screw, place the ring terminal over it, and then tighten the bolt/screw securely.
A poor ground connection is a common cause of dash cam issues, so take your time here.
Step 5: Route the Power Wires
Now it's time to run the power wires from the fuse box to where you'll mount your dash cam. This requires careful routing to keep them hidden and out of the way.
- Start at the Fuse Box: Connect the power wires from your hardwiring kit to the installed fuse taps.
- Tuck and Route: Use your trim removal tools to gently pry open small sections of trim (e.g., along the A-pillar, dashboard edge, or headliner). Carefully tuck the wires behind these panels.
- Avoid Airbags: Be extremely cautious when routing wires along the A-pillar. Ensure the wires do not obstruct the airbag deployment path. It's often best to run wires behind the A-pillar trim rather than directly in front of it.
- Secure with Zip Ties: As you route the wires, use zip ties to secure them to existing harnesses or structural elements. This prevents them from dangling or making noise.
Patience is key here. Take your time to ensure the wires are neatly hidden and won't interfere with any moving parts or safety features.
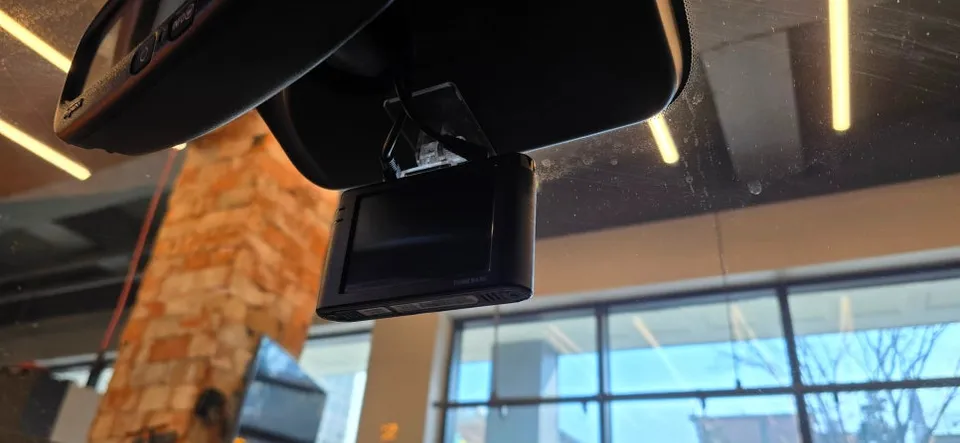
Step 6: Mount Your Dash Cam
Decide on the optimal location for your dash cam. Most users prefer mounting it near the rearview mirror, out of the driver's direct line of sight but with a clear view of the road.
- Clean the Windshield: Ensure the mounting area is clean and dry.
- Attach the Mount: Most dash cams use adhesive mounts. Peel off the backing and firmly press the mount onto the windshield.
- Connect the Power Cable: Plug the power cable from your hardwiring kit into the dash cam.
Step 7: Test the Installation
Before reassembling all the trim panels, it's crucial to test your setup.
- Turn the Ignition OFF: Ensure everything is powered down.
- Turn the Ignition to ACC/ON: The dash cam should power on and begin recording.
- Turn the Ignition OFF: The dash cam should power down after a short delay (or enter parking mode if configured).
- Check Parking Mode (if applicable): If your dash cam has parking mode, you might need to simulate an impact (gently tap the vehicle) or wait for it to enter parking mode automatically to verify it's functioning.
If the dash cam doesn't power on or behaves erratically, re-check your fuse tap connections, ground wire, and the wiring from the kit.
Step 8: Reassemble Trim Panels
Once you've confirmed everything is working correctly, carefully reattach any trim panels you removed. Ensure all clips are properly seated and the panels are flush.