BMW M2 Dash Cam Installation Review — Smart Monitoring
Service Price
$under $40
Estimated price · Actual price may vary by shop


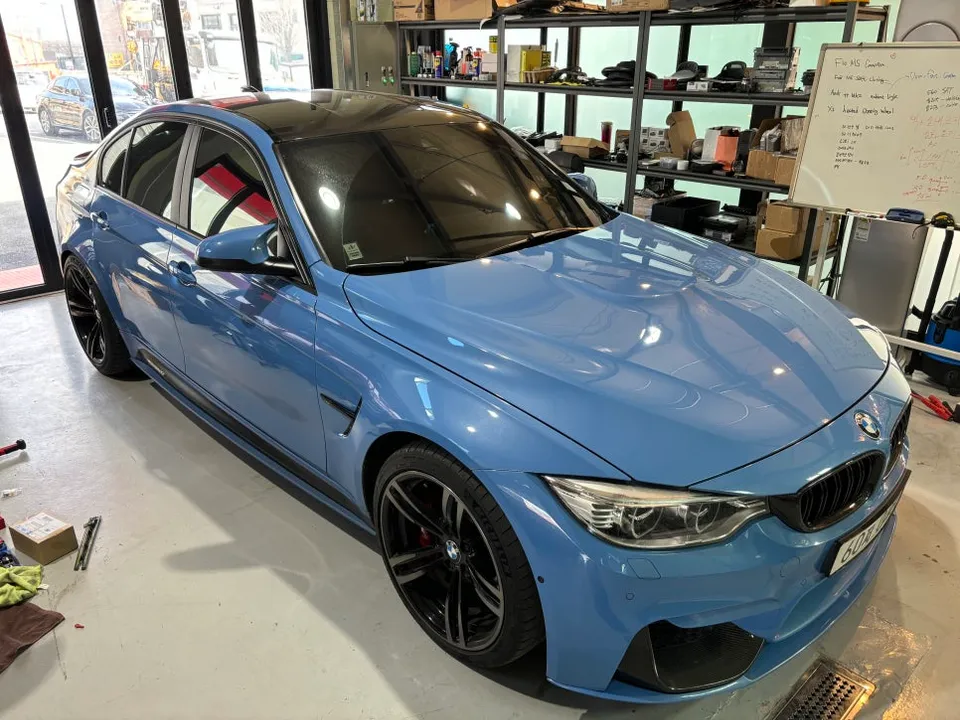
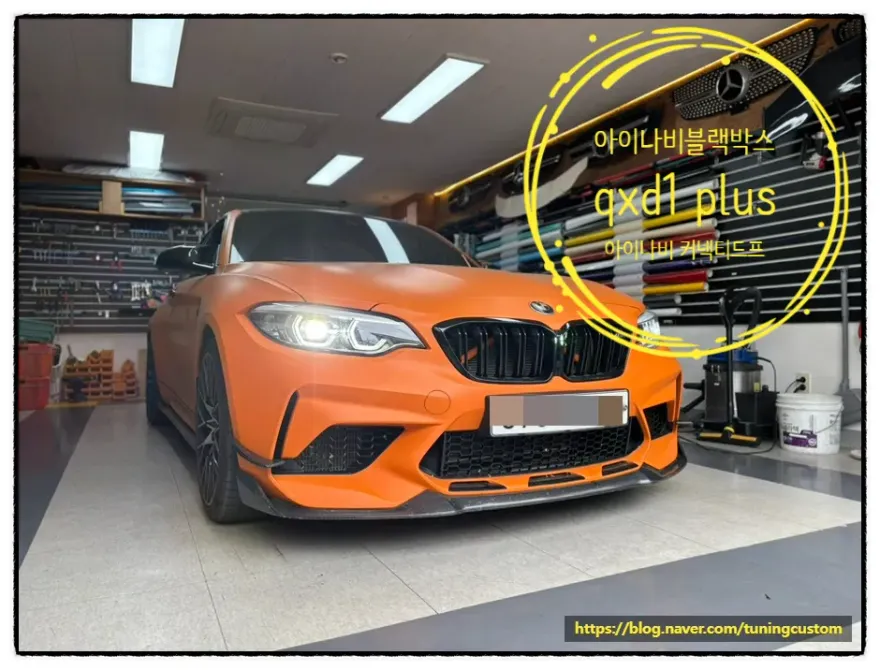
BMW M2 Inavi QXD1 Plus dash cam installation: Professional setup ensures clear footage and smart monitoring.
Upgrading Your BMW M2's Dash Cam System
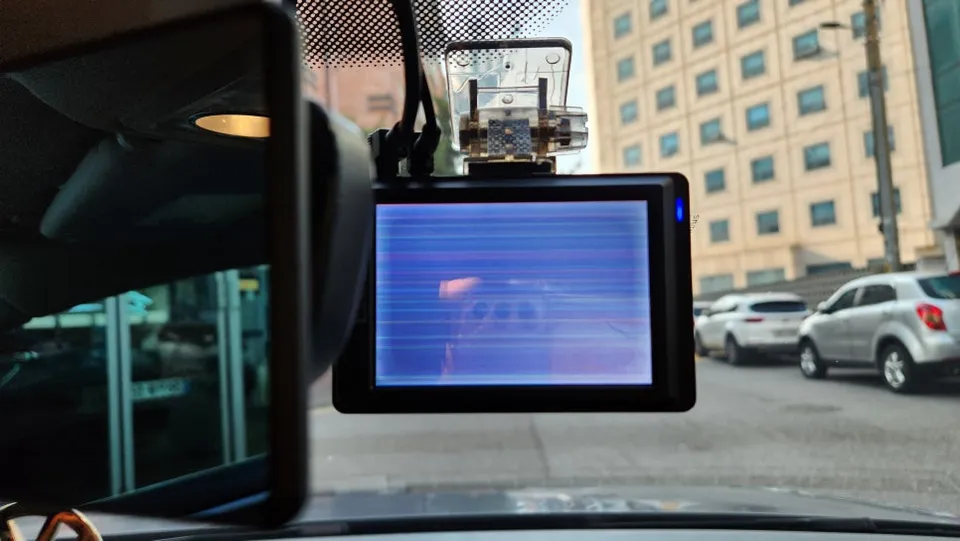
Many BMW M2 owners have experienced issues with the factory-installed dash cams, often facing frequent errors or performance degradation. If you're among them, upgrading to a high-performance unit like the Inavi QXD1 Plus, paired with the Connected Pro module, offers a significant improvement in both recording quality and smart vehicle management. This review details a real-world installation of the Inavi QXD1 Plus and Connected Pro on a BMW M2, addressing common concerns and showcasing the benefits.
The Inavi QXD1 Plus & Connected Pro Installation Process
The installation begins with mounting the Inavi Connected Pro module discreetly behind the rearview mirror. Following this, the Inavi QXD1 Plus front camera is attached. Power and rear camera cables are then connected, with all wiring meticulously routed and secured for a clean, professional look and enhanced safety. A critical aspect of this installation is the careful routing of wires through the A-pillar. This area houses the vehicle's airbags, and improper wire placement could pose a secondary risk during airbag deployment. Our installation process involves removing the A-pillar cover to ensure wires are safely secured, preventing them from becoming a hazard. The Inavi Connected Pro module itself offers real-time vehicle location and video streaming to your smartphone, providing peace of mind against theft or accidents. Proper alignment of the horizon line during installation is crucial for accurate video data. To prevent battery drain, especially when using parking mode, a dash cam auxiliary battery is recommended. If an auxiliary battery isn't feasible, utilizing the dash cam's low-voltage cut-off feature is essential to protect the car's main battery. Settings for time, date, and voltage cut-off are precisely configured. The final steps include checking the front and rear camera angles, setting up Picture-in-Picture (PIP) mode for simultaneous viewing, and a thorough inspection of the rear camera mounting.

Assessing the Value and Durability of Your Dash Cam
Investing in a quality dash cam system like the Inavi QXD1 Plus with Connected Pro provides substantial benefits, especially for performance vehicles like the BMW M2. The enhanced recording clarity ensures crucial details are captured in case of an incident, while the Connected Pro feature offers remote monitoring capabilities. Durability is a key consideration; professional installation minimizes the risk of component failure due to improper wiring or mounting. Regular maintenance, such as checking camera angles and ensuring firmware is up-to-date, will maximize the lifespan and performance of your dash cam. While the initial cost might seem high, the potential to avoid insurance disputes, protect against fraudulent claims, and gain peace of mind often makes the investment worthwhile. For owners concerned about battery life, especially with parking mode features, integrating a dedicated dash cam battery pack or carefully configuring the low-voltage cut-off settings is vital. This ensures the dash cam operates reliably without compromising the vehicle's primary battery.
Frequently Asked Questions
Q. How much does dash cam installation cost for a BMW M2?
The Inavi QXD1 Plus and Connected Pro installation on this BMW M2 was performed in Korea. Professional dash cam installation in the US typically ranges from $100 to $300, depending on the complexity and features.
Q. How long does dash cam installation take on a BMW M2?
Professional dash cam installation usually takes 1-3 hours. Proper maintenance involves periodically checking camera alignment and ensuring firmware is updated for optimal performance and longevity.
Q. Is a hardwired dash cam worth it over a self-install for a BMW M2?
A hardwired dash cam is highly recommended for features like parking mode and a cleaner installation. Professional installation ensures safety, especially with A-pillar wiring near airbags, and maximizes the system's reliability and lifespan.
Q. How is a dash cam professionally installed on a BMW M2?
1. Mount the dash cam unit and any auxiliary modules (like Connected Pro) securely. 2. Route wiring discreetly through the A-pillar and other trim panels, ensuring safety around airbags. 3. Connect power, rear camera, and any accessories, then test all functions.
Q. What is the difference between a 1-channel and 2-channel dash cam for a BMW M2?
A 1-channel dash cam records only the front view, while a 2-channel system includes a rear camera for comprehensive coverage. For most drivers, a 2-channel system offers significantly better protection and evidence capture.
OhCar Partner Shop