BMW X3 Dash Cam Installation Review: Clear QXD Footage
Service Price
$under $40
Estimated price · Actual price may vary by shop
Before

After

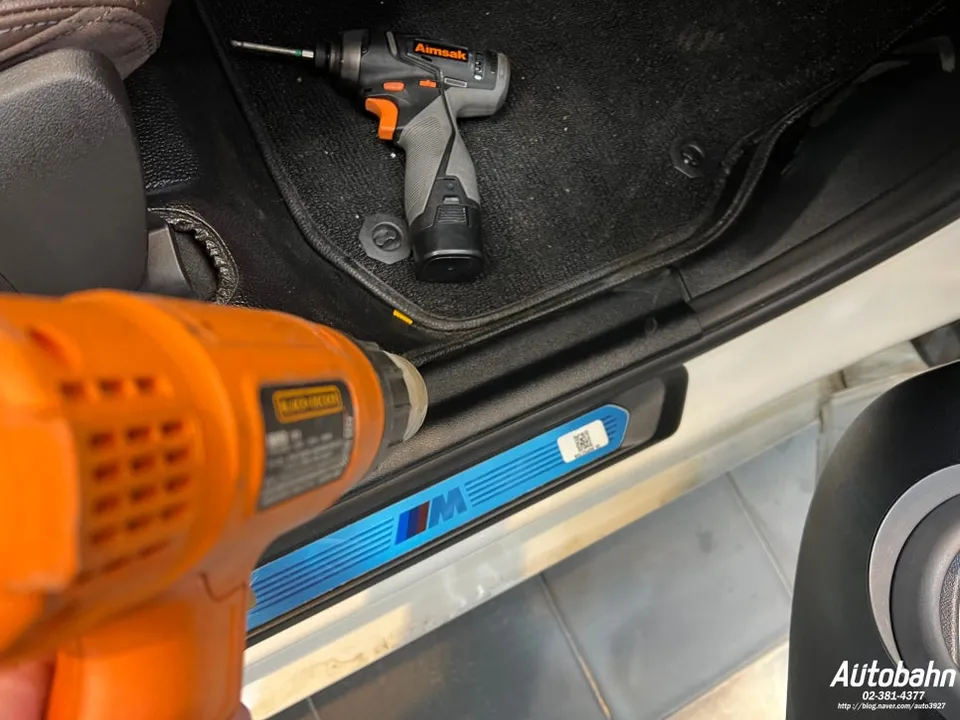
Process photos
Inavi Z9500 dash cam installation on BMW X3 for clear QXD front/FHD rear footage. Professional installation ensures optimal angles and wiring.
Upgrade Your BMW X3's Dash Cam for Enhanced Clarity
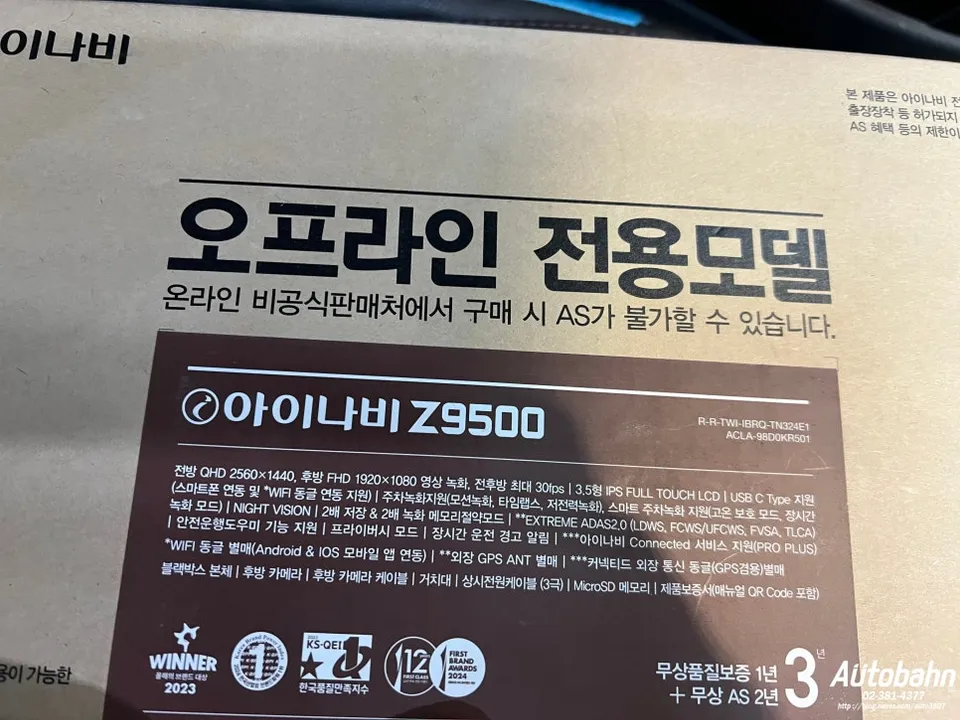
Winter can be harsh on vehicle electronics, and dash cam failures are surprisingly common, especially with factory-installed units in imported cars. Many BMW X3 owners find their original dash cams lacking in image quality and prone to errors. This led one X3 owner to replace their stock dash cam with the Inavi Z9500, drawn by its impressive QXD resolution for the front camera and FHD for the rear, ensuring clear footage of license plates and surrounding events. The added benefit of a 2-year warranty also provided peace of mind. This installation was performed at our Goyang branch.
Choosing the Right Dash Cam for Your BMW X3
The owner visited for a consultation, expressing frustration with their malfunctioning and low-quality factory dash cam. After inspecting the non-operational unit, we recommended the Inavi Z9500. Its primary advantages are straightforward: clear QXD recording at the front for easy license plate identification and FHD recording on the sides to capture comprehensive situational awareness. The integrated smartphone dongle function allows for real-time video viewing while driving, a significant convenience.
Professional Installation: Overcoming Winter Challenges
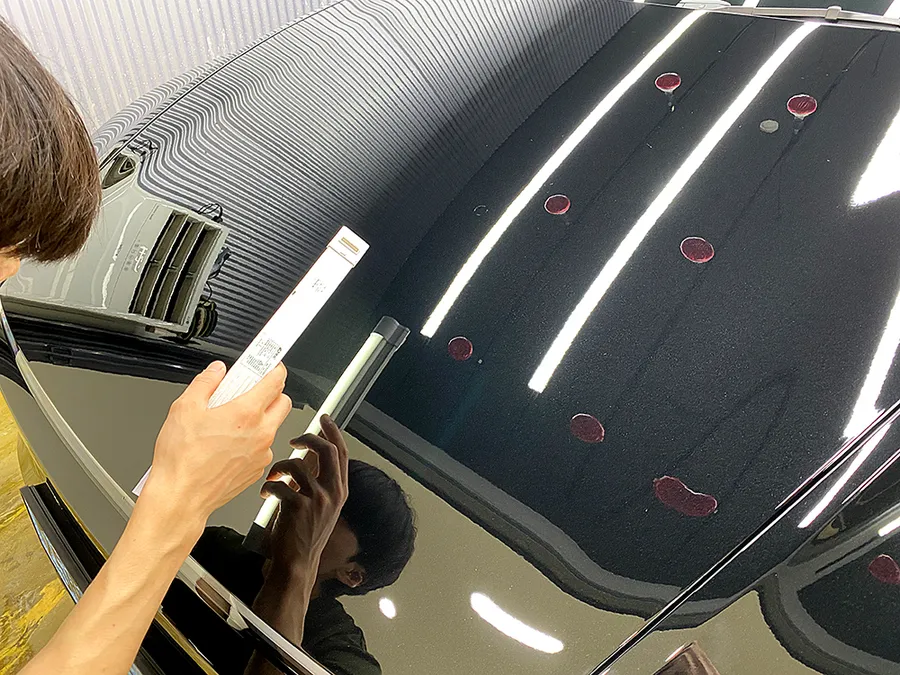
Cold weather significantly increases the difficulty of dash cam installation. Vehicle interior trim components become brittle and are at a higher risk of damage during removal. Our technicians use a heat gun to gently warm and soften plastic garnishes before carefully detaching them. This meticulous approach prevents damage to clips and ensures a seamless reassembly without gaps, which can occur if parts are forced.
Installation Process:
- Carefully remove interior trim panels using a heat gun to soften plastic components.
- Remove the old dash cam wiring harness, ensuring no old connections remain to prevent interference.
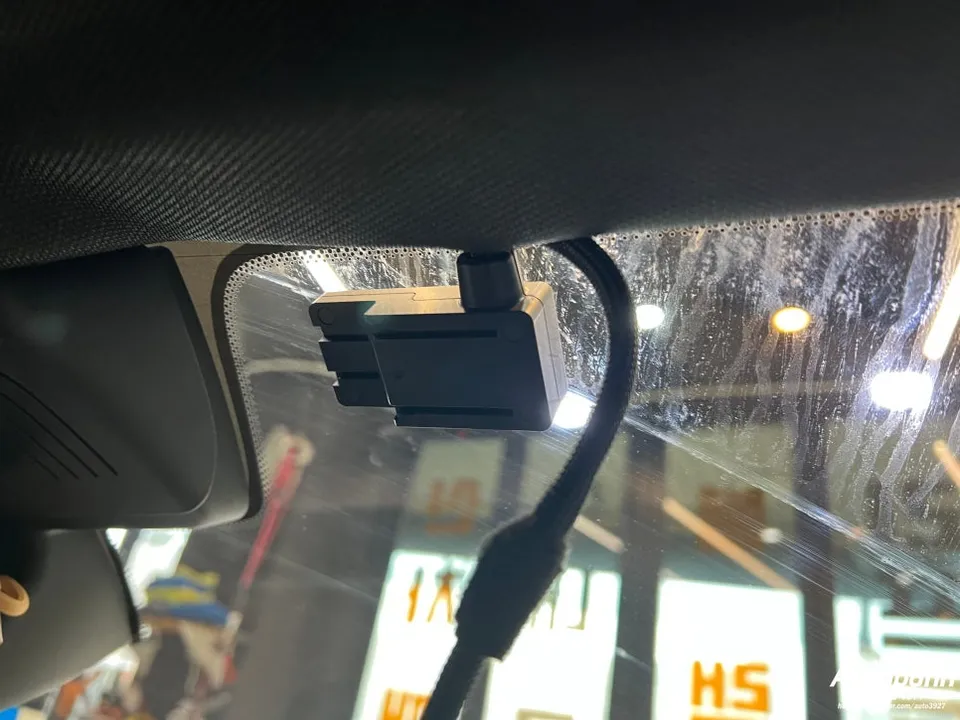
- Route the new Inavi Z9500 wiring harness along the original factory paths for a clean installation.
- Connect the power (B+) and accessory (ACC) wires according to the vehicle's specific wiring diagrams and factory guidelines.
- Adjust camera angles for optimal field of view, particularly the rear camera.

Ensuring Optimal Camera Angles and Connections
While the front camera placement is standard, the angle of the rear camera is crucial for effective recording. On the BMW X3, the factory brake light is positioned high. We adjusted the rear camera to be mounted slightly lower, avoiding the brake light while ensuring a clear view of the area behind the vehicle. Multiple checks were performed using the monitor to confirm the optimal angle for capturing rear traffic and events.
The entire process, from removing the old unit to installing and testing the new dash cam, typically takes about an hour for an experienced technician. We ensure all wiring is neatly bundled and secured, following the original pathways to maintain the vehicle's interior integrity. Proper power connections are vital to prevent battery drain and ensure reliable operation. After installation, the interior is cleaned, and all connections are double-checked.
Frequently Asked Questions
Q. How much does dash cam installation cost for a BMW X3?
The installation for this Inavi Z9500 on a BMW X3 was performed in Korea, with pricing typically around ₩200,000-₩400,000 (approx. $150-$300 USD). Professional installation in the US can range from $100 to $300 depending on the complexity and shop rates.
Q. How long does dash cam installation take on a BMW X3?
Professional dash cam installation on a BMW X3 typically takes about 1 to 2 hours. Regular maintenance involves checking the camera lens for dirt and ensuring firmware is up-to-date for optimal performance.
Q. Is a hardwired dash cam worth it over a self-install for a BMW X3?
A professionally hardwired dash cam is recommended for a BMW X3 to ensure proper power management and avoid battery drain, especially with advanced features. It offers peace of mind and a cleaner installation compared to DIY methods.
Q. How is a dash cam professionally installed on a BMW X3?
1. Interior trim panels are carefully removed after being gently heated to prevent damage. 2. The old dash cam wiring is completely removed and replaced with new wiring routed along factory paths. 3. Power and accessory wires are connected securely according to vehicle specifications. 4. Camera angles, especially the rear, are meticulously adjusted for optimal views.
Q. What is the difference between a 1-channel and 2-channel dash cam for a BMW X3?
A 1-channel dash cam records only the front view, while a 2-channel system records both front and rear views, providing comprehensive coverage. For a BMW X3, a 2-channel system is highly recommended for complete situational awareness.
OhCar Partner Shop