BMW X3 G01 Vinyl Wrap Review: Satin White Pearl & Chrome Delete

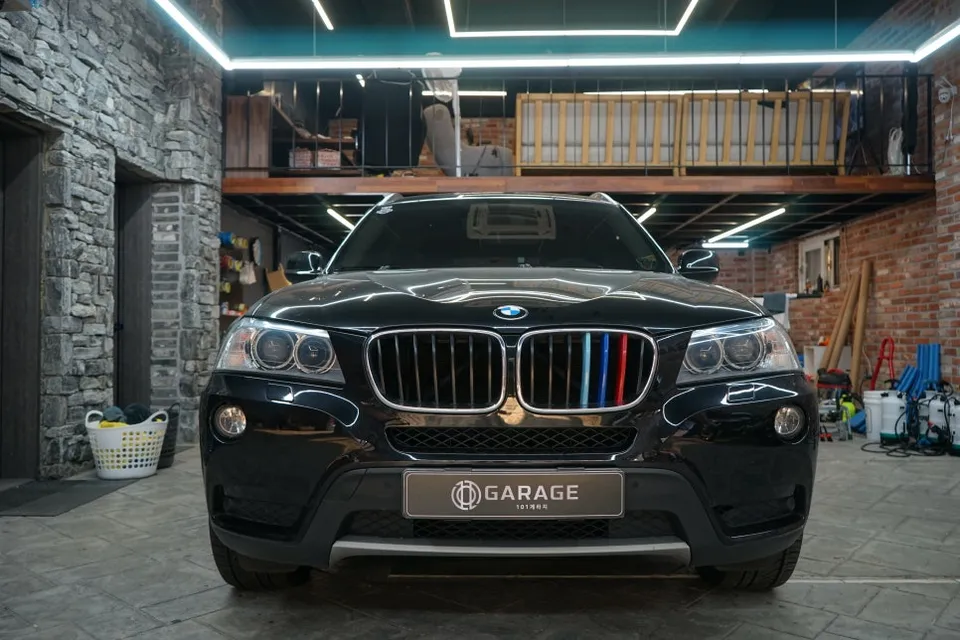
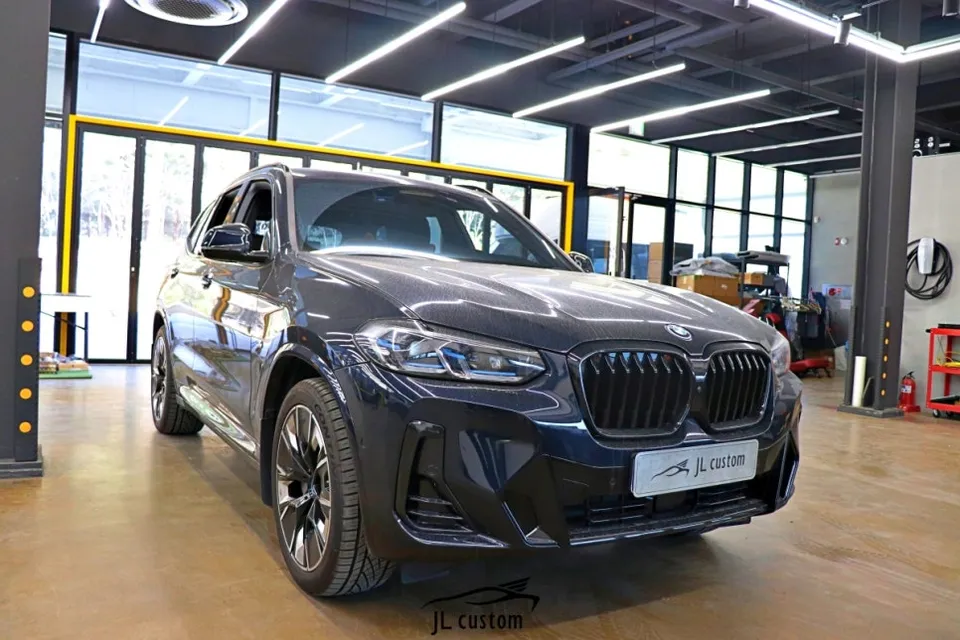
BMW X3 G01 Satin White Pearl vinyl wrap with chrome delete and M-style grille upgrade. Transformed black SUV into a sleek, aggressive vehicle.
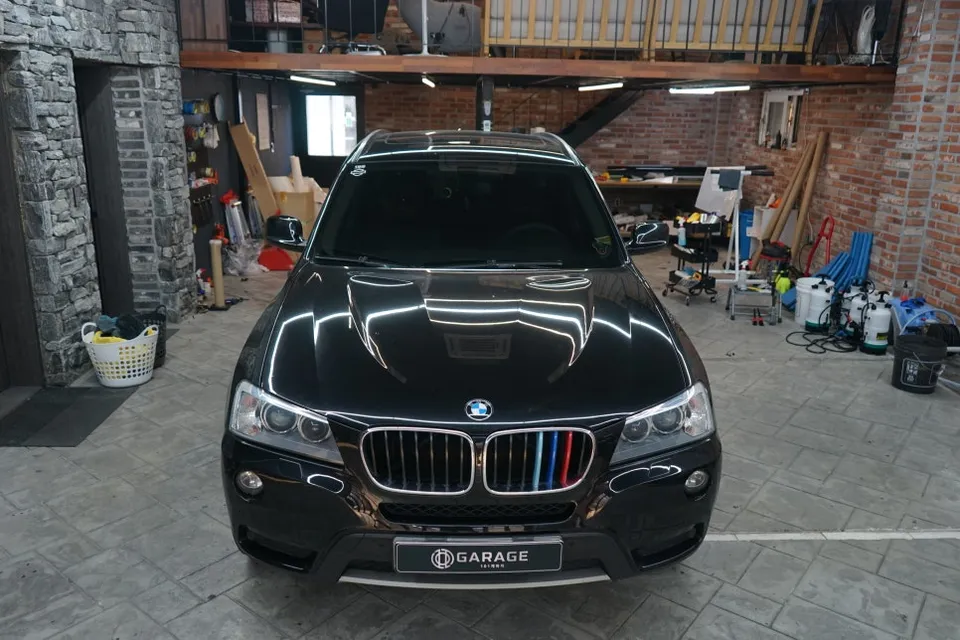
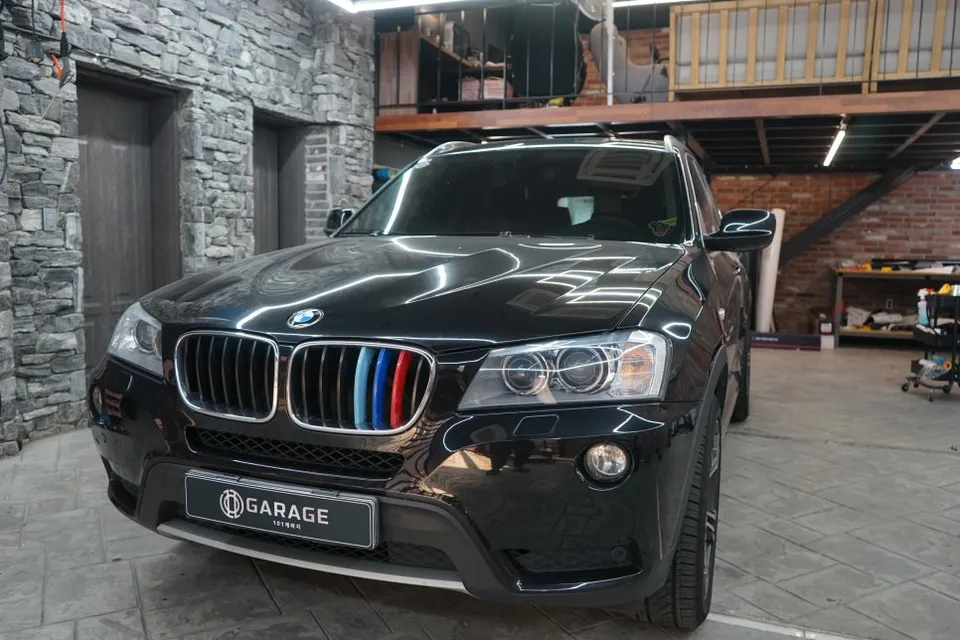
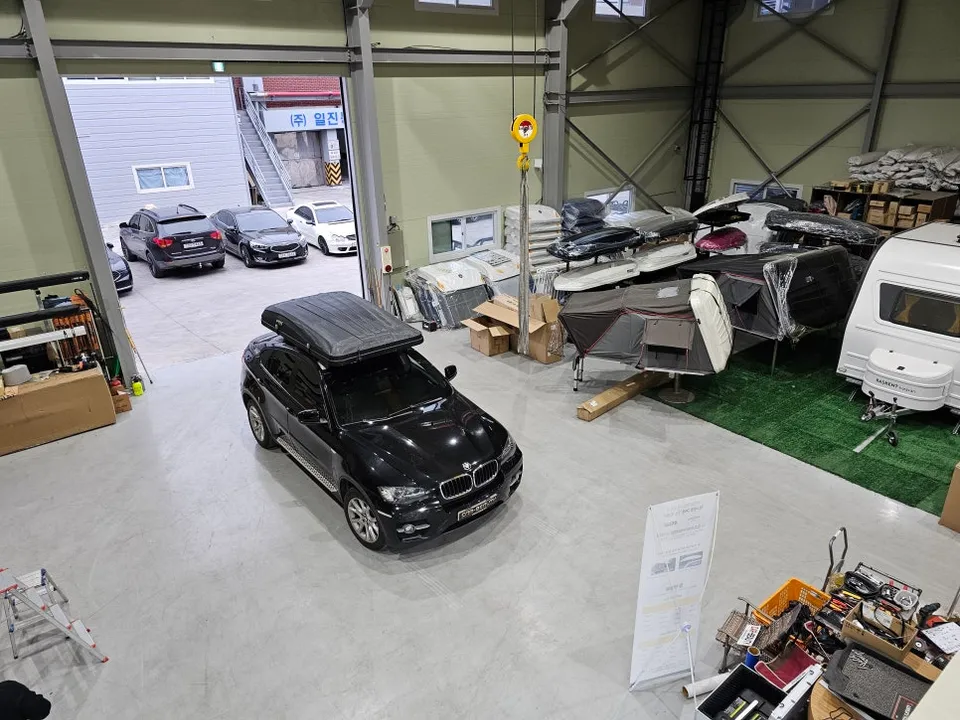
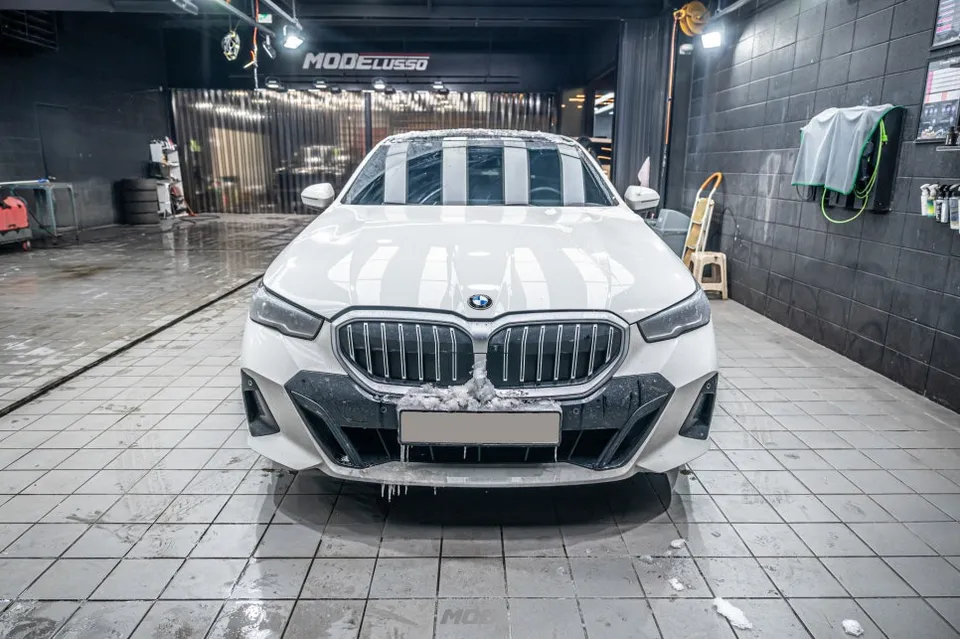
Black BMW X3 Transformed with Satin White Pearl Wrap
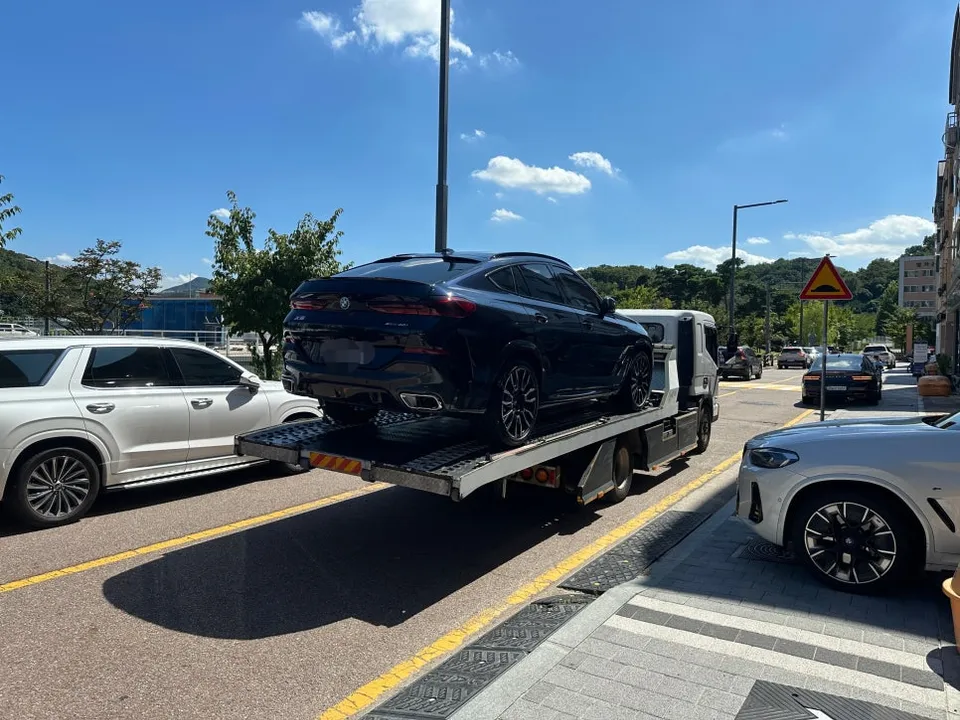
Considering a color change for your BMW X3, especially if you're tired of the standard black? This X3 owner sought out a dramatic transformation at a professional car wrap shop. The goal was not just a new color, but a complete aesthetic overhaul using a Satin White Pearl full vinyl wrap, complemented by a chrome delete package. This review details the process and the stunning results of changing the car's entire vibe.
Choosing the Right Wrap and Installer
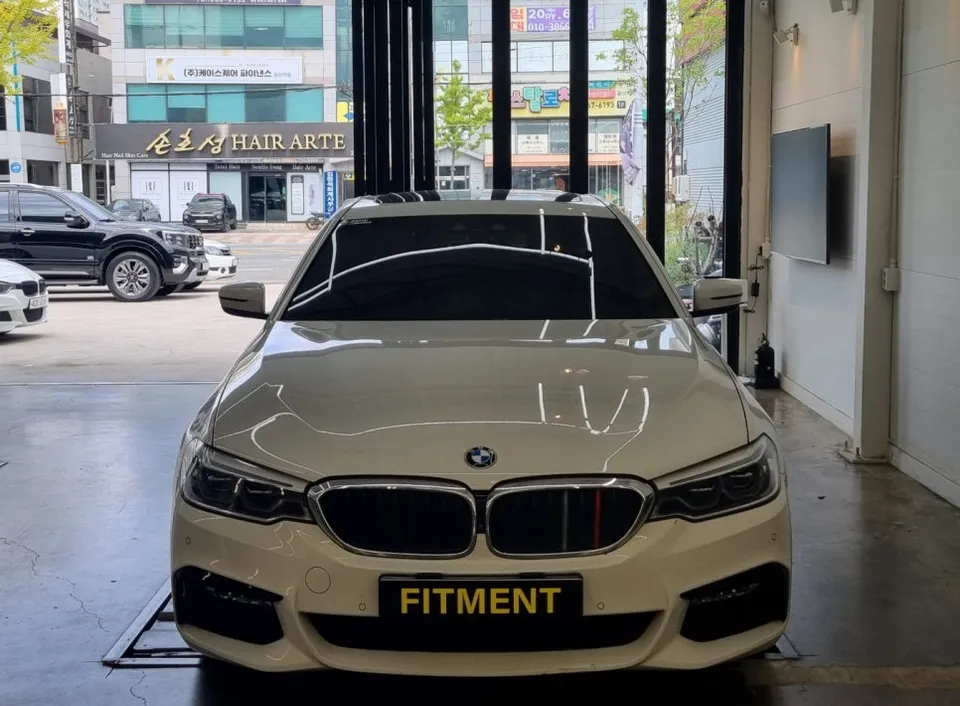
The owner's priority was finding a car wrap specialist known for meticulous finishing. The key was achieving a flawless surface and attention to detail in every seam and edge, aiming for a finish that looked akin to a high-quality paint job. After careful comparison, a shop renowned for its technical skill was chosen. The transition from black to Satin White Pearl is a stark contrast, requiring precise application on each panel to maximize the visual impact.
The Importance of Pre-Installation Preparation
The quality of a vinyl wrap installation is largely determined before the film is even applied. Proper preparation is crucial. The process began with carefully masking and removing the BMW emblems to prevent any damage. The installer then meticulously applied the pre-cut vinyl film panel by panel. This careful approach prevents the adhesive film from sticking to unintended areas, which can cause it to bunch up or become difficult to reposition.
Masking tape was used around the application areas for two main reasons: to prevent the vinyl from adhering to the car's paintwork where it shouldn't, and to protect the vehicle's body during the precise cutting of the film. These seemingly small preparatory steps are what ultimately contribute to a smooth, paint-like finish.
Detailed Application Process for a Flawless Finish
Following emblem removal, the vinyl wrap roll was unfurled and secured with magnets before proceeding with pre-cutting the film for each section. Curved areas, such as the fenders, require extra attention to detail. The installer carefully molded the film to the fender's contours, tucking the edges into seams for a seamless look that mimics a factory paint finish. For larger panels like the rear quarter panels, which flow from the A-pillar, a single large piece of film is used, necessitating careful attention to detail along all edges and within tight gaps.
The hood installation is generally straightforward, but the front and rear bumpers are typically wrapped in a single piece whenever possible to avoid any visible cut lines, ensuring a cleaner final appearance. Similarly, the trunk lid required the removal of the license plate and taillights to allow the vinyl to be tucked in completely, achieving a professional finish. The rear bumper was also completed using a single piece of vinyl, a hallmark of expert installation.
Chrome Delete: Enhancing the X3's Aggressive Stance
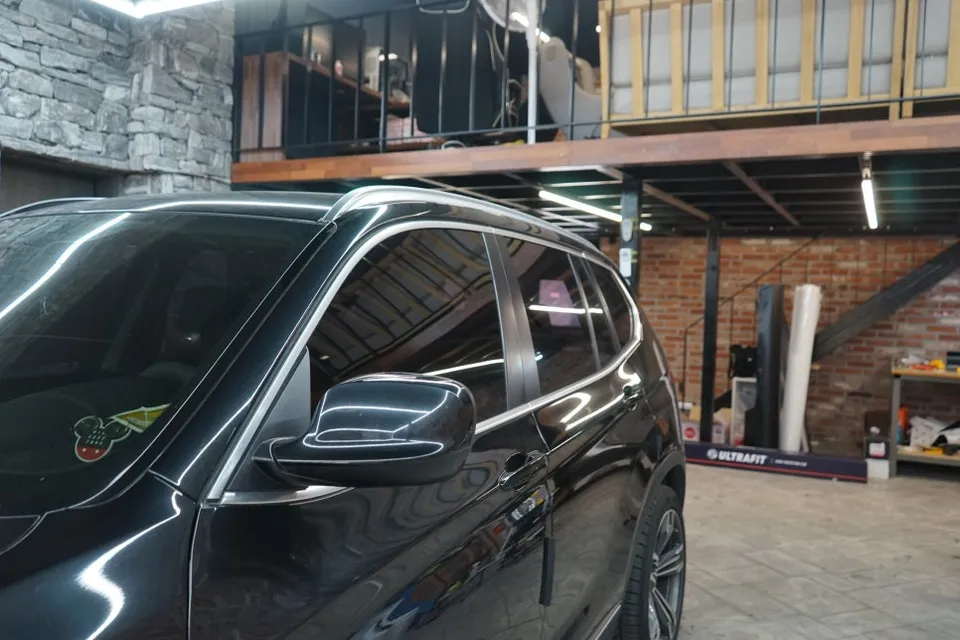
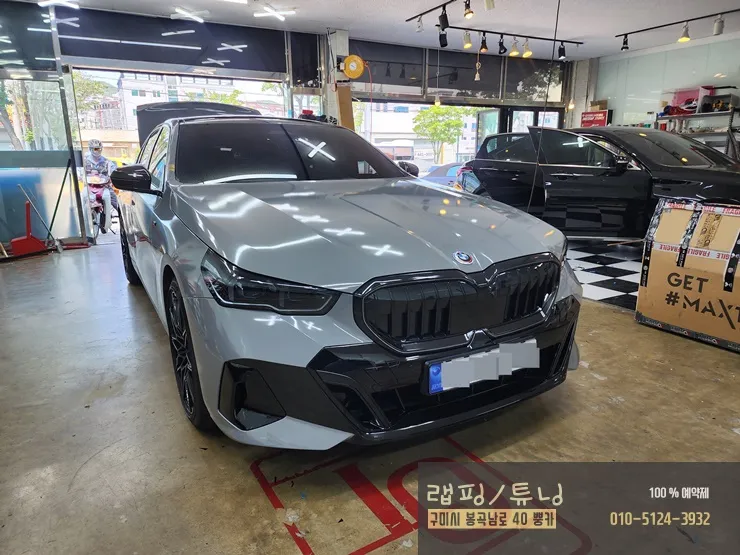
After the full body wrap was completed, the next step was the chrome delete. This popular service involves covering all the vehicle's exterior chrome trim pieces with black vinyl, creating a more unified and aggressive look. The process started with the lower window trim, which, when wrapped in black, creates a cohesive line with the windows, giving the X3 a sleeker, more modern profile. The upper window trim and the matte silver lower door garnishes were also transformed into a uniform black.
Finishing the lower rear bumper garnish and the roof rails in black further unified the vehicle's appearance. While seemingly minor details, these chrome delete elements significantly enhance the overall aesthetic, amplifying the dramatic contrast achieved by the Satin White Pearl wrap.
Upgraded Grille and Custom Emblems
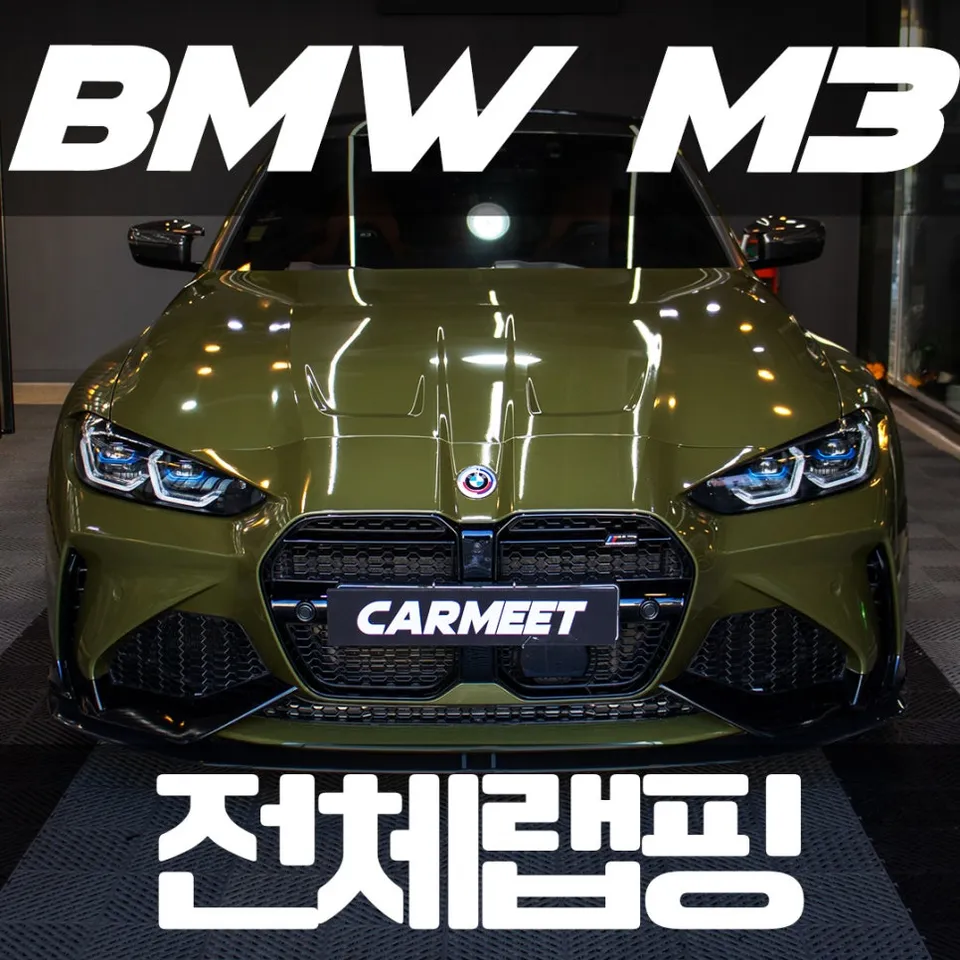
The owner also opted to replace the stock kidney grilles with an M-style grille, which dramatically alters the front-end's aggressive appeal. Additionally, custom carbon fiber emblems were added, further personalizing the BMW X3 and completing its aggressive, transformed look.
Frequently Asked Questions
Q. How much does a vinyl wrap cost for a BMW X3 G01?
The full vinyl wrap and chrome delete for this BMW X3 G01 was completed by the owner's chosen shop. While specific pricing isn't detailed, full car wraps in the US typically range from $2,500 to $5,000 depending on the material and complexity.
Q. How long does a vinyl wrap last on a BMW X3 G01?
A high-quality vinyl wrap, like the one applied to this BMW X3 G01, can last between 3 to 7 years with proper care. Regular washing and avoiding harsh chemicals will help maintain its appearance and longevity.
Q. Does vinyl wrap damage paint on a BMW X3 G01?
When applied and removed correctly by a professional, vinyl wrap does not damage the original paint on a BMW X3 G01. In fact, it can protect the paint from minor scratches and UV damage.
Q. How is vinyl wrap applied to a BMW X3 G01?
Vinyl wrap installation on a BMW X3 G01 involves several key steps: 1. Thoroughly cleaning and preparing the vehicle's surface. 2. Carefully applying pre-cut vinyl film sections, stretching and molding them to the car's contours. 3. Sealing edges and trimming excess material for a seamless finish.
Q. What is the difference between vinyl wrap and a repaint for a BMW X3 G01?
Vinyl wrap is a temporary adhesive film applied over the original paint, offering a wide range of colors and finishes, while repainting is a permanent alteration of the car's color. Vinyl wrap is generally less expensive and reversible, making it a great option for customization or paint protection.
101 Garage
More vinyl wrap Reviews
See all →

More BMW Reviews

Pair with Another Service
PPF edges before wrapping for durability
Coat over wrap for easier cleaning