Step-by-Step Chevrolet Tahoe Dash Cam Hardwire Install
Let's get started with the actual installation. We'll focus on a common method using the fuse box, usually located under the dashboard or in the engine bay (consult your owner's manual for your specific Tahoe model).
Step 1: Planning Your Wire Route
Before you start removing panels, visualize where the wires will run. The goal is to hide them completely. Typically, you'll run the wire from the dash cam, up the A-pillar, across the headliner, and down to the fuse box. This is where your trim removal tools will come in handy.
Step 2: Disconnecting the Battery
Safety First! Always disconnect the negative terminal of your car battery before working with electrical components. This prevents short circuits and potential damage to your vehicle's electronics. Locate your battery (usually under the hood) and use a wrench to loosen and remove the negative terminal clamp. Tuck it aside so it can't accidentally reconnect.
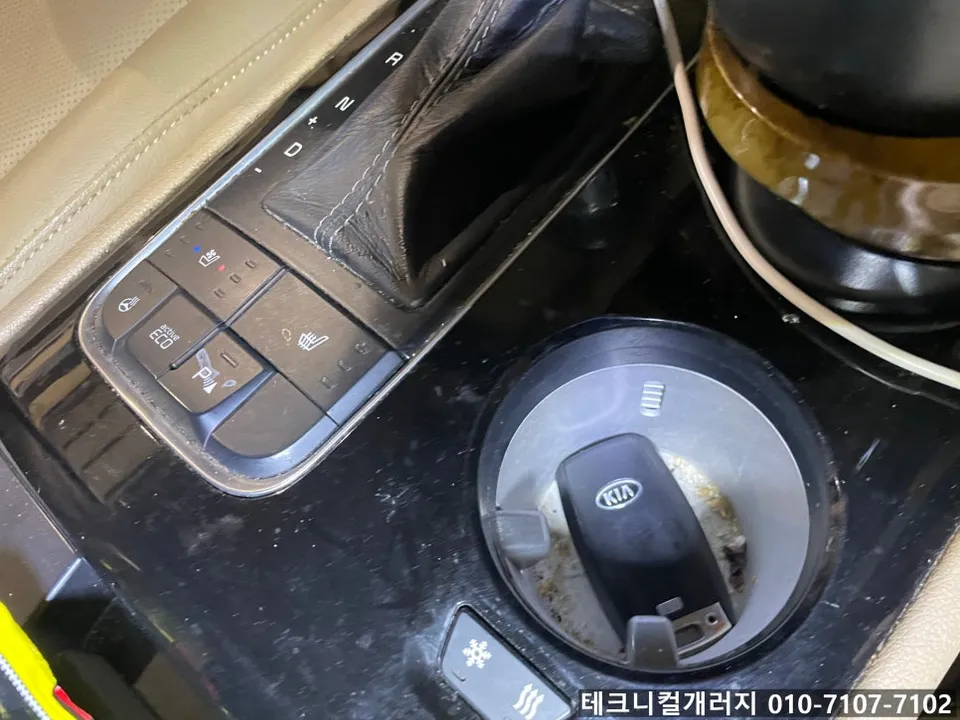
Step 3: Accessing the Fuse Box
Locate your Tahoe's interior fuse box. For many Chevrolet models, it's found on the driver's side of the dashboard, often behind a small panel that needs to be pried off with your trim tools. Consult your owner's manual if you're unsure.
Step 4: Identifying Power Sources (ACC and Constant)
This is where a multimeter is invaluable. With the battery reconnected temporarily (and carefully!), you can use the multimeter to test fuses. Insert the multimeter's probe into the fuse slot. You're looking for:
- ACC Power: A fuse that has power only when the ignition is in the ACC or ON position.
- Constant Power: A fuse that has power all the time.
Pro Tip: Look for fuses that are not critical to your vehicle's operation. For example, tapping into the cigarette lighter (ACC) or a radio fuse (ACC) is common. For constant power, consider a fuse for interior lights or a less critical accessory. Avoid tapping into fuses for airbags, engine control modules, or safety systems.
If you don't have a multimeter, many hardwire kits come with a tester, or you can rely on common knowledge for your Tahoe model, but proceed with caution. Always double-check your work.
Step 5: Installing Fuse Taps (Add-a-Circuits)
Once you've identified suitable fuse slots, you'll install fuse taps. These allow you to safely tap into an existing circuit without cutting factory wires. Your hardwire kit should come with these, or you can purchase them separately. They typically have two slots: one for the original fuse and one for the dash cam's fuse.
Important: Ensure you use the correct amperage fuses for both the original circuit and the dash cam circuit, as indicated on the fuse tap and your hardwire kit.
Insert the fuse tap into the chosen fuse slot, ensuring the original fuse is in the correct position according to the fuse tap's instructions.
Step 6: Connecting the Ground Wire
Find a clean, unpainted metal bolt or screw connected directly to the vehicle's chassis. This is your ground point. You may need to use a ring terminal to secure the ground wire from your hardwire kit to this point. Loosen the bolt, attach the ring terminal, and retighten the bolt securely.
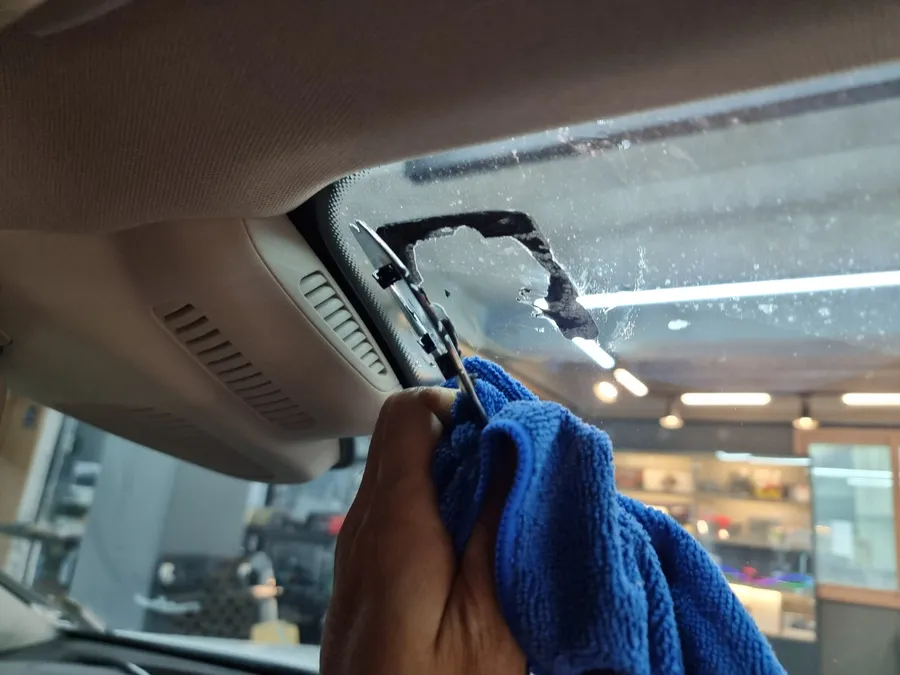
Step 7: Running the Wires and Connecting the Dash Cam
Now, carefully route the wires from the fuse box up to the dash cam's mounting location. Use your trim removal tools to gently pry open panels along the A-pillar and headliner. Tuck the wires behind these panels, using zip ties to secure them to existing harnesses or structural elements to prevent rattling.
A-Pillar Tip: Be cautious when prying open the A-pillar trim. Airbag systems are often routed through here. Ensure you don't interfere with any airbag components. If you're uncomfortable, it's best to seek professional help or route the wire differently.
Connect the power and ground wires from the hardwire kit to the corresponding ports on your dash cam. Ensure all connections are secure.
Step 8: Testing the Installation
Before reassembling everything, reconnect the negative battery terminal. Turn your ignition to the ACC or ON position. Your dash cam should power on. If you have parking mode, turn the ignition off and check if the camera enters parking mode (if it has an indicator) or if it powers down completely.
If everything works as expected, disconnect the battery again before proceeding to reassemble.
Step 9: Reassembling Interior Panels
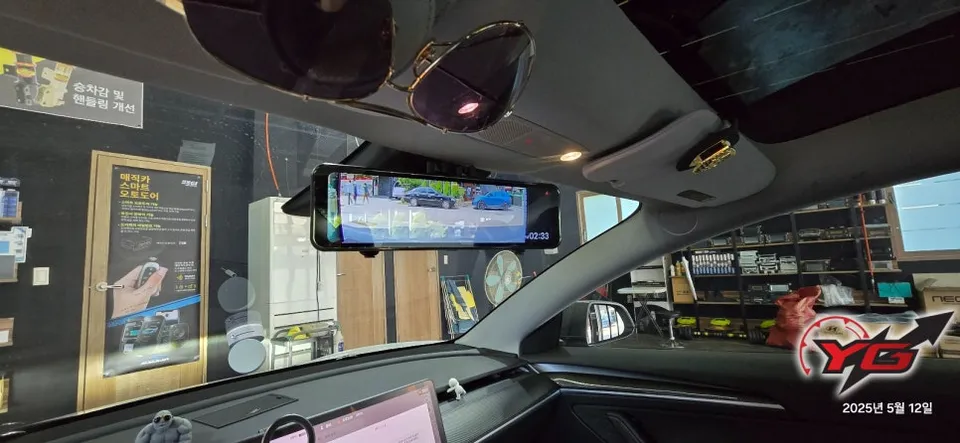
Carefully reattach all the trim panels you removed. Ensure they snap back into place securely and that no wires are pinched. Double-check that the dash cam is firmly mounted and positioned correctly for optimal recording.
Step 10: Final Check and Tidying Up
Reconnect the negative battery terminal. Start your Tahoe and ensure the dash cam powers on and records. Check your dash cam's settings and format the memory card if necessary. Use any remaining zip ties to neaten up any visible wiring under the dash.
Congratulations! You've successfully completed your Chevrolet Tahoe dash cam hardwire install how-to. You now have a clean, integrated dash cam system that enhances your vehicle's safety.