Hyundai Elantra AD Dash Cam Installation Review — Affordable

iNavi S1000 dash cam installation on Hyundai Elantra AD: Affordable and reliable. Ensures safety and provides crucial evidence.
Upgrading Your Hyundai Elantra AD with the iNavi S1000 Dash Cam
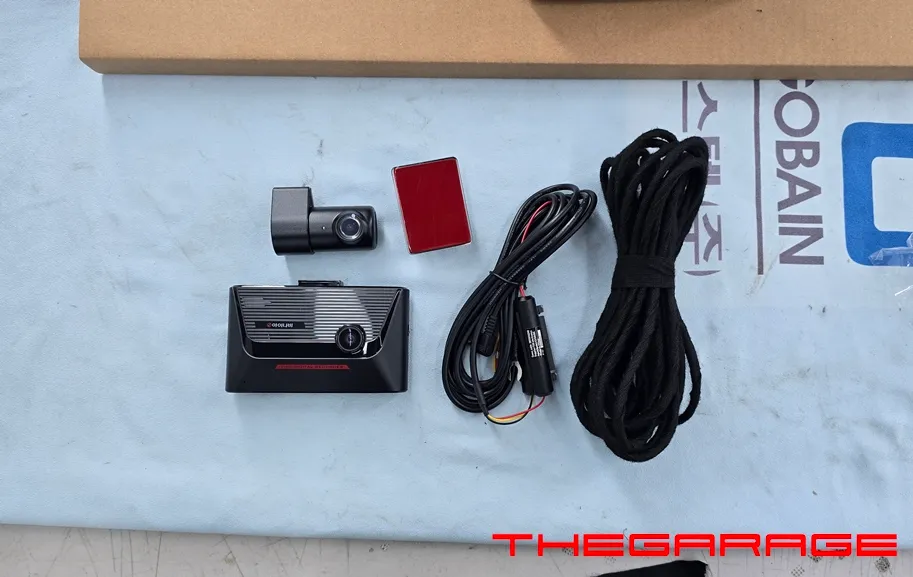
This review details the installation of the iNavi S1000 dash cam on a Hyundai Elantra AD, chosen for its excellent value and reliable performance. The previous dash cam in the vehicle had malfunctioned, prompting the owner to seek a replacement that offered both affordability and stability. The iNavi S1000 emerged as the ideal solution, providing robust recording capabilities without breaking the bank. This professional installation was carried out by the expert team at Ojun-e-Car Daejeon Branch, ensuring a seamless integration into the Elantra AD.
Why Choose the iNavi S1000 for Your Elantra AD?
In today's driving environment, a dash cam is an indispensable tool for documenting incidents, protecting against false claims, and providing crucial evidence in case of accidents or disputes. For owners of the Hyundai Elantra AD experiencing issues with their existing dash cam or seeking an upgrade, the iNavi S1000 presents a compelling option. Its reputation for cost-effectiveness is matched by its dependable recording quality, making it a popular choice among discerning drivers. The installation process itself requires meticulous attention to detail, from managing wiring to ensuring a clean finish, highlighting the importance of professional service.
Vehicle: Hyundai Elantra AD
Service: Dash Cam Installation (iNavi S1000)
Location: Ojun-e-Car Daejeon Branch
Estimated Time: 1-2 hours
Key Features: Value for money, stable recording, low-voltage cutoff

The iNavi S1000 Installation Process for the Elantra AD
The installation begins with preparing the iNavi S1000 unit for the Elantra AD. To minimize electrical noise and vibrations, all wiring is meticulously secured with fabric tape, ensuring a quiet and smooth operation during driving. This attention to detail prevents any rattling or buzzing sounds that could detract from the driving experience.
Installation Process:
- Wiring Preparation: All cables are insulated with fabric tape to prevent noise and ensure a clean installation.
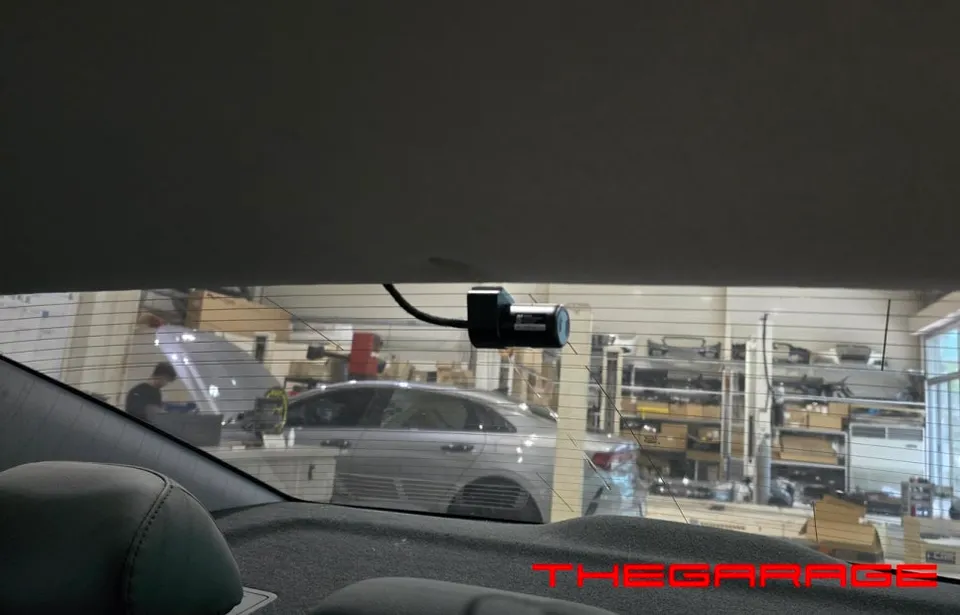
- Rear Camera Mounting: The rear camera is precisely positioned in the center and securely fastened.
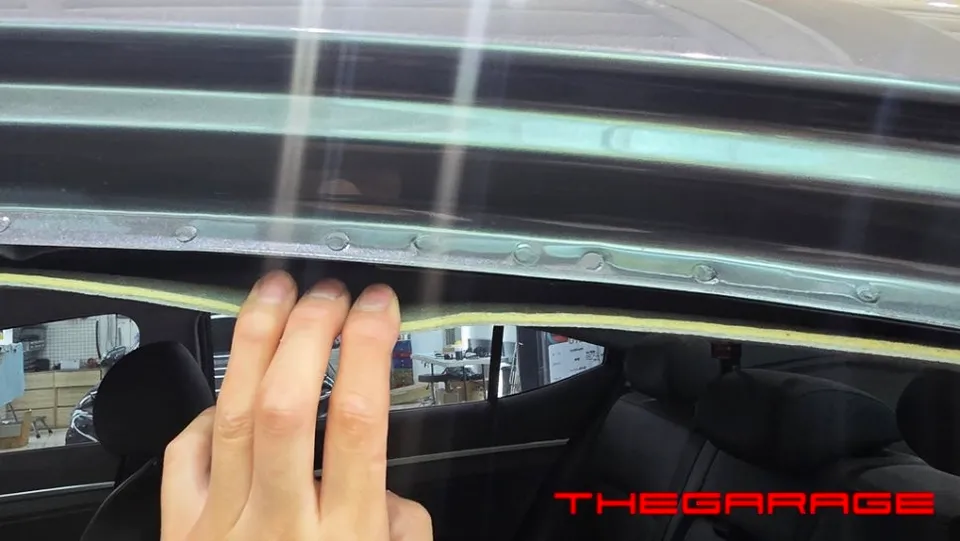
- Cable Routing: Wires are routed discreetly along the vehicle's interior, ensuring they do not interfere with safety features like airbags.
- Fuse Box Connection: Power is safely connected via the fuse box, following the original wiring paths for a secure fit.
- Final Checks: After all connections are made, the system is tested for functionality and settings are configured.
Dash Cam Configuration and Functionality Check
Once the physical installation is complete, the dash cam's settings are customized to the owner's preferences and driving habits. The SD card partition is adjusted to maximize the recording duration during parking, ensuring ample footage is captured even when the vehicle is stationary. To safeguard the vehicle's battery, the low-voltage cutoff feature is set to a safe, average level, preventing accidental battery drain. A final test confirms that the dash cam enters parking recording mode correctly, and all functions are operating as expected before the vehicle is returned to the owner. The iNavi S1000 proves to be a reliable and affordable guardian for your Hyundai Elantra AD.
Frequently Asked Questions
Q. How much does dash cam installation cost for a Hyundai Elantra AD?
The installation of the iNavi S1000 on a Hyundai Elantra AD was performed in Korea, with pricing context provided in Korean Won. Professional dash cam installation in the US typically ranges from $100 to $300, depending on the complexity and the specific dash cam model.
Q. How long does dash cam installation take on a Hyundai Elantra AD?
Dash cam installation on a Hyundai Elantra AD typically takes between 1 to 2 hours to complete. To ensure longevity, regularly check the SD card for wear and tear, and clean the camera lenses periodically.
Q. Is a hardwired dash cam worth it over a self-install for a Hyundai Elantra AD?
A professionally hardwired dash cam is recommended for a Hyundai Elantra AD to ensure safe integration with the vehicle's electrical system and proper functionality, especially for features like parking mode. It offers peace of mind and a cleaner installation compared to DIY methods.
Q. How is a dash cam professionally installed on a Hyundai Elantra AD?
Professional installation involves routing wires discreetly along the vehicle's interior, securing them with fabric tape to prevent noise, and connecting power through the fuse box. The rear camera is precisely mounted, and all connections are tested for optimal performance and safety.
Q. What is the difference between a 1-channel and 2-channel dash cam for a Hyundai Elantra AD?
A 1-channel dash cam records only the front view, while a 2-channel system includes a rear-facing camera for comprehensive coverage. For enhanced safety and evidence collection on a Hyundai Elantra AD, a 2-channel dash cam is highly recommended.
OhCar Partner Shop