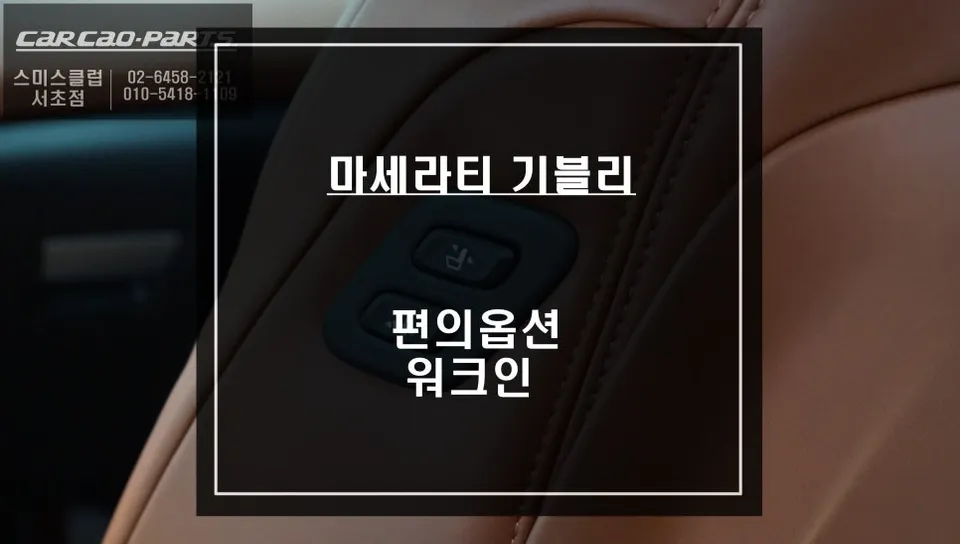
The Maserati Ghibli, a symbol of Italian luxury and performance, offers a refined driving experience. However, like many premium vehicles, there are areas where convenience can be enhanced through factory-approved upgrades. One such enhancement, particularly relevant for those who frequently carry rear passengers or desire more flexibility in seat adjustment, is the addition of a passenger-side 'walk-in' switch. This feature, often referred to as an OEM option or factory option retrofit, allows for easier adjustment of the front passenger seat from the driver's side or rear.
While the Ghibli boasts sophisticated interior design, accessing the passenger seat controls can be cumbersome, especially when needing to create more legroom for rear occupants. This is where a factory upgrade like a walk-in switch becomes invaluable. This review explores the installation process, potential costs, and the practical benefits of retrofitting this OEM option onto your Maserati Ghibli.
## Understanding the Ghibli's Seat Structure and Retrofit Points
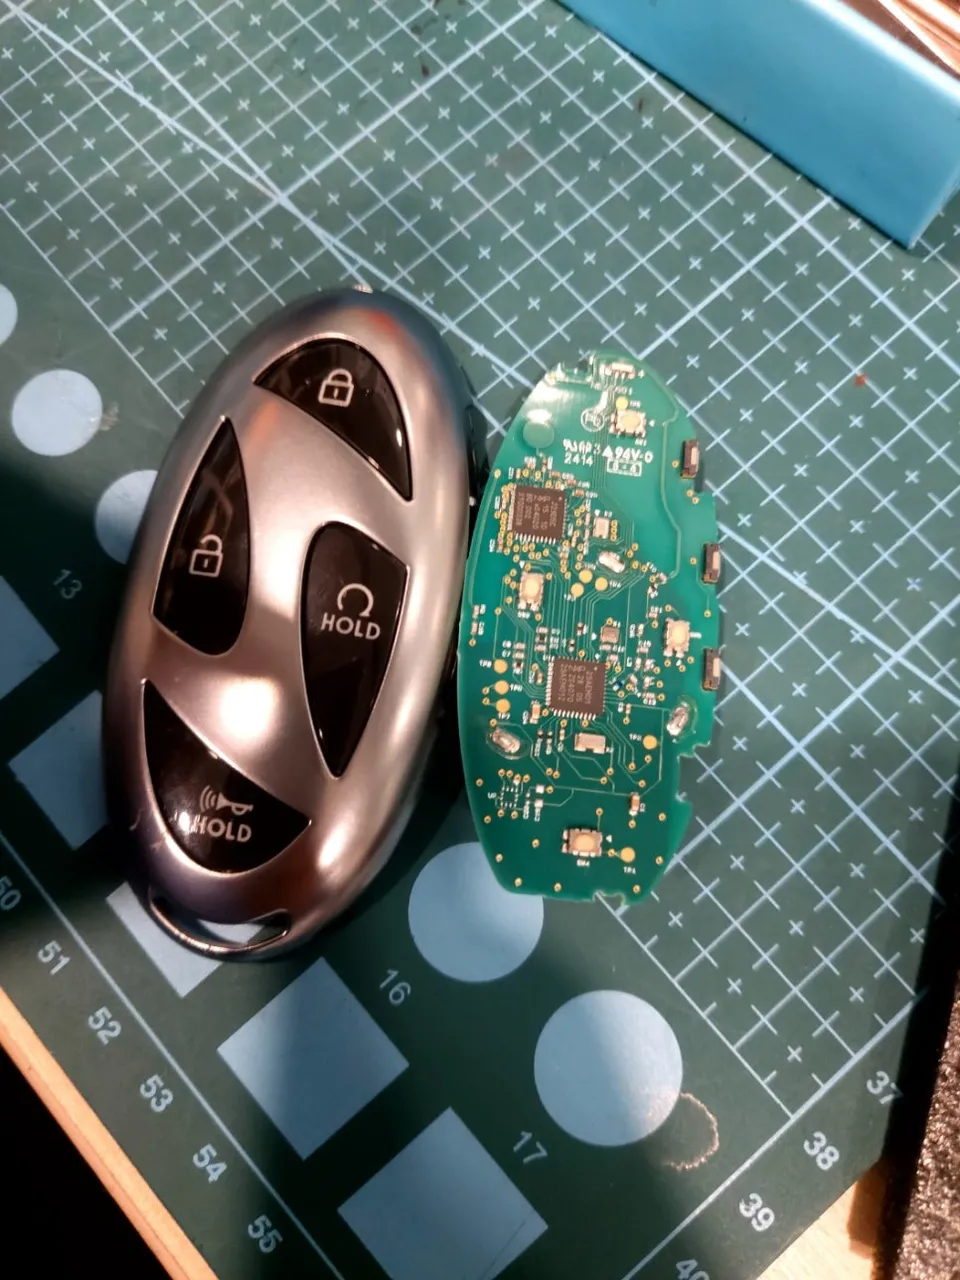
The Ghibli's power-adjustable front seats are controlled by a series of electric motors integrated within the seat base. The key to retrofitting a walk-in switch lies in understanding and interfacing with these existing seat motors and their wiring harnesses. The process typically involves carefully disassembling parts of the passenger seat to access the necessary electrical connections. A common approach involves using a genuine switch from another compatible vehicle, such as a Genesis, which shares similar switch dimensions and electrical compatibility, making it a viable dealer option retrofit.
The critical aspect of this installation is the precise connection to the seat's motor wiring. Incorrect wiring can lead to the seat malfunctioning or failing to respond altogether. The complexity arises from the intricate network of wires and motors beneath the seat, often obscured by sound-deadening material. A thorough understanding of the vehicle's electrical schematics is crucial for a successful and safe installation of this factory upgrade.
## The OEM Options Installation Process
Installation of a walk-in switch for your Maserati Ghibli typically involves several key steps:
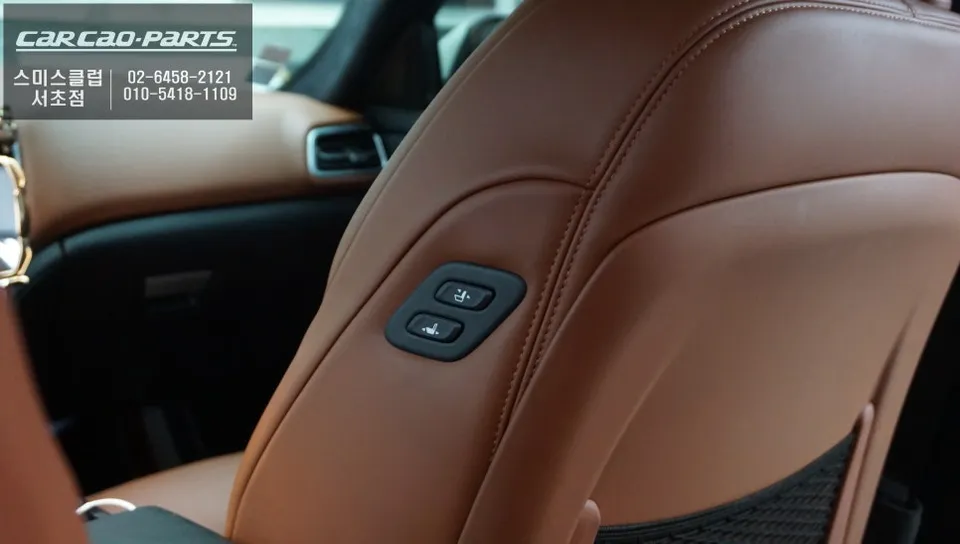
1. **Passenger Seat Removal and Panel Preparation:** The process begins with carefully removing the passenger seat from the vehicle. This usually involves releasing four mounting bolts and disconnecting the electrical connectors beneath the seat. Once removed, the side panel of the seat, where the new switch will be located, is precisely measured and marked for a clean cut. Precision is key here; the panel is meticulously drilled to accommodate the dimensions of the new switch, typically around 40mm x 60mm, ensuring a flush and integrated look.
2. **Switch Mounting and Securing:** After the panel is precisely cut, the chosen OEM-style switch (often a Genesis switch due to compatibility) is inserted into the opening. To ensure the switch remains firmly in place and withstands vibrations, a backing plate is used to secure it from behind the panel. A manual test of the switch's directional buttons (up, down, left, right) is performed at this stage to confirm correct placement and functionality.
3. **Wiring Integration with Seat Motors:** This is the most critical phase. Technicians locate the wiring harnesses for the passenger seat's adjustment motors. The Ghibli's seat typically has four motors controlling fore/aft movement and height adjustment. Each motor has distinct power, ground, and signal wires. Using the vehicle's wiring diagram, the technician identifies the correct connection points. The new switch is then wired in parallel with the existing motor circuits, ensuring the original seat controls remain functional while adding the new convenience feature. This step requires careful attention to detail to avoid any electrical faults.
4. **Wiring Management and Insulation:** Once all connections are made, the new wiring is bundled neatly with the existing harnesses. Care is taken to route the wires away from high-heat areas, such as near the engine compartment, to prevent damage. All electrical connections are meticulously insulated using high-quality electrical tape, followed by a secondary layer of heat-shrink tubing for maximum protection against moisture and vibration, ensuring long-term reliability.
The entire installation process for this OEM option typically takes approximately 2 to 3 hours to complete.