Volvo XC40 Dash Cam Installation Review


Volvo XC40 dash cam and battery installation: approx. $220-$440 USD. Ensures safety and evidence capture.
Why Install a Dash Cam and Battery Pack on Your Volvo XC40?
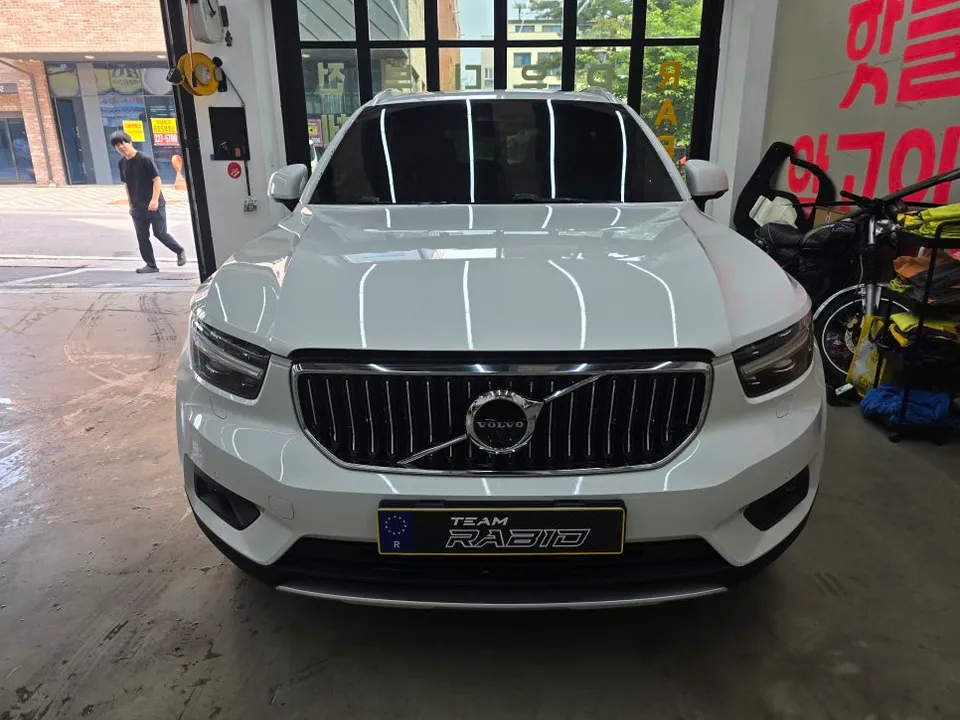
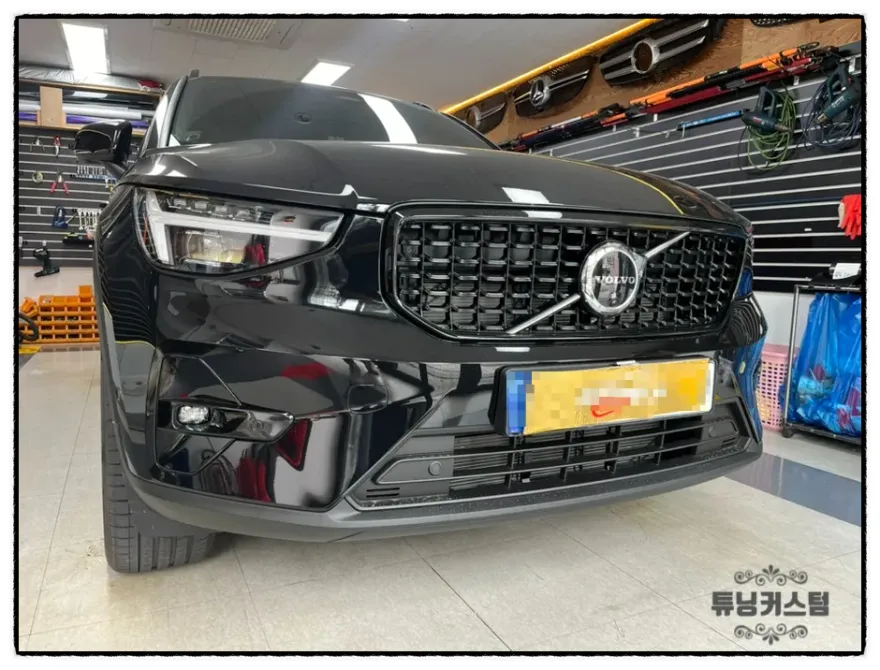
When you get a new car like the Volvo XC40, one of the first accessories many owners consider is a dash cam, often paired with a power bank. For XC40 owners, questions often arise about which products to choose and where to get a reliable installation. This review details a specific installation of an I-Navi QXD1 dash cam and an EcoPowerPack S8 auxiliary battery on a Volvo XC40, based on a real-world case in South Korea. The goal is to protect your vehicle and provide crucial evidence if needed.
I-Navi QXD1 Dash Cam Features and Installation
The I-Navi QXD1 dash cam features advanced AI for accurate threat detection, recording only essential events. A standout function is its traffic light recognition, alerting the driver, enhancing both convenience and safety. The installation process prioritizes safety. Wiring is meticulously managed using sound-dampening tape to prevent rattles. Crucially, to mitigate risks during an accident, the installer removed the A-pillar cover. This allows the dash cam wiring to be secured along the original wiring harness using cable ties, preventing it from becoming a secondary hazard if the airbag deploys. Skipping A-pillar removal can lead to wires tangling or posing a risk to the driver's neck during an airbag deployment. The rear camera cable was also routed discreetly along the factory lines.

EcoPowerPack S8 Battery and Overall Value
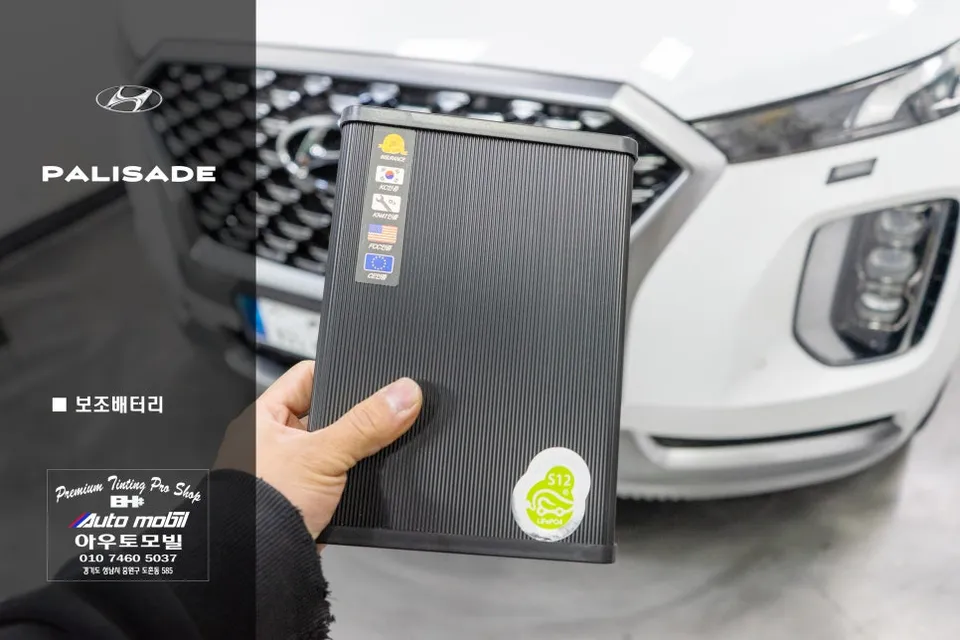
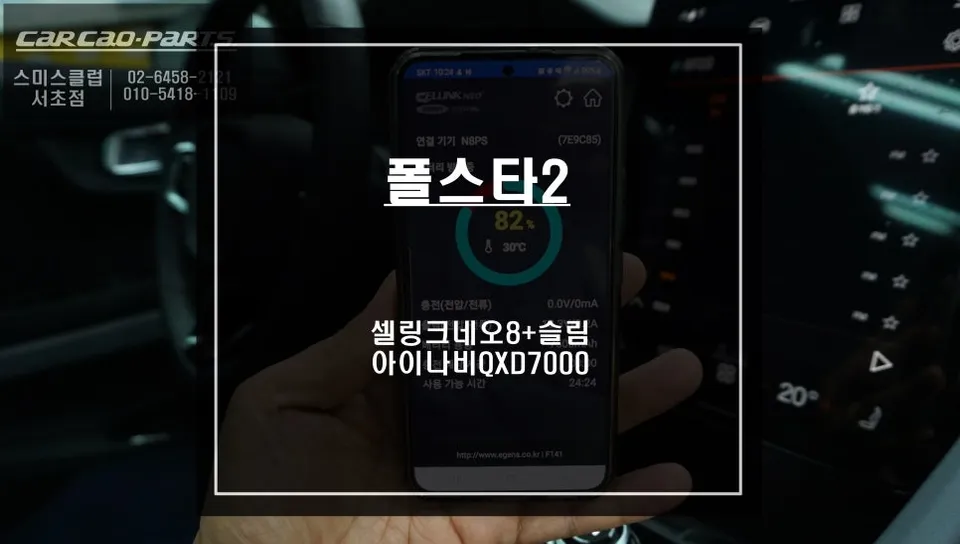
The EcoPowerPack S8 auxiliary battery was neatly installed under the passenger seat. While a battery pack extends dash cam recording time, especially for parking mode, consistent vehicle operation is vital for its charging. The battery only recharges when the car is driven. Therefore, regular driving is essential to keep the auxiliary battery functional. When setting up the dash cam menu, if you don't have an auxiliary battery, you must enable the 'low voltage cutoff' to prevent draining your car's main battery. With the auxiliary battery installed, you should activate the 'use auxiliary battery' setting. The total cost for this combined I-Navi QXD1 dash cam and EcoPowerPack S8 installation in South Korea was approximately 300,000 to 600,000 KRW (roughly $220-$440 USD, depending on exchange rates and specific product tiers). The installation process took about 3-4 hours. When choosing a service, prioritize installers who perform the A-pillar removal and secure wiring correctly, and who provide clear guidance on using the auxiliary battery. Also, check the product's warranty and after-sales service policy. This installation demonstrates a commitment to safety and proper procedure, minimizing potential future issues.
Installation Process:
- Remove the A-pillar cover to access the original wiring harness.
- Securely route and tie the dash cam wiring along the factory harness to prevent rattles and ensure safety during airbag deployment.
- Install the auxiliary battery, typically under the passenger seat, and connect it to the dash cam.
- Configure dash cam settings, including enabling auxiliary battery usage and setting the correct time/date.
- Adjust camera angles for optimal front and rear views, ensuring no cables are exposed.
Frequently Asked Questions
Q. How much does dash cam installation cost for a Volvo XC40?
In South Korea, the I-Navi QXD1 dash cam and EcoPowerPack S8 battery installation cost around 300,000 to 600,000 KRW (approx. $220-$440 USD). Professional installation in the US can range from $100 to $400 depending on the system and complexity.
Q. How long does dash cam installation take on a Volvo XC40?
Professional dash cam and auxiliary battery installation typically takes about 3-4 hours. To ensure longevity, regularly drive your vehicle to keep the auxiliary battery charged.
Q. Is a hardwired dash cam worth it over a self-install for a Volvo XC40?
A professionally hardwired dash cam is highly recommended for safety, especially for features like parking mode, as it ensures proper wiring and avoids risks associated with incorrect installation. The value lies in professional routing along factory lines and secure connections, minimizing potential hazards.
Q. How is a dash cam professionally installed on a Volvo XC40?
Professional installation involves removing the A-pillar cover to route wiring safely along the car's original harness, securing it with ties. The rear camera cable is also hidden along factory lines. An auxiliary battery is typically installed under the passenger seat.
Q. What is the difference between a 1-channel and 2-channel dash cam for a Volvo XC40?
A 1-channel dash cam records only the front view, while a 2-channel system includes a rear camera for simultaneous recording of both front and rear views. For comprehensive coverage and parking security, a 2-channel dash cam is generally recommended.
Q. What should I know before getting Dash Cam on a Volvo XC40? (common regrets and mistakes)
The most common mistake is improper wiring, particularly neglecting to secure cables along the A-pillar, which can be dangerous if the airbag deploys. Always ensure your installer removes the A-pillar and follows factory routing for safety.
OhCar Partner Shop