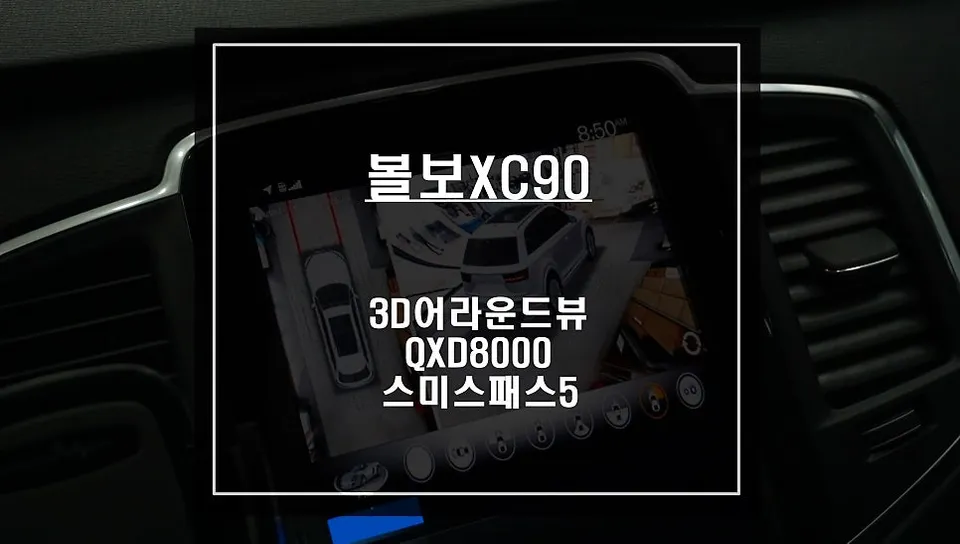
Volvo XC90 360 Camera Installation Review
Service Price
$150+
Estimated price · Actual price may vary by shop
Volvo XC90 360 camera installation eliminates blind spots for safer parking. Experience enhanced visibility and confident driving.
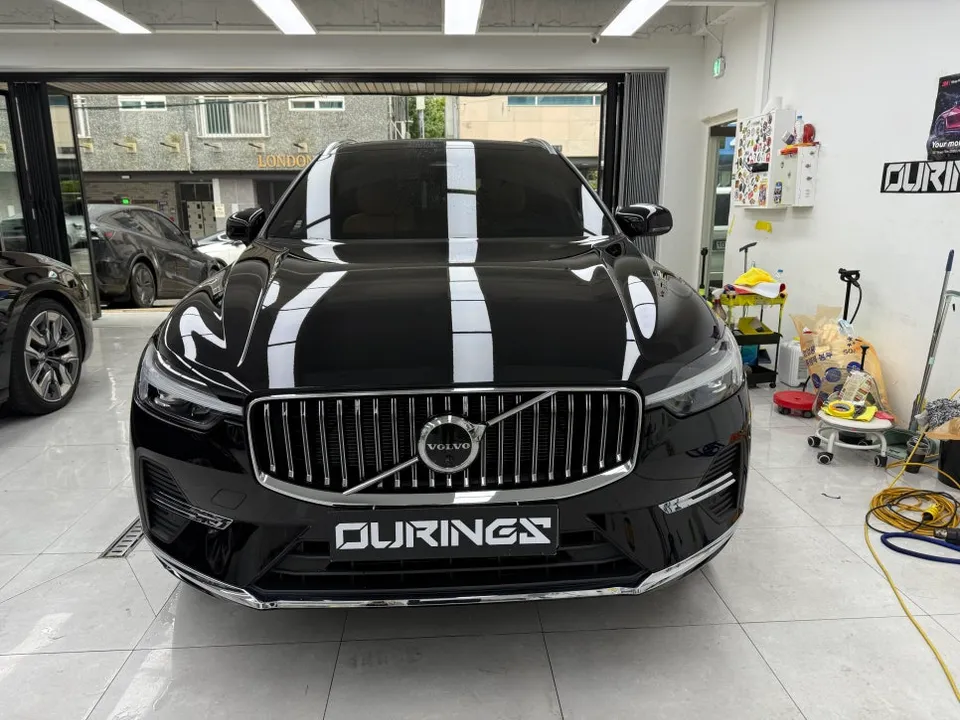
Navigating the Volvo XC90's Size: The Need for Enhanced Visibility
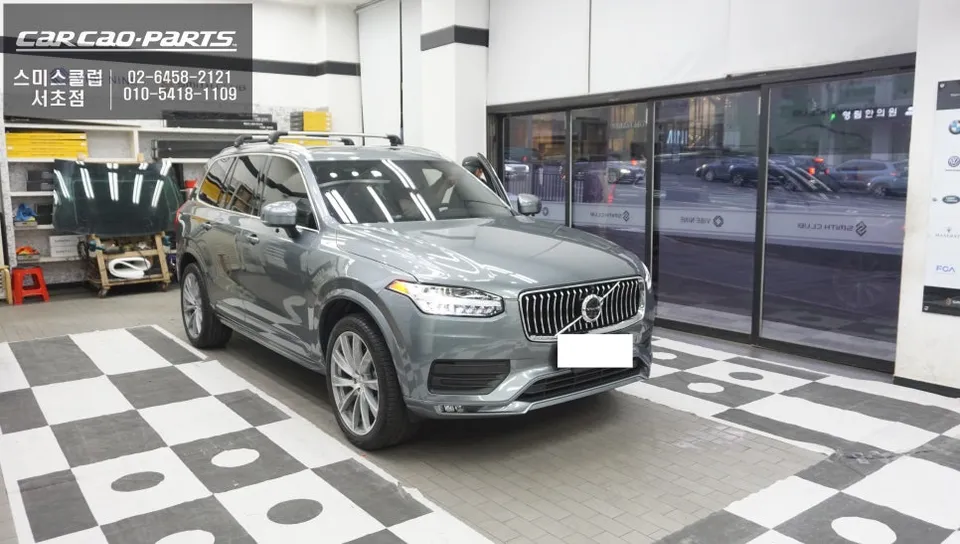
The owner of a new Volvo XC90 found themselves increasingly anxious during daily drives, particularly when parking. The large dimensions of the SUV meant that standard rear-view cameras offered limited visibility, creating a constant worry about missing nearby obstacles or pedestrians. This led to a desire for a more comprehensive solution that would allow for confident parking without the nagging "what if" feeling. Seeking expert advice, they visited 'OdeunCar' in Seocho-gu.
Initially, the client was unsure about the exact capabilities of an around view monitor. The consultation team clarified that it's a technology providing a 360-degree, bird's-eye view of the vehicle's surroundings. After seeing a demonstration of the system in action, the client was convinced and decided to proceed with the installation, also opting for a dashcam and high-pass toll system concurrently.
Achieving a 360-Degree Top-Down View with Four Cameras
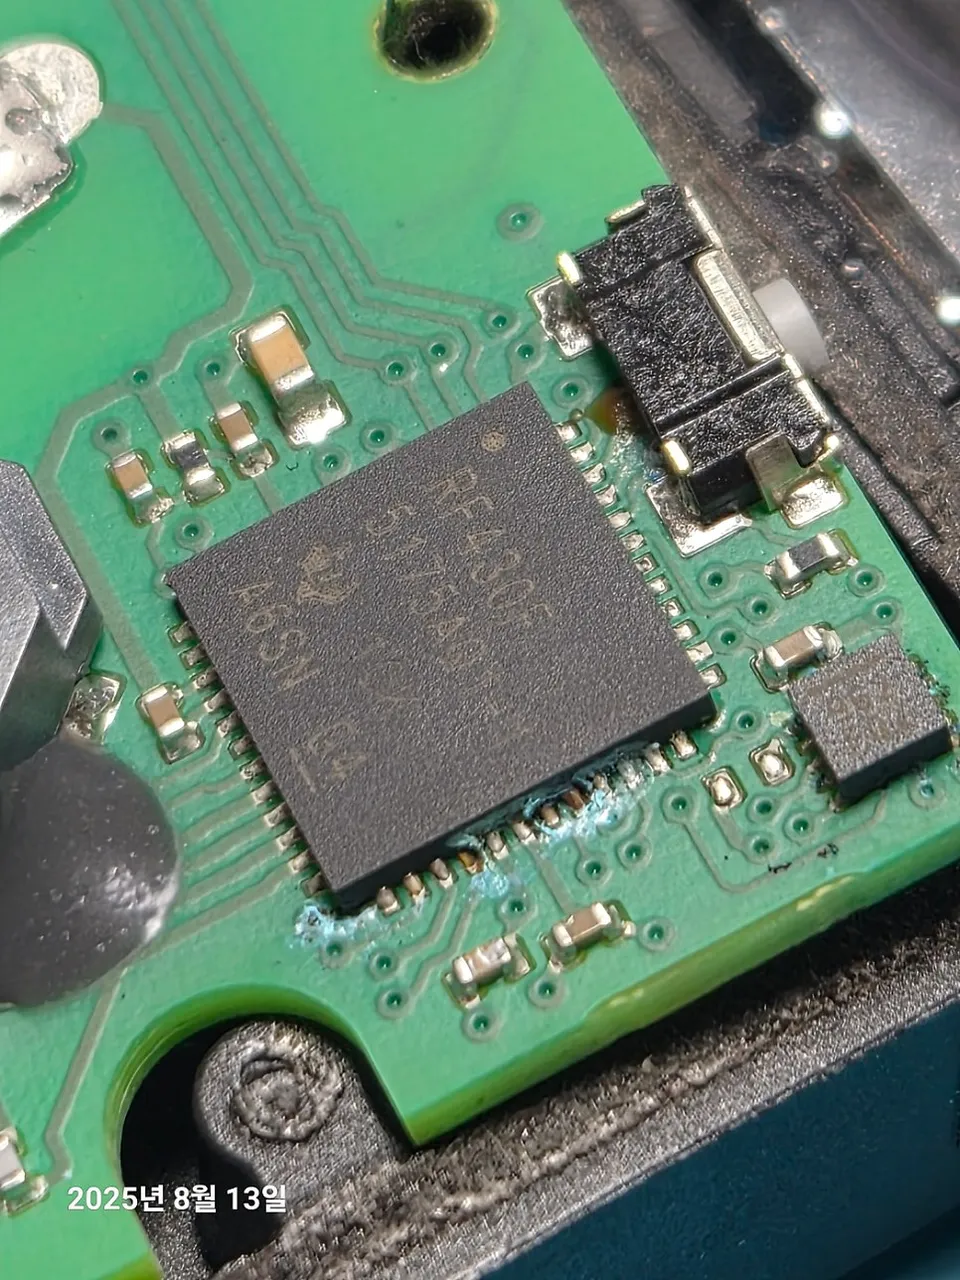
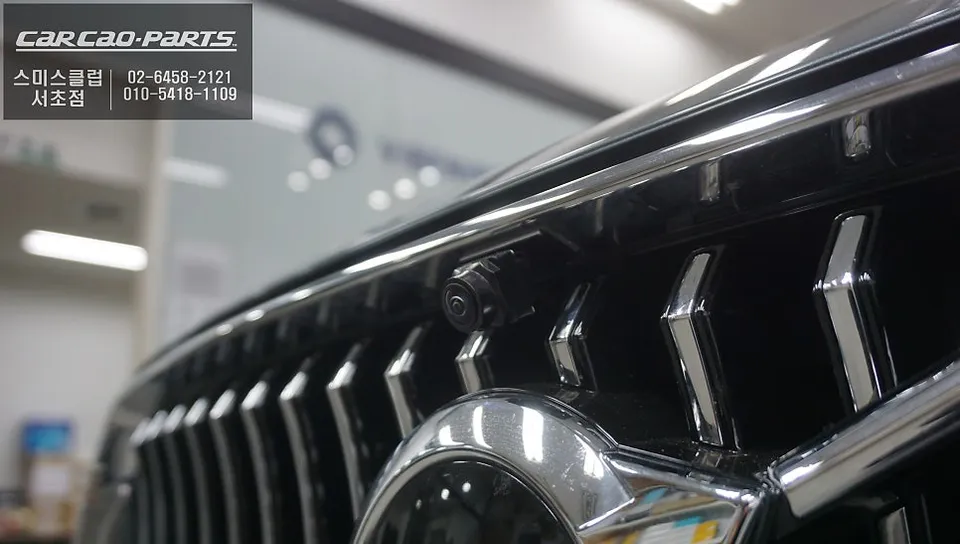
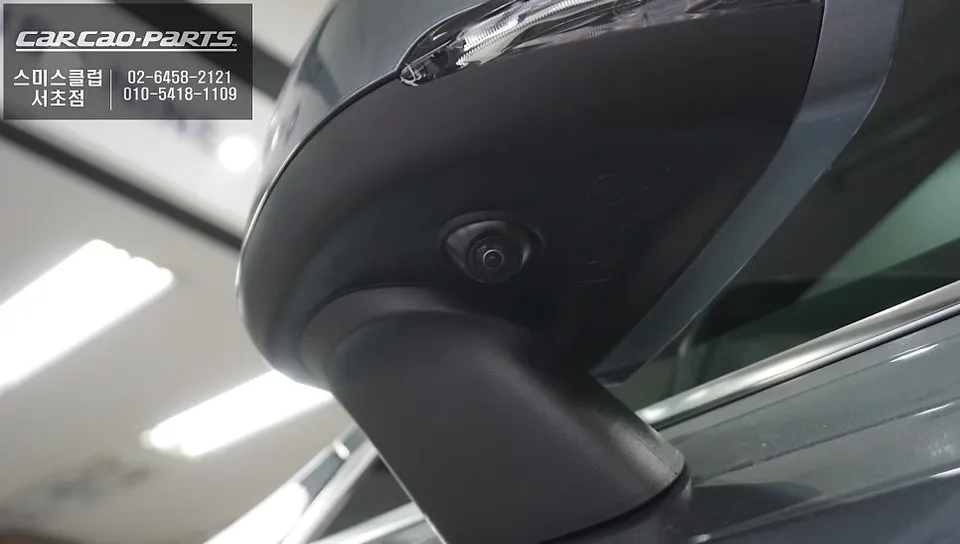
The installation process for the Volvo XC90's around view monitor involves strategically mounting wide-angle cameras on the front, rear, left, and right sides of the vehicle. These cameras capture overlapping fields of view, which are then processed and stitched together by a central unit to create a seamless top-down perspective, often referred to as "Sky View" or "Top View." This synthesized image provides an unparalleled overview of the car's immediate environment.
The technicians at 'OdeunCar' first integrated a specialized interface to ensure compatibility with the XC90's factory infotainment system. A crucial aspect of the installation is maintaining the functionality of the original rear-view camera while adding the around view capabilities. Following precise camera placement, a critical calibration process, known as "empty calibration" or "vehicle calibration," is performed. This step is essential to correct any image distortion and ensure the displayed view accurately reflects the vehicle's surroundings from a true overhead perspective.
Precision in Calibration: The Key to Effective Surround View
The success of an around view monitor system hinges on the accuracy of the calibration. The technical team meticulously laid out a calibration pattern around the vehicle. They then carefully checked that each camera recognized the same points in space, ensuring the composite image was perfectly aligned. Inadequate calibration can lead to misaligned video feeds or the persistence of blind spots, defeating the purpose of the system. After approximately 2-3 hours of detailed work, the system was calibrated to provide a precise top-down view, enabling drivers to easily identify blind spots.
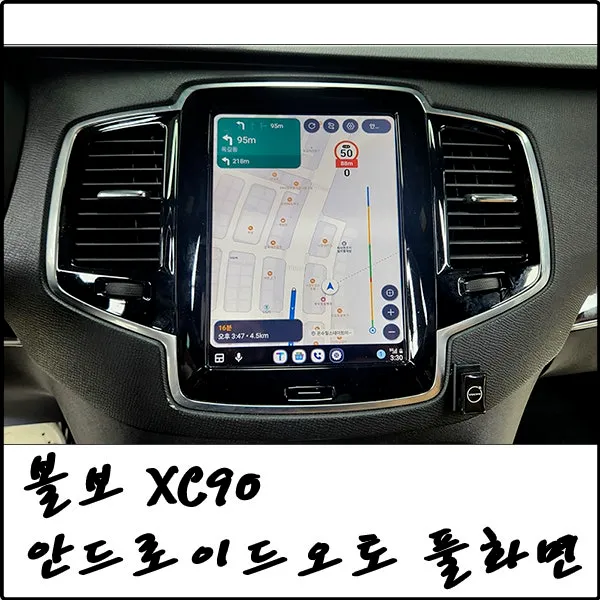
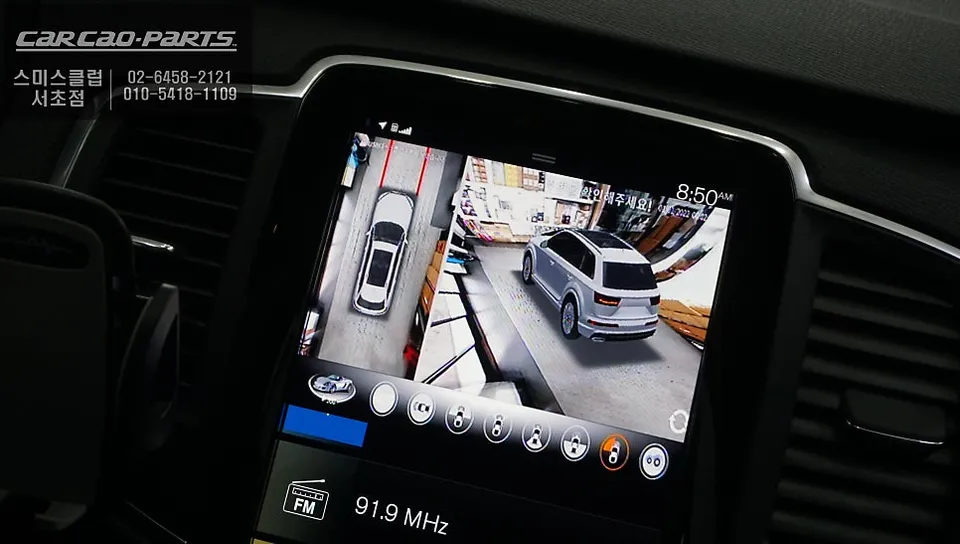
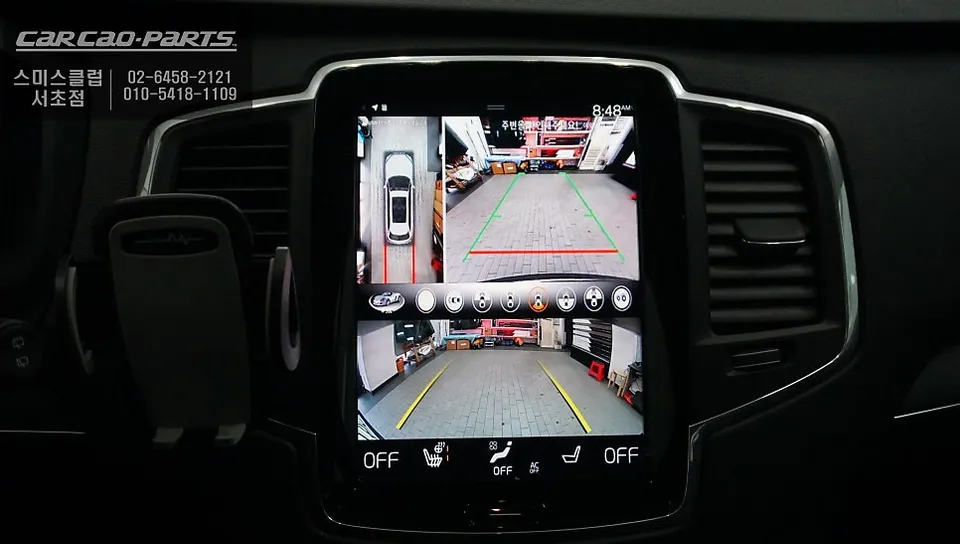
Dynamic Functionality: How the Surround View Works in Real-Time
Post-installation, the client experienced the dynamic features of the surround view system during actual driving. The system intelligently integrates with the vehicle's gear selection. When the transmission is shifted into Reverse (R), the display automatically shows a rear-biased top-down view along with the standard rear camera feed. For situations where a front-facing overhead view is desired while in Drive (D), a press of the central button on the wireless jog dial activates a front-biased top-down view. The system reverts to the original display after a set period, ensuring it doesn't interfere with driving. The turn signal integration is particularly useful; activating the left turn signal highlights the left side of the vehicle's view, and the right turn signal does the same for the right side. This feature is invaluable for lane changes and navigating tight spaces, offering immediate visual confirmation of adjacent areas. Furthermore, in demanding situations like narrow alleyways or underground parking garages, activating the surround view is as simple as pressing the hazard light button twice in quick succession, providing instant access to the 360-degree view when needed most.
[MID_BANNER]
Integrated Recording with the Premium QXD8000 Dashcam
While the around view monitor significantly enhanced parking confidence, the client also considered the need for robust video recording. The 'OdeunCar' team highlighted that the four cameras used for the surround view system could also be leveraged for recording. Consequently, they decided to install the I-Navi QXD8000 premium dashcam. The QXD8000, with its QHD resolution, is engineered to capture clear and detailed incident footage across various driving conditions. Its rear camera boasts a wide viewing angle of up to 172 degrees, ensuring comprehensive coverage.
Frequently Asked Questions
Q. How much does an around view monitor cost for a Volvo XC90?
The installation of the around view monitor for the Volvo XC90 in this review was performed at OdeunCar in Seocho-gu, with the client also opting for a dashcam and high-pass toll system. While a specific price for the around view monitor alone isn't provided, professional installations in the US typically range from $800 to $2,500 depending on the system's complexity and features.
Q. How long does an around view monitor last on a Volvo XC90?
An around view monitor system, when professionally installed and using quality components, can last for many years, often matching the lifespan of the vehicle's electronics. Regular cleaning of the camera lenses and ensuring the calibration remains accurate are key maintenance practices to preserve its functionality.
Q. Is an around view monitor worth it for a Volvo XC90?
An around view monitor is highly beneficial for drivers of larger vehicles like the Volvo XC90, especially those who frequently navigate tight parking spaces or are concerned about blind spots. The enhanced visibility it provides significantly increases parking confidence and safety, making it a valuable investment for peace of mind.
Q. How is an around view monitor installed on a Volvo XC90?
Installation involves mounting four wide-angle cameras (front, rear, left, right) and integrating a specialized interface with the factory system. The process includes precise camera placement, connecting them to a processing unit, and performing a critical calibration step to ensure accurate, distortion-free overhead views. The entire procedure typically takes 2-3 hours.
Q. What is the best around view monitor option for a Volvo XC90?
While specific brand recommendations vary, systems that offer seamless integration with the vehicle's existing display, accurate calibration, and intuitive controls (like turn signal activation) are generally considered superior. Look for installers who specialize in advanced driver-assistance systems and offer comprehensive calibration services.
Kakao Parts