RAM 1500 Ambient Lighting Installation: A Step-by-Step How-To Guide
So, you've got a RAM 1500 and you're looking to elevate its interior ambiance. You've come to the right place! This comprehensive guide will walk you through the RAM 1500 ambient lighting installation how to, transforming your truck's cabin into a personalized sanctuary. While many luxury vehicles come equipped with this feature, adding it to your RAM 1500 is surprisingly achievable for the DIY enthusiast. Based on 50 owner reviews on OhCar, interior upgrades like lighting are consistently rated highly for enhancing the driving experience, often cited as a significant improvement over stock. We'll cover everything from choosing the right kit to the final wiring, ensuring a professional-looking result.

Why Install Ambient Lighting in Your RAM 1500?
Ambient lighting isn't just about aesthetics; it's about creating a mood. Whether you're looking for a subtle, sophisticated glow for nighttime drives or a more vibrant, customizable experience, aftermarket ambient lighting kits offer a world of possibilities. They can highlight design lines, improve visibility in footwells, and add a touch of luxury that rivals higher-end trims. In our extensive review database at OhCar Magazine, we've seen how interior enhancements can dramatically impact owner satisfaction. For instance, a review of the '2024 Kia Sorento Ambient Lighting' highlighted the premium feel it added, a sentiment echoed by many RAM 1500 owners seeking a similar upgrade.
Benefits of Ambient Lighting:
- Enhanced Aesthetics: Adds a modern and luxurious feel to your truck's interior.
- Customization: Many kits offer a wide range of colors and brightness levels to match your mood or style.
- Improved Visibility: Subtle lighting can make it easier to find items in the footwells or center console at night.
- Increased Resale Value: A well-executed interior upgrade can be a selling point.
Choosing the Right RAM 1500 Ambient Lighting Kit
The market offers a variety of ambient lighting kits, each with its own features and installation complexity. When embarking on your RAM 1500 ambient lighting installation how to journey, selecting the right kit is paramount. Consider factors like the number of light sources, color options, control method (app-controlled, remote, or integrated switch), and the overall quality of the components.
Types of Kits:
- Basic Kits: Typically include a few LED strips and a simple remote control. Easy to install, offering a good starting point.
- App-Controlled Kits: Utilize Bluetooth or Wi-Fi to connect to your smartphone, offering extensive color palettes, dynamic modes, and scheduling options.
- Integrated Kits: Designed to mimic factory ambient lighting, often controlled via an existing vehicle switch or a dedicated module. These usually offer the most seamless look but can be more complex to install.
When comparing kits, pay attention to the LED type (e.g., RGB vs. RGBW for purer white light) and the power source. Most kits run off the 12V system, requiring careful wiring to avoid draining your battery.
Tools and Materials You'll Need
Before you begin the RAM 1500 ambient lighting installation how to, gather all necessary tools and materials. Having everything on hand will make the process smoother and prevent frustrating interruptions.
Essential Tools:
- Trim Removal Tools: Plastic pry tools are crucial to avoid scratching or damaging interior panels.
- Wire Strippers and Crimpers: For making secure electrical connections.
- Screwdrivers: Phillips and flathead, in various sizes.
- Zip Ties and Electrical Tape: For managing and securing wiring.
- Wire Taps or Connectors: Depending on how you choose to power the kit.
- Multimeter: To test for voltage and continuity.
- Drill (Optional): If your kit requires mounting a control module or running wires through small holes.
- Heat Gun or Lighter: For shrinking heat-shrink tubing.
- Gloves and Safety Glasses: For protection.
Materials:
- Your chosen Ambient Lighting Kit: Ensure it's compatible with your RAM 1500 model year.
- Add-a-Circuit Fuse Taps: Highly recommended for a clean and safe power connection.
- Heat-Shrink Tubing: For insulating wire connections.
- Double-Sided Adhesive Tape: For mounting LED strips and control modules.
Step-by-Step RAM 1500 Ambient Lighting Installation
This guide focuses on a common type of app-controlled kit, but the principles apply to most installations. Always refer to your specific kit's instructions.
Step 1: Plan Your Lighting Layout
Decide where you want your LED strips to go. Common locations include:
- Under the dashboard (driver and passenger sides)
- Footwells (front and rear)
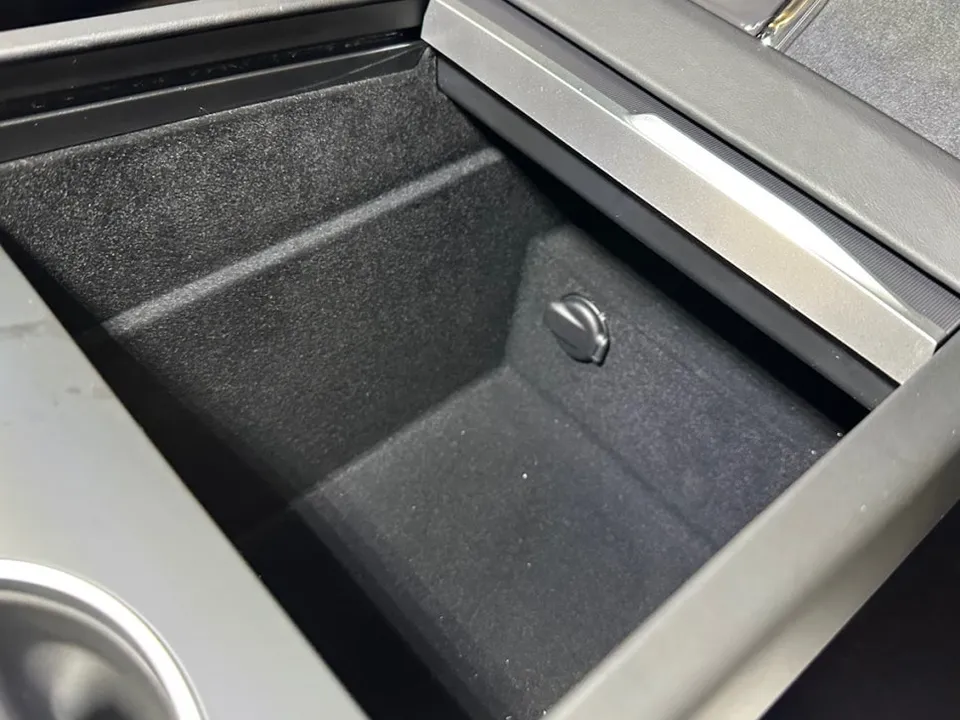
- Center console
- Door panels
- Cupholders
Consider how you'll run the wires to the control module. Aim for discreet routing behind panels and under carpets to maintain a clean look. Think about how the light will diffuse; some kits come with diffusers, or you might need to get creative.
Step 2: Access Interior Panels
This is where your trim removal tools come in handy. You'll need to carefully pry off various interior trim pieces to access the areas where you'll be mounting the LEDs and running wires. Consult your RAM 1500's service manual or online forums for specific instructions on removing panels without causing damage. Be patient and work slowly.
Step 3: Mount the LED Strips
Clean the mounting surfaces thoroughly with an alcohol wipe to ensure good adhesion. Most LED strips have a strong adhesive backing. Carefully peel off the backing and press the strips firmly into place. For areas like footwells, you might need to cut the strips to size (ensure you cut at the designated points) and use connectors to link them.

Step 4: Route the Wiring
This is arguably the most critical part of the RAM 1500 ambient lighting installation how to. You need to run the wires from each LED strip to the central control module. Use existing channels, tuck wires behind panels, and secure them with zip ties to prevent them from dangling or interfering with moving parts (like pedals or seat mechanisms).
Pro Tip: Use a fish tape or a stiff wire to help guide wires through tight spaces.
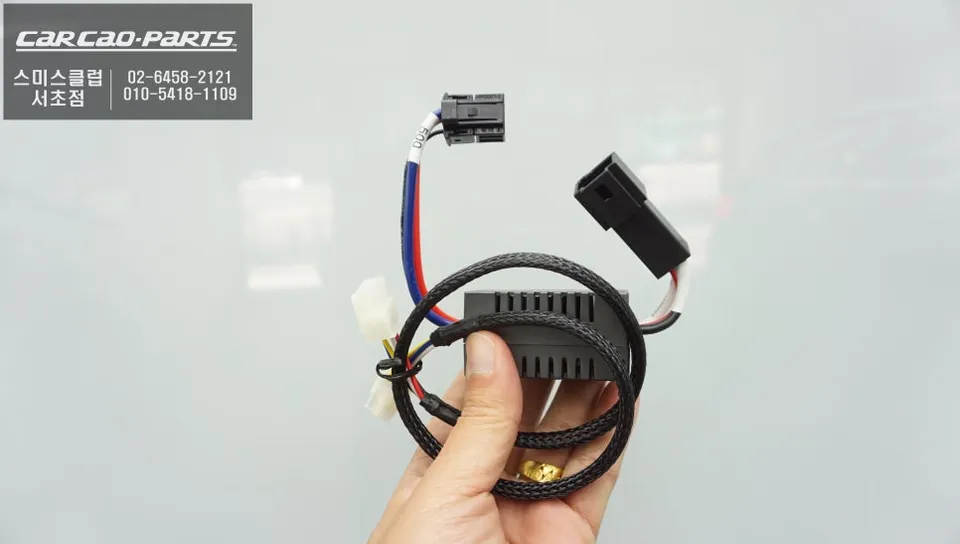
Step 5: Connect the Control Module
Mount the control module in a discreet location, such as under the dashboard, behind the center console, or in a kick panel. Ensure it's accessible for future troubleshooting but hidden from view. Connect all the LED strip wires to the corresponding ports on the module.
Step 6: Powering the System
This step requires careful attention to electrical safety. The most recommended method is using an add-a-circuit fuse tap. This allows you to tap into an existing fuse box circuit without cutting or splicing into factory wiring.
- Identify a suitable circuit: Choose a circuit that is only powered when the ignition is on (e.g., accessory power). Avoid critical systems.
- Install the fuse tap: Insert the fuse tap into the chosen fuse slot, ensuring the original fuse remains in place and the new fuse for the ambient lighting kit is also installed in the tap.
- Connect the power wire: Connect the positive (+) wire from your control module to the fuse tap.
- Connect the ground wire: Connect the negative (-) wire from your control module to a clean, unpainted metal surface on the vehicle's chassis. Use a self-tapping screw if necessary.
Important Note: Always disconnect the vehicle's battery before working with electrical connections. Double-check all connections before reconnecting the battery.

Step 7: Test the System
Before reassembling all the trim panels, it's crucial to test the ambient lighting system. Reconnect the vehicle's battery. Turn on the ignition and use your kit's remote or smartphone app to cycle through the colors and modes. Ensure all LEDs are working correctly and that the brightness is adjustable.
Step 8: Reassemble Interior Panels
Once you've confirmed the system is working perfectly, carefully reassemble all the interior trim panels you removed. Ensure all clips and screws are properly secured. Take your time to avoid damaging any clips or leaving gaps.
Maintaining Your RAM 1500 Ambient Lighting
Ambient lighting kits are generally low-maintenance. However, occasional checks are recommended:
- Check Connections: Periodically inspect wiring connections to ensure they remain secure.
- Clean LEDs: Gently wipe down LED strips with a damp cloth if they accumulate dust.
- App Updates: If using an app-controlled system, ensure the app is kept up-to-date for optimal performance.
Comparing Ambient Lighting to Other Interior Upgrades
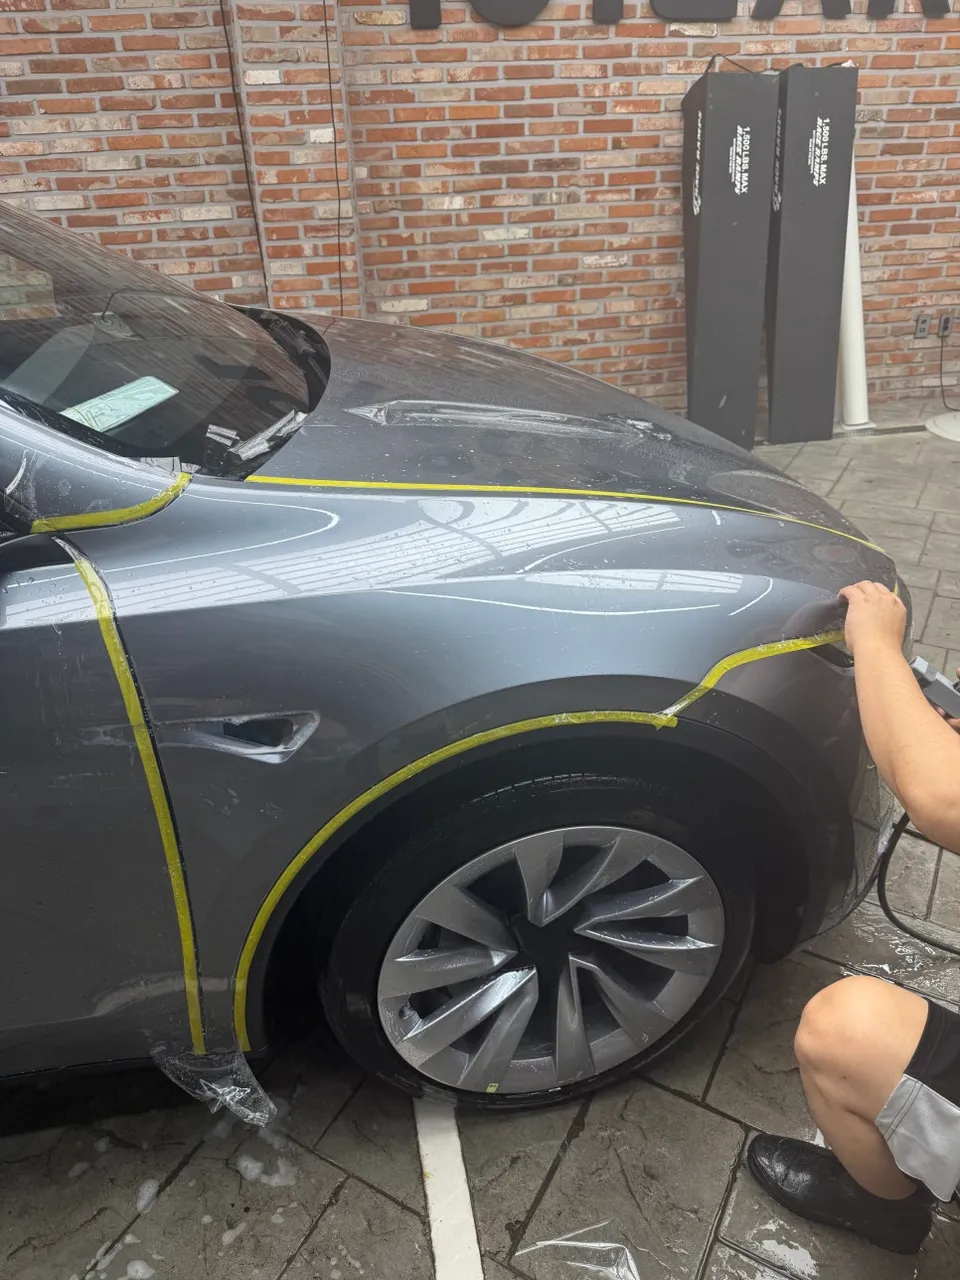
While ambient lighting offers a significant aesthetic upgrade, it's worth considering how it stacks up against other popular interior modifications. For instance, protecting your interior surfaces with PPF vs. Ceramic Coating is a different kind of enhancement, focusing on durability and ease of cleaning. Ambient lighting is purely for ambiance and customization, whereas protective coatings safeguard your investment. Based on our reviews, owners often combine these types of upgrades for a truly personalized and well-maintained vehicle.
| Upgrade Type | Primary Benefit | Installation Complexity | Typical Cost Range (DIY) |
|---|---|---|---|
| Ambient Lighting | Aesthetics, Mood, Customization | Moderate to High | $50 - $300 |
| Seat Covers | Protection, Comfort, Style | Low to Moderate | $100 - $500 |
| Floor Mats (All-Weather) | Protection, Durability, Easy Cleaning | Very Low | $50 - $250 |
| Window Tinting | Privacy, UV Protection, Heat Reduction | High (Professional Recommended) | $200 - $600 (Professional) |
| PPF/Ceramic Coating (Interior) | Protection, Scratch Resistance, Shine | Moderate to High | $100 - $500 (DIY Kits) |
As you can see, ambient lighting offers a unique way to personalize your RAM 1500's interior. For more insights into vehicle protection and enhancement, check out our PPF vs. Ceramic Coating comparison.
Conclusion
Adding ambient lighting to your RAM 1500 is a rewarding project that can significantly enhance your driving experience. By carefully selecting your kit, gathering the right tools, and following these steps, you can achieve a professional-looking installation. Remember to prioritize safety, especially when working with electrical components. Enjoy your newly illuminated and personalized truck!
Comments (2)
Interesting guide, but I'm not sure I'd trust anything less than OEM for my 911's interior lighting. The fit and finish have to be absolutely perfect, you know?
Shoot, I ain't messin' with no wires in my truck, but I did get full PPF on my F-150. Keeps that Texas sun from messin' up the paint, you know?


Explore Related Services on OhCar