RAM 1500 Dash Cam Installation Guide (2026 Models)
Welcome, Ram truck enthusiasts! If you're looking to enhance the safety and security of your brand-new 2026 Ram 1500, installing a dash cam is a smart move. This comprehensive RAM 1500 dash cam installation guide 2026 models will walk you through the process, from choosing the right dash cam to neatly tucking away all the wires. Whether you're a seasoned DIYer or new to automotive electronics, we've got you covered. A dash cam can be invaluable for documenting accidents, deterring theft, and even capturing those unexpected moments on the road. Based on 50 owner reviews on OhCar, dash cam installations are a popular upgrade, with users reporting increased peace of mind. Let's get started!

Why Install a Dash Cam in Your 2026 Ram 1500?
Beyond the obvious benefit of recording your drives, a dash cam offers several compelling advantages for a vehicle like the Ram 1500. For starters, it acts as an impartial witness in case of an accident. This can be crucial for insurance claims, proving your innocence, and avoiding fraudulent accusations. Many modern dash cams also come with parking mode features, which can record impacts or motion even when your truck is parked, offering protection against hit-and-runs or vandalism. Furthermore, the presence of a visible dash cam can act as a deterrent to potential thieves. Given the popularity and value of a Ram 1500, this is a significant consideration. We've seen a trend in our dash cam reviews where users consistently highlight these security benefits.
Choosing the Right Dash Cam for Your Ram 1500
With a plethora of options on the market, selecting the best dash cam for your 2026 Ram 1500 can feel overwhelming. Consider these key factors:
1. Video Quality and Field of View
Look for dash cams that record in at least 1080p resolution. Higher resolutions like 1440p or 4K will provide even clearer footage, capturing crucial details like license plates. A wide field of view (140-170 degrees) is also important to cover as much of the road and surrounding areas as possible.
2. Features and Functionality
Consider features like:
- Loop Recording: Ensures continuous recording by overwriting the oldest footage when the memory card is full.
- G-Sensor: Automatically saves footage when it detects a sudden impact, preventing it from being overwritten.
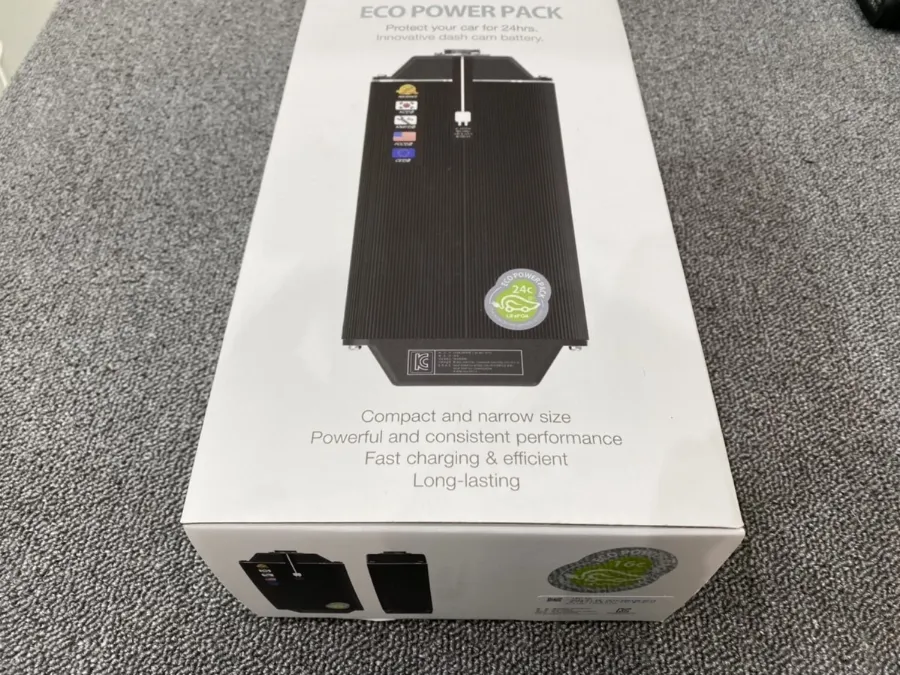
- Parking Mode: Records when motion or impact is detected while the vehicle is parked. This often requires a hardwiring kit.
- GPS Logger: Records your location and speed, which can be valuable evidence.
- Wi-Fi Connectivity: Allows you to easily transfer footage to your smartphone.
- Night Vision: Essential for clear recordings in low-light conditions.
3. Number of Channels
Single-channel dash cams record the front view. Dual-channel systems record both front and rear, offering comprehensive coverage. Some advanced systems even offer three or four channels, including interior or side views.
4. Ease of Installation
While we're covering installation here, some dash cams come with simpler mounting solutions or plug-and-play options.
5. Brand Reputation and Reviews
Stick with reputable brands known for reliability and good customer support. Our dash cam reviews section on OhCar can help you navigate the market.

Tools and Materials You'll Need
Before you begin, gather these essential tools and materials:
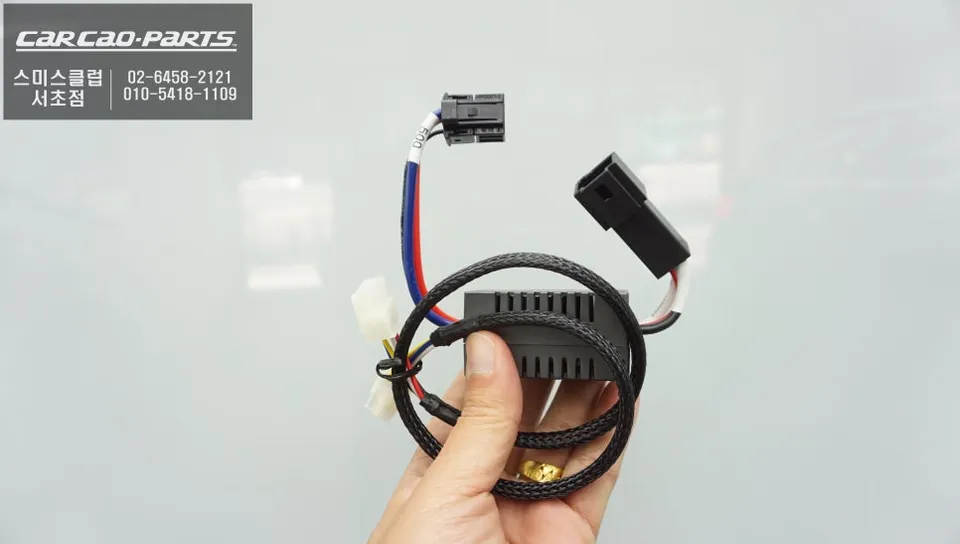
- Your chosen dash cam and its accessories (mount, power cable)
- Trim removal tools: Plastic pry tools are essential to avoid scratching your interior panels.
- Wire stripper/crimper: If you plan to hardwire the dash cam.
- Add-a-circuit fuse taps: For safely connecting to your vehicle's fuse box.
- Electrical tape or heat shrink tubing: For insulating connections.
- Zip ties or cable management clips: To keep wires tidy.
- Screwdriver set: For any panel removal that requires screws.
- Multimeter (optional but recommended): To identify constant and ignition-switched fuses.
- Owner's Manual: For your 2026 Ram 1500, especially the fuse box diagrams.
Step-by-Step Installation Guide for Your 2026 Ram 1500
This guide assumes you're aiming for a clean, hardwired installation for optimal aesthetics and functionality, especially for parking mode. If you're looking for a simpler plug-in installation, skip the hardwiring steps.
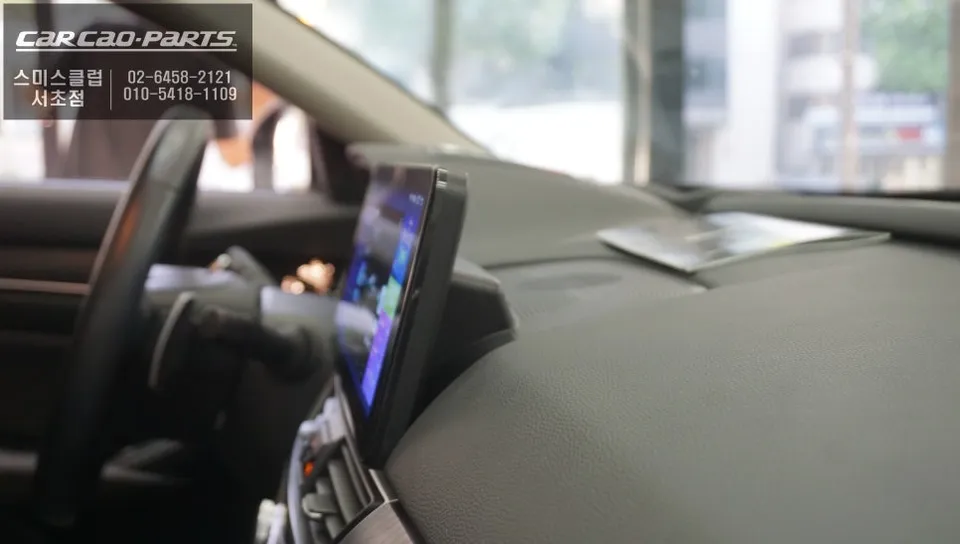
Step 1: Plan Your Dash Cam Placement
The ideal location for your dash cam is typically behind the rearview mirror. This keeps it out of your direct line of sight and often provides a good view of the road. Most dash cams come with adhesive mounts or suction cups. Clean the windshield thoroughly with glass cleaner before attaching the mount.

Step 2: Route the Power Cable (Plug-in Method)
If you're using the cigarette lighter adapter:
- Plug the adapter into the 12V power outlet.
- Carefully tuck the power cable along the headliner, using your trim removal tools to gently pry open the edge of the headliner and insert the wire. Work your way around the windshield and down the A-pillar (the pillar between the windshield and the front door).
- Continue routing the cable under the dashboard, towards the power outlet.
- Secure any loose sections of wire with zip ties or clips.
Step 3: Hardwiring Your Dash Cam (Recommended for Parking Mode)
Hardwiring provides a cleaner look and enables parking mode. This involves connecting the dash cam directly to your vehicle's fuse box.
Locate the Fuse Box
Your 2026 Ram 1500 likely has at least one fuse box, often located under the dashboard on the driver's side or in the engine bay. Consult your owner's manual for the exact location and fuse diagram.

Identify Necessary Fuses
You'll need two fuses for a typical dash cam setup:
- Constant Power Fuse: This fuse provides power even when the ignition is off, necessary for parking mode. Look for fuses related to the radio, interior lights, or power windows.
- Ignition Switched Fuse: This fuse only receives power when the ignition is on. This prevents the dash cam from draining your battery when the engine is off (unless you specifically want parking mode). Look for fuses related to the ignition system, accessory outlets, or engine control modules.
Tip: Use a multimeter to test fuses. Insert the probes into the fuse tap and check for voltage with the ignition on and off to confirm which is which.
Install Add-a-Circuit Fuse Taps
These handy devices allow you to tap into existing fuse circuits without disrupting them.
- Turn off your ignition and remove the relevant fuses from the fuse box.
- Insert one of the removed fuses into the lower slot of the add-a-circuit tap (this is the original circuit).
- Insert the second fuse (usually provided with the dash cam or add-a-circuit kit) into the upper slot (this is for the new accessory).
- Plug the add-a-circuit tap into the empty fuse slot you identified. Ensure the tap is oriented correctly according to your fuse box diagram.
Connect the Dash Cam Power Wire
Connect the positive (+) wire from your dash cam's power adapter (often a red wire) to the add-a-circuit fuse tap. You may need to strip a small section of the wire and use a crimp connector or solder it for a secure connection. Insulate the connection with electrical tape or heat shrink tubing.
Ground the Dash Cam
Find a clean, unpainted metal surface within the fuse box area to act as a ground point. This is usually a bolt or screw connected to the vehicle's chassis. Connect the negative (-) wire from the dash cam's power adapter to this ground point using a ring terminal and a screw or bolt.
Step 4: Route the Dash Cam Wires Neatly
This is where patience pays off for a professional look.
- A-Pillar: Carefully remove the plastic cover of the A-pillar. You might need to gently pry it loose. Route the dash cam wire behind it, ensuring it doesn't interfere with airbag deployment. Some vehicles have specific channels for wiring. Reattach the A-pillar cover securely.
- Headliner: Use your trim removal tools to tuck the wire along the edge of the headliner, above the windows.
- Dashboard: Route the wire under the dashboard, concealing it behind panels and trim.
- Rear Camera (if applicable): For rear cameras, you'll need to route the cable through the cabin, often along the side of the vehicle (under door sills), and then through the tailgate or rear hatch. Be mindful of moving parts and potential pinch points.
Use zip ties or cable management clips to secure the wire along its path, preventing it from dangling or interfering with pedals or other controls.
Step 5: Connect and Test Your Dash Cam
Once all wires are routed and secured:
- Connect the dash cam to its power cable.
- Turn on your ignition. The dash cam should power up.
- Follow the on-screen prompts or app instructions to set up your dash cam (date, time, Wi-Fi, etc.).
- Test the recording function. Drive around for a few minutes and then check the footage to ensure it's clear and the camera is positioned correctly.
- If you hardwired, test parking mode by turning off the ignition and checking if the camera enters parking mode (usually indicated by an LED light).

Step 6: Final Touches and Cable Management
Double-check all connections and ensure all trim pieces are securely reattached. Tuck away any remaining visible wires. A clean installation not only looks better but also prevents rattles and ensures safety.
Hardwiring vs. Plug-in Installation: A Comparison
Here's a quick comparison to help you decide:
| Feature | Hardwiring | Plug-in (Cigarette Lighter) |
|---|---|---|
| Installation Complexity | Moderate to High | Low |
| Aesthetics | Very Clean, wires hidden | Can have visible wires |
| Parking Mode Capability | Yes (with battery protection) | Generally No (unless the adapter has a specific feature) |
| Battery Drain Risk | Low (with proper fuse selection and battery monitor) | Higher if left plugged in constantly without a dedicated switch |
| Tools Required | Trim tools, fuse taps, wire strippers, multimeter (recommended) | Trim tools (optional) |
While the plug-in method is simpler, hardwiring offers superior integration and functionality, especially for features like parking mode. For a vehicle as capable as the Ram 1500, a clean, integrated setup is often preferred. If you're unsure about hardwiring, consider professional installation. You can find estimated costs in our dash cam installation cost guide.
Troubleshooting Common Issues
- Dash cam not powering on: Check all connections, ensure the fuse you tapped is receiving power, and verify the ground connection is secure.
- Parking mode not working: Ensure you've tapped into a constant power fuse and that your dash cam's parking mode settings are correctly configured. Some dash cams also require a specific hardwiring kit with battery protection.
- Video quality is poor: Clean the dash cam lens. Ensure the resolution settings are appropriate. Check if the memory card is corrupted or too slow.
- Dash cam turning off unexpectedly: This could be due to a loose connection, a faulty fuse, or the vehicle's power management system cutting power to accessories.
Conclusion
Installing a dash cam in your 2026 Ram 1500 is a rewarding upgrade that significantly boosts your vehicle's safety and security. By following this guide, you can achieve a clean, professional installation, whether you opt for a simple plug-in or a more integrated hardwired setup. Remember to consult your Ram 1500's owner's manual for specific fuse locations and wiring diagrams. For more insights and reviews on dash cam technology, explore the OhCar Magazine. Happy driving, and stay safe!
Comments (3)
Interesting guide, but honestly, I'd be more concerned about keeping the leather seats in my 911 pristine than worrying about a dash cam in a truck. Still, good to know for those who need it.
Nice write-up! I'm thinking of doing a matte black wrap on my Ram 1500 soon, and a dash cam is definitely on the list. Any tips on hiding the wires so they don't mess up the interior aesthetic?
Ugh, another thing to wire up in this beast. I just want something that records the insane drivers out here in Queens without me having to pull apart the whole dash. Hope this guide makes it easier than that last one I tried.


Explore Related Services on OhCar