Genesis G80 Dash Cam Installation Review - Battery Drain Solved
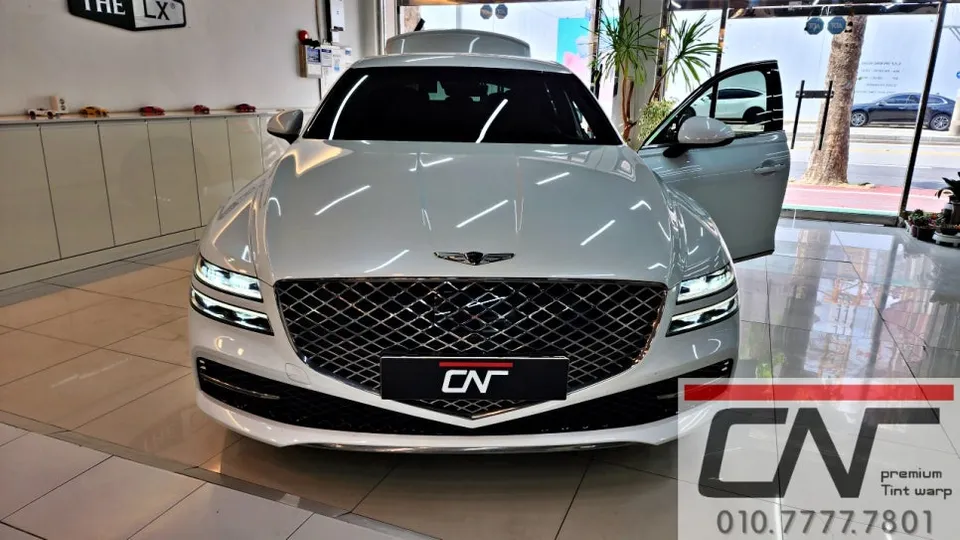
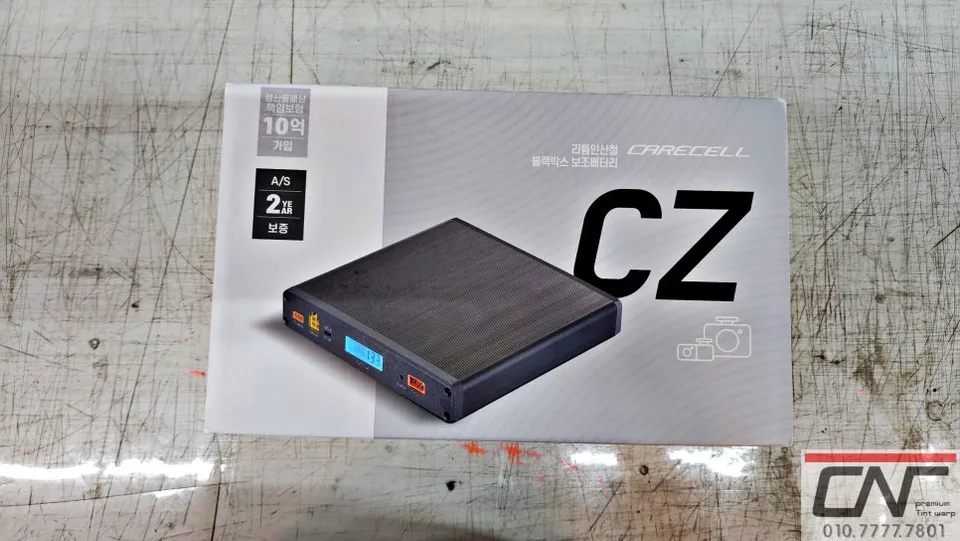
Genesis G80 dash cam & auxiliary battery install: Solves parking mode battery drain. Professional setup ensures continuous recording.
Genesis G80 Dash Cam & Auxiliary Battery Installation for Uninterrupted Power
Experiencing battery drain issues with your dash cam on your Genesis G80? This detailed review covers the professional installation of an iNavi QXD1 Plus dash cam, a Carecell CZ12A auxiliary battery, and the iNavi Connected Pro Plus service at our Daejeon branch. This combination is designed to eliminate parking mode battery drain concerns, ensuring your G80's electrical system remains healthy while your dash cam keeps recording.
Understanding Dash Cam Battery Drain and the Solution
Modern vehicles like the Genesis G80 are equipped with numerous electronic systems that increase the load on the main battery. High-definition dash cams, especially when operating in parking mode, consume a significant amount of power. Connecting a dash cam directly to the main battery without a proper power management solution can lead to premature battery degradation and unexpected power loss. To combat this, the owner of this Genesis G80 opted for an auxiliary battery system. This not only protects the vehicle's main battery but also ensures a stable and continuous power supply for the dash cam, providing peace of mind.
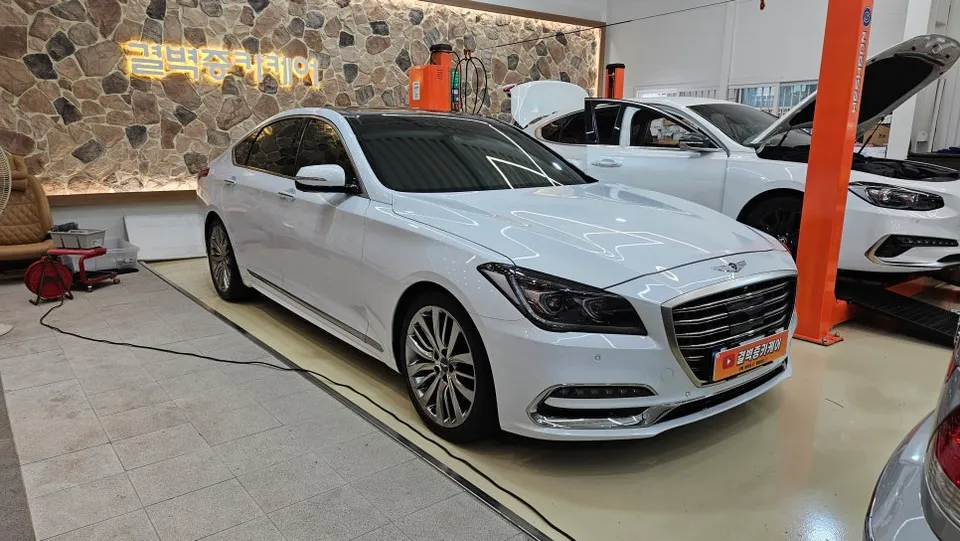
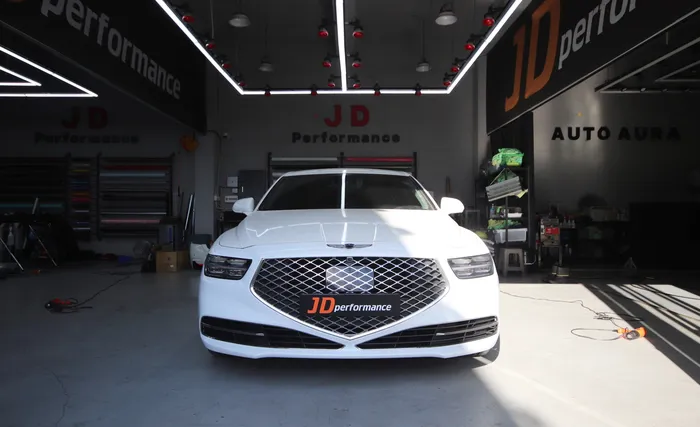
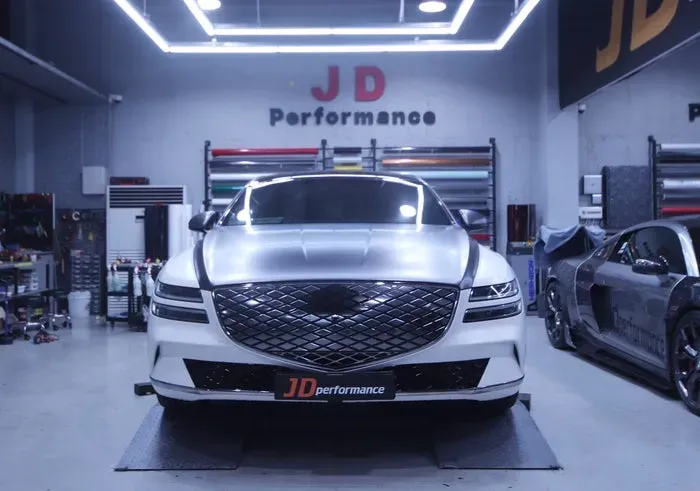
The installation process for this white Genesis G80 was completed efficiently within approximately 1 hour and 30 minutes, thanks to a pre-booked appointment. The key to this successful setup lies in the synergy between the iNavi QXD1 Plus dash cam and the Carecell CZ12A auxiliary battery. This pairing delivers both robust recording capabilities and reliable power delivery.
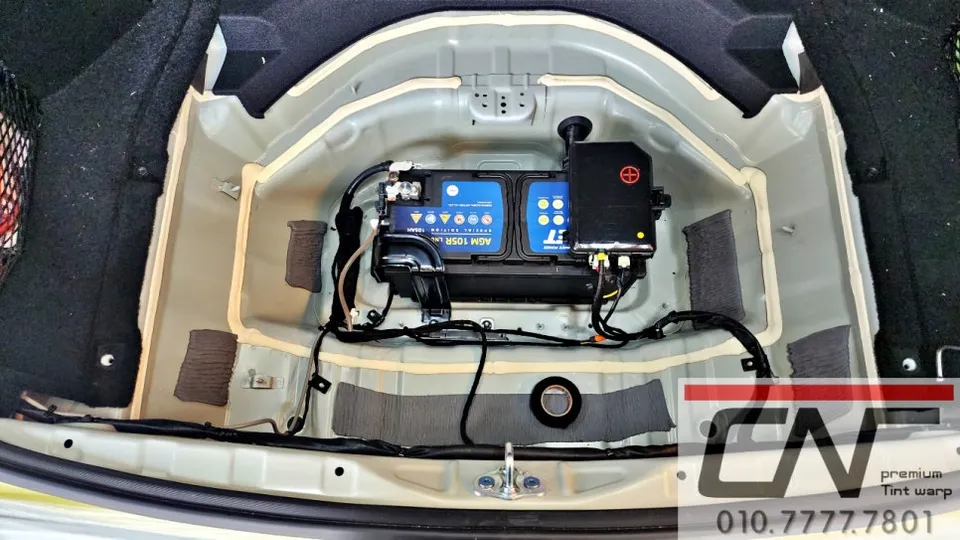
Professional Dash Cam & Auxiliary Battery Installation: Safety First
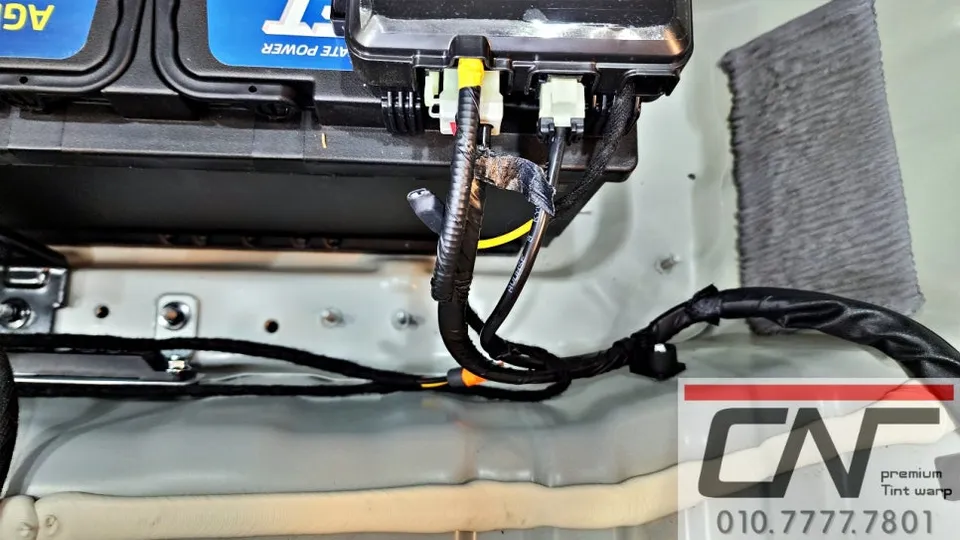
Installing an auxiliary battery is more than just connecting wires; it requires specialized knowledge to prevent electrical system malfunctions or fire hazards. At our Daejeon branch, we prioritize safety and precision. The Carecell CZ12A auxiliary battery was neatly installed in the trunk's lower storage compartment. This location allows for clean wiring management without compromising the vehicle's original interior.
The Carecell CZ12A features an integrated temperature sensor on the main positive line. This smart function automatically adjusts charging voltage if overheating is detected during charging, significantly enhancing the safety and longevity of the auxiliary battery. Furthermore, the negative terminal connection is critical to prevent leaks and performance issues. We employ an FM (Factory Method) installation technique, ensuring a secure and precise connection to the main battery's ground point, thereby mitigating potential future problems.
Monitoring the auxiliary battery's status is made simple with the Carecell CZ12A's intuitive LED indicators. A red light signifies charging, while a green light indicates a full charge. The LCD screen also provides detailed status information, allowing for easy visual checks of the battery's condition at any time.
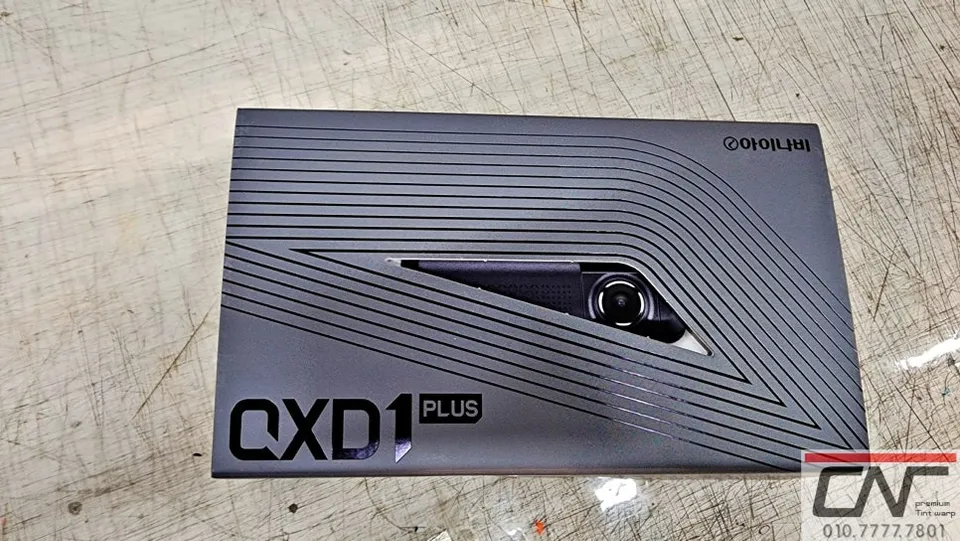
iNavi QXD1 Plus: Superior Clarity and Smart Features
The iNavi QXD1 Plus dash cam boasts impressive front and rear QHD (2560x1440) resolution, capturing crystal-clear footage. Its advanced features ensure that every detail is recorded, providing reliable evidence in case of an incident. Combined with the auxiliary battery and connected service, it offers a comprehensive surveillance solution for your Genesis G80.
Installation Process:
- Dash Cam Mounting: The front and rear cameras are securely mounted on the windshield and rear window, respectively, ensuring optimal viewing angles.
- Wiring Integration: Power and ground wires are carefully routed through the vehicle's interior trim, connecting to the auxiliary battery and the vehicle's fuse box.
- Auxiliary Battery Installation: The auxiliary battery is installed in a designated safe location, typically in the trunk, with all connections meticulously secured.
- Connected Service Setup: The iNavi Connected Pro Plus module is installed and configured, linking the dash cam to a mobile application for remote monitoring.
- System Testing: All components are tested to ensure proper functionality, including recording, power management, and connectivity.
Frequently Asked Questions
Q. How much does dash cam installation cost for a Genesis G80?
The specific cost for this Genesis G80 dash cam and auxiliary battery installation was not detailed in Korean Won, but professional installations in the US typically range from $150 to $500 depending on the components and complexity.
Q. How long does dash cam installation take on a Genesis G80?
This installation took approximately 1 hour and 30 minutes. Proper installation ensures longevity, and regular checks of the wiring and connections are recommended for maintenance.
Q. Is a hardwired dash cam worth it over a self-install for a Genesis G80?
A professionally hardwired dash cam, especially with an auxiliary battery, is highly recommended for Genesis G80 owners experiencing battery drain. It offers a reliable, integrated solution that maximizes performance and safety compared to simpler self-install methods.
Q. How is a dash cam professionally installed on a Genesis G80?
Professional installation involves securely mounting the dash cam units, carefully routing and connecting the power wires to the vehicle's electrical system (often via an auxiliary battery), and meticulously managing the wiring for a clean and safe finish.
Q. What is the difference between a 1-channel and 2-channel dash cam for a Genesis G80?
A 1-channel dash cam records only the front view, while a 2-channel system records both the front and rear views, providing comprehensive coverage. For most vehicles, including the Genesis G80, a 2-channel system is recommended for complete protection.
OhCar Partner Shop