Genesis GV80 Dash Cam Installation Review
Service Price
$75–115
Estimated price · Actual price may vary by shop
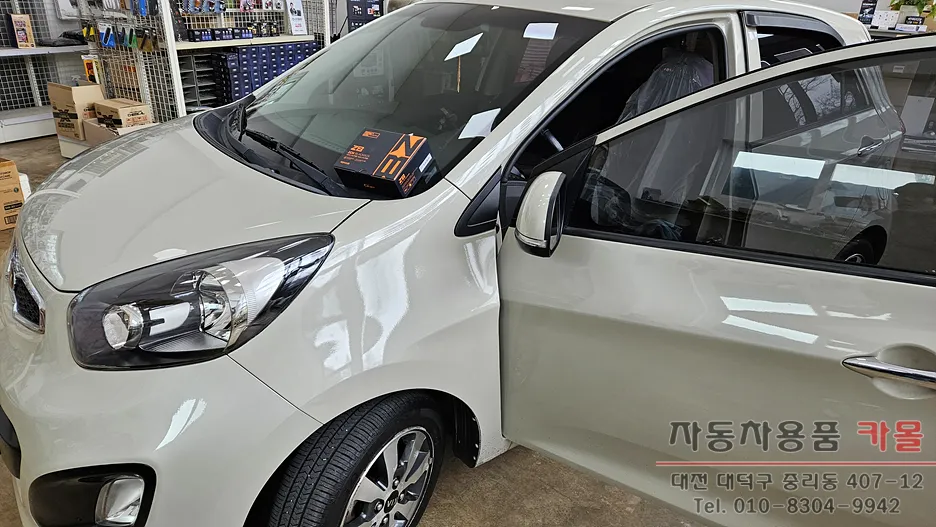
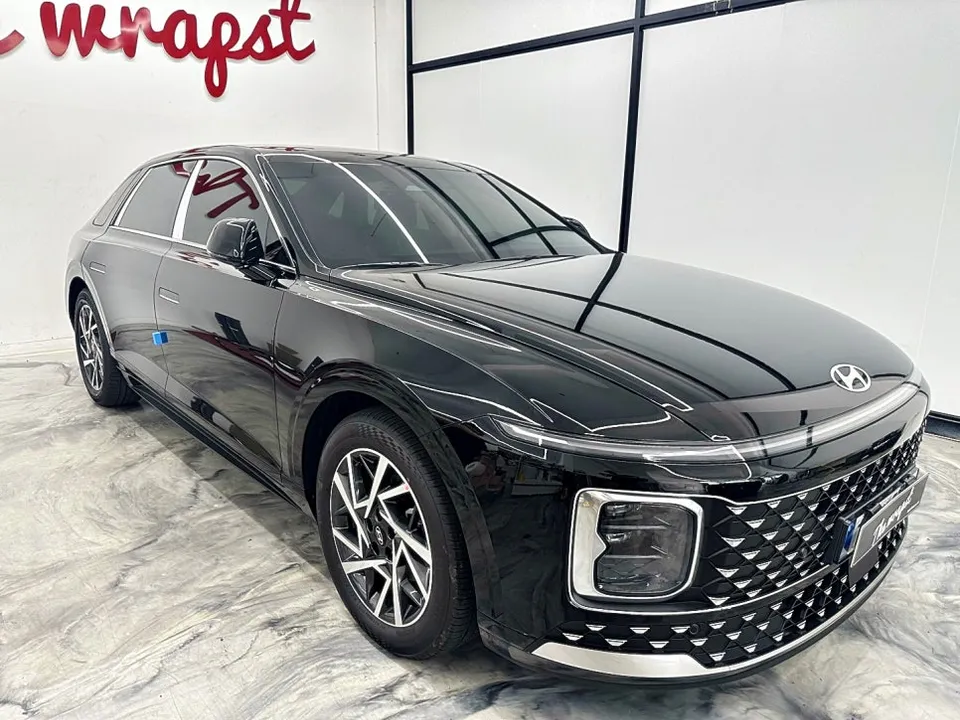
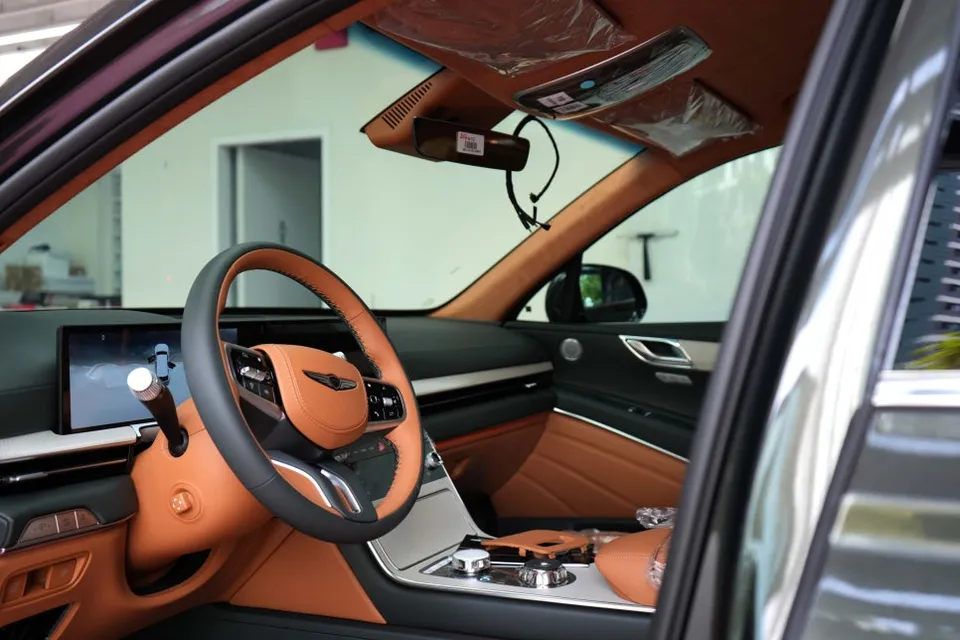
Before
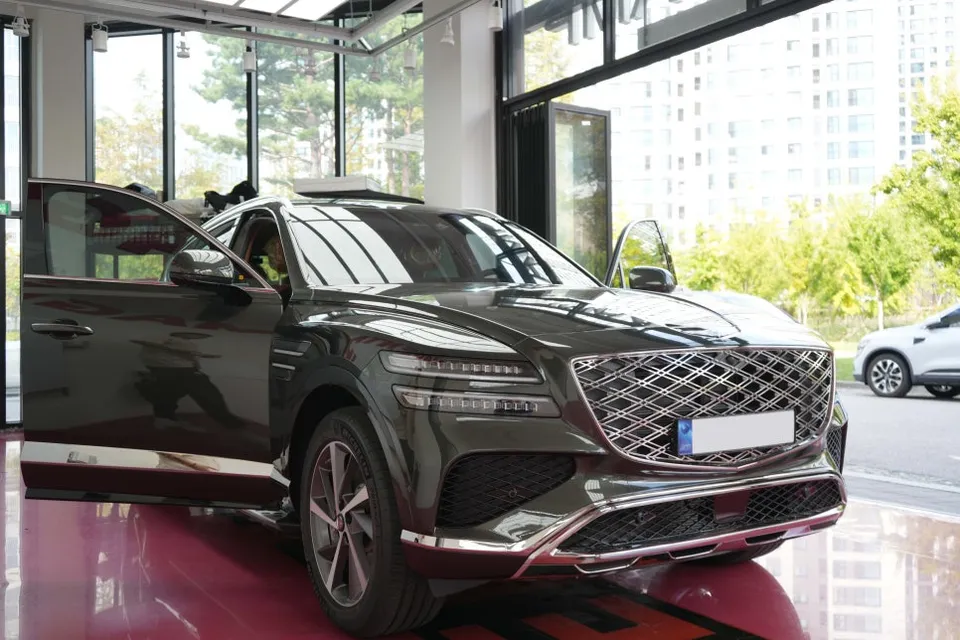
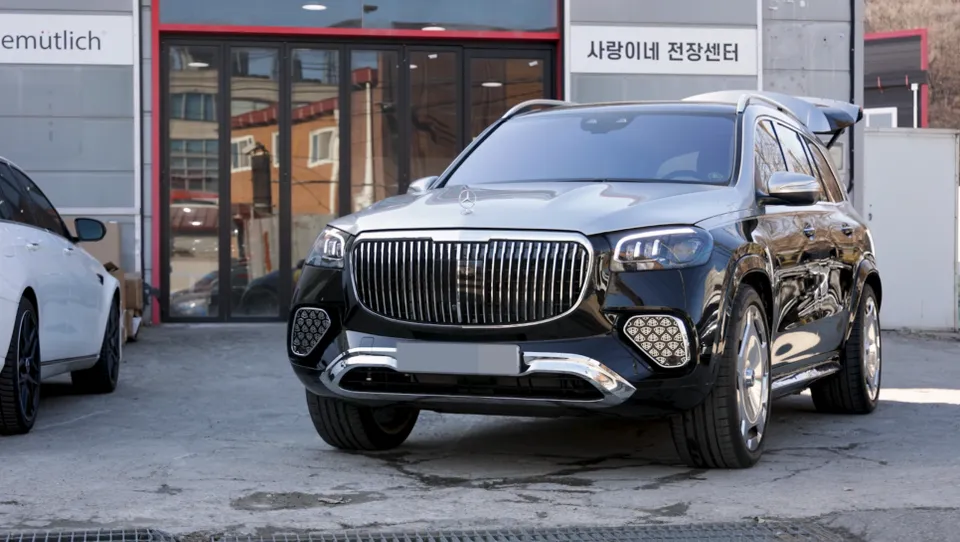
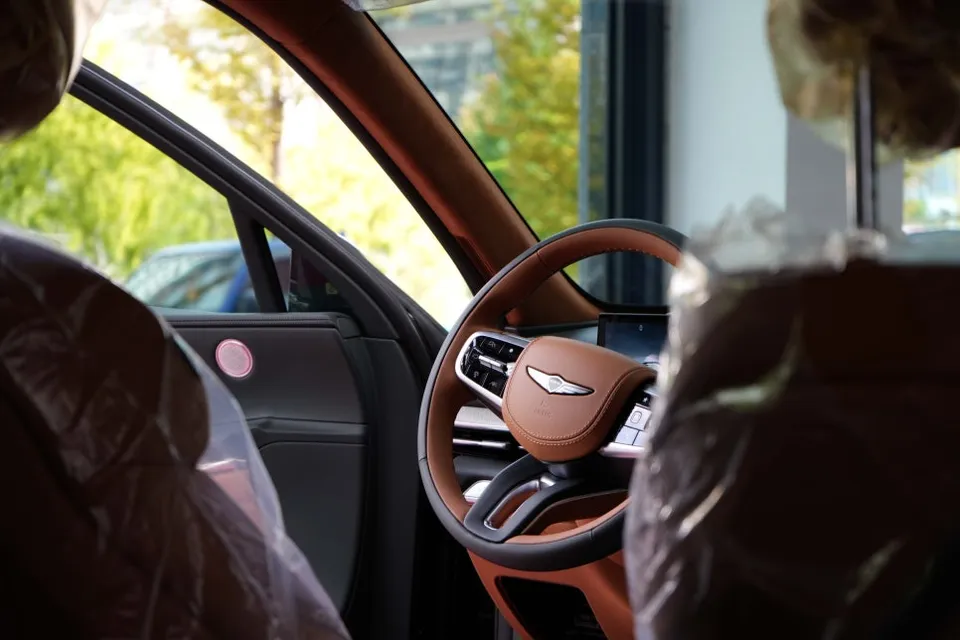
After
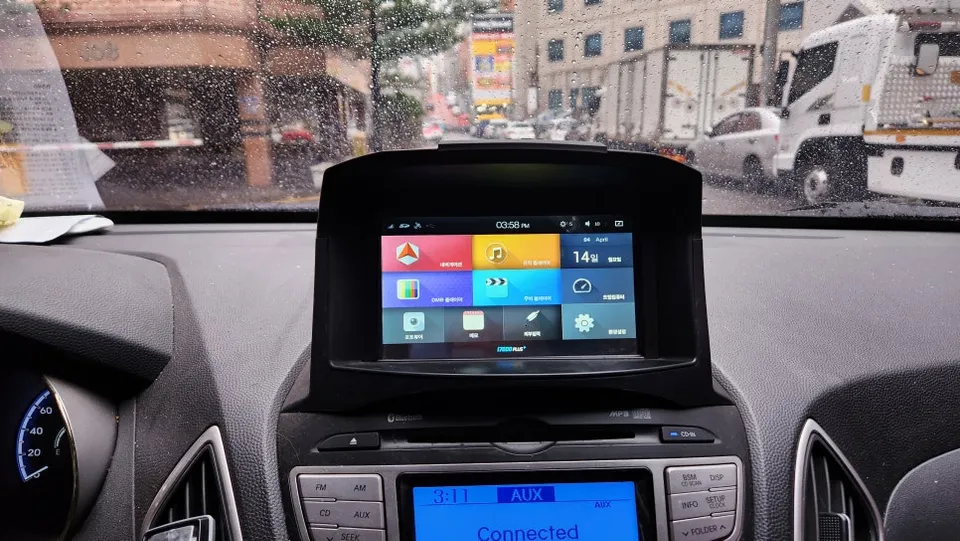
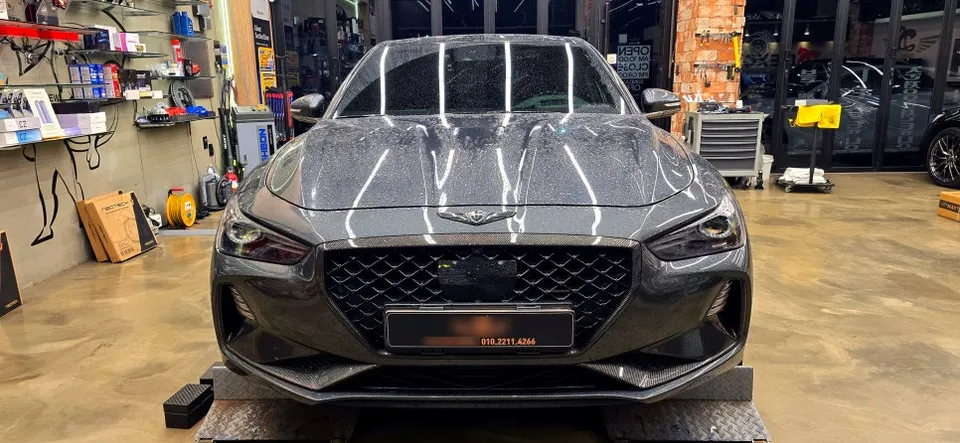
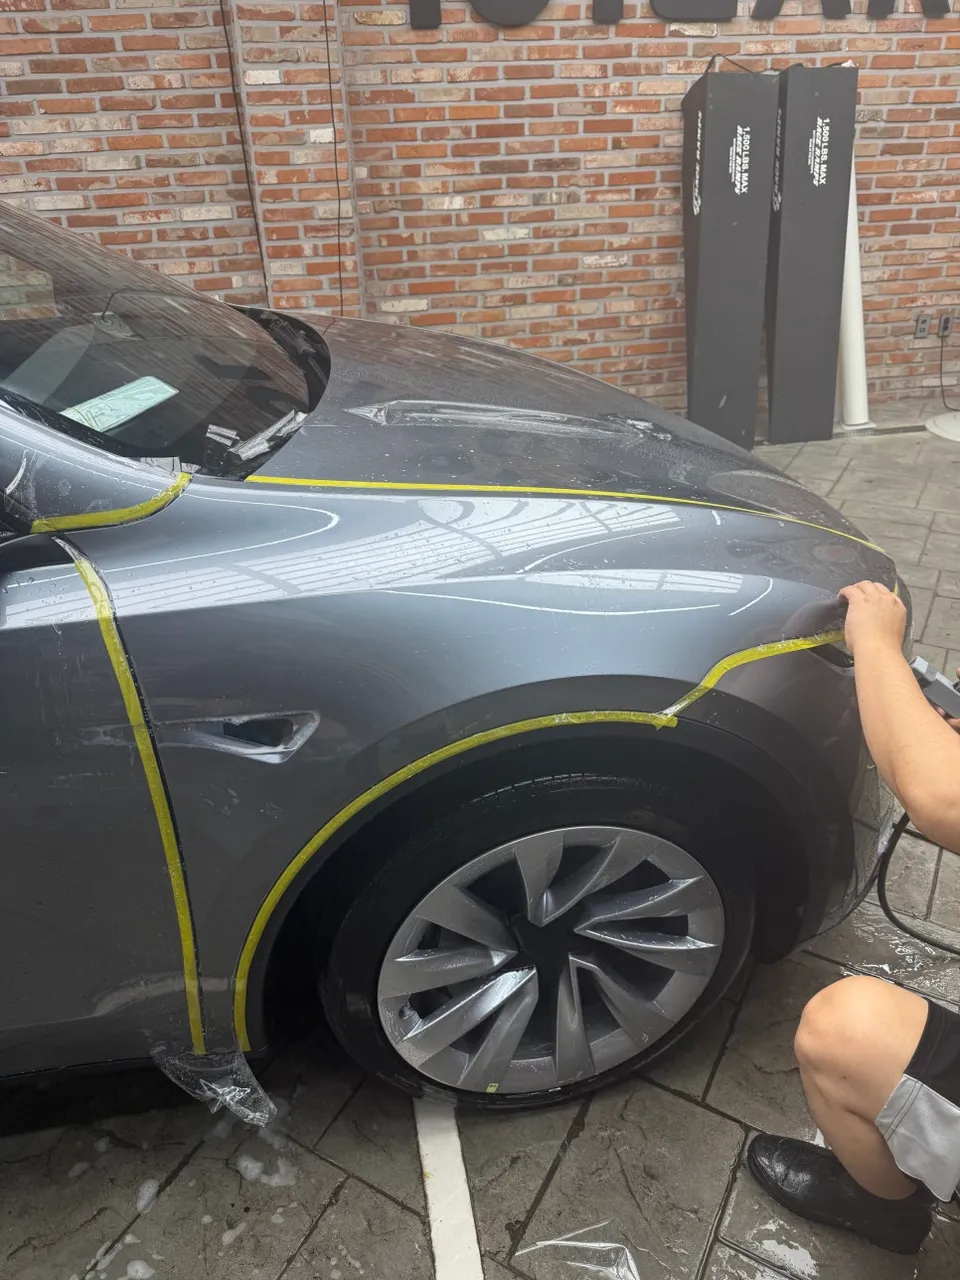
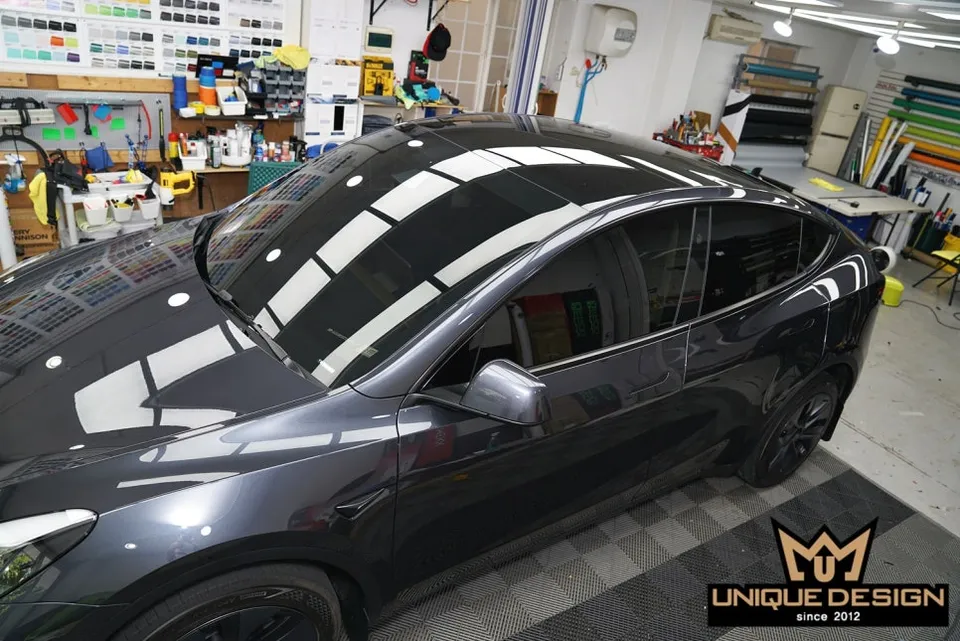
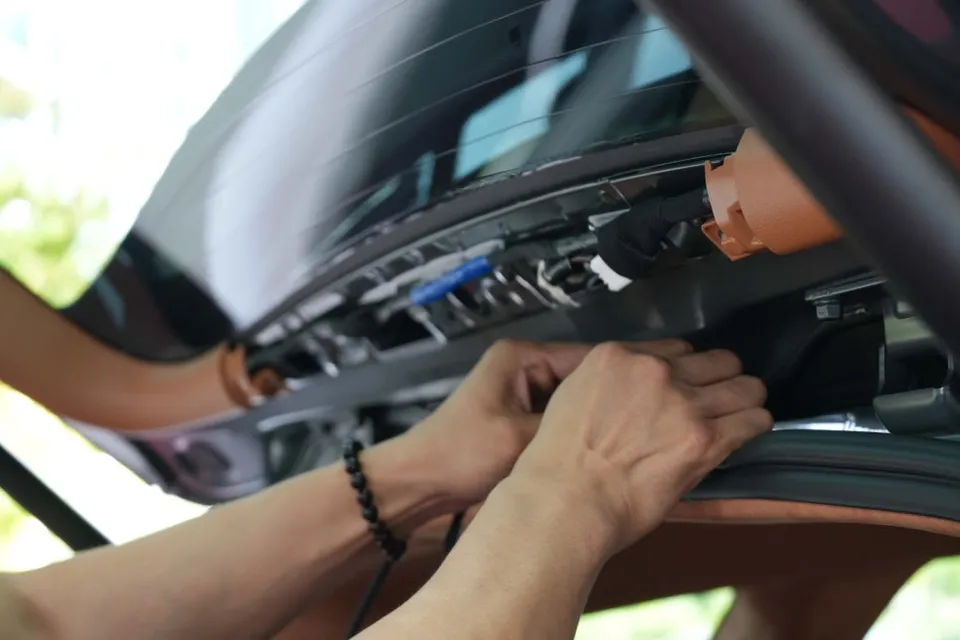
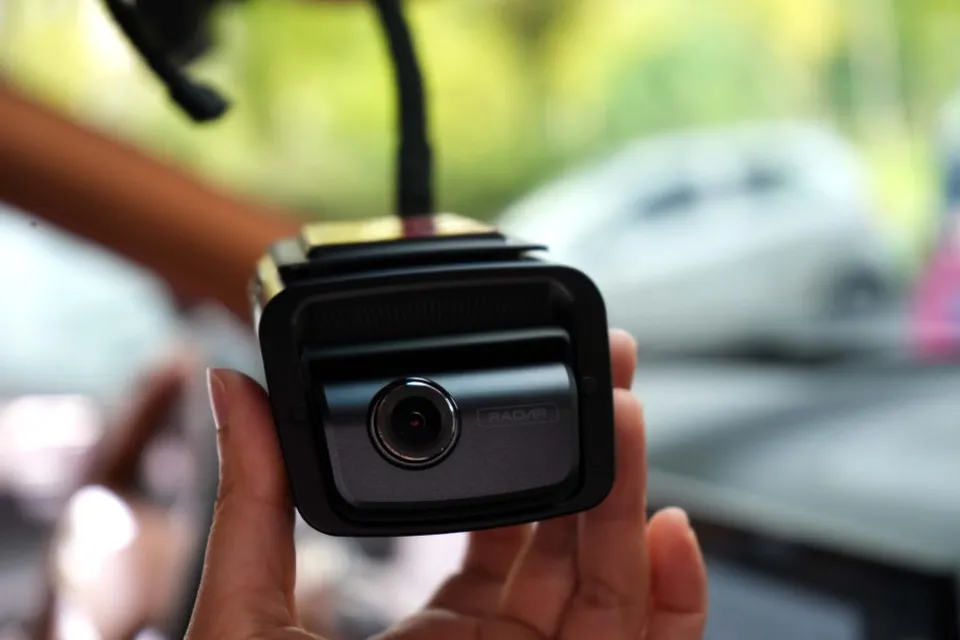
Process photos
Genesis GV80 dash cam installation: $75-$115. Professional hardwiring ensures safety and clean integration for parking mode.
Professional Dash Cam Installation for Your Genesis GV80
Considering a dash cam for your Genesis GV80? Many owners opt for professional installation to ensure a clean, reliable setup, especially when integrating features like parking mode and hardwiring. This review details the process and benefits of installing an iNavi Quantum 3 with a power bank on a Genesis GV80, as performed at a specialized automotive electronics shop in Guri, South Korea. While this specific service was performed in Korea, the principles of professional installation apply universally to ensure optimal performance and safety for your vehicle.
Expert Installation Process and Benefits
Professional dash cam installation goes beyond simply attaching a device to your windshield. It involves meticulous attention to detail, ensuring the system integrates seamlessly with your vehicle's electrical system and adheres to safety standards. For a premium vehicle like the Genesis GV80, this expertise is crucial.
1. Minimizing Noise with Sound-Dampening Wiring
A critical aspect of any professional installation is managing the wiring. Loose or poorly routed wires can generate annoying rattles and vibrations within the cabin. To prevent this, specialized installers use high-quality sound-dampening tape, such as genuine TESA brand tape from Germany. This tape is applied to all wiring harnesses, including those for the dash cam, connected services, and the power bank. TESA tape is chosen for its excellent heat resistance and abrasion durability, making it ideal for the demanding environment inside a car. This thorough sound-dampening process is typically included at no extra charge, ensuring a quiet and refined driving experience.
2. Ensuring Airbag Safety and Proper Routing
Vehicle safety systems, particularly airbags, must never be compromised. Professional installers understand the critical importance of routing dash cam wiring away from airbag deployment paths. For the Genesis GV80, this involves carefully removing trim panels, such as the A-pillar, to access secure routing channels. By meticulously planning the wire runs, installers ensure that the airbags can deploy correctly in the event of an accident, prioritizing the safety of occupants above all else. This adherence to safety protocols is a cornerstone of reputable installation services.
3. Strategic Power Bank Placement and Integration
For extended parking mode recording, a dedicated power bank is often installed. In this case, the customer requested the power bank be placed discreetly in the trunk's lower section. Professional installers ensure a clean integration, minimizing visible wiring and securing the unit firmly. For a cigarette lighter-type connection, they focus on a robust and tidy setup that maintains the vehicle's original interior aesthetics. Techniques like using sound-absorbing materials (e.g., Shinsullator) help secure the unit and further reduce any potential noise.
Dash Cam Installation: What to Expect
The decision to have a dash cam professionally installed, especially with features like a front and rear camera setup and parking mode, offers significant advantages over a DIY approach. While the cost is higher, the benefits in terms of safety, reliability, and a clean finish are substantial.
Installation process:
- Consultation and Planning: Discuss camera placement, power source (hardwiring or cigarette lighter), and desired features like parking mode.
- Vehicle Preparation: Carefully remove interior trim panels as needed to access wiring paths, ensuring no damage occurs.
- Wiring and Routing: Route all cables discreetly, applying sound-dampening tape to minimize noise and ensuring wires do not interfere with safety systems like airbags.
- Component Installation: Mount the dash cam(s) and power bank securely, integrating them cleanly into the vehicle's interior.
- Testing and Finalization: Power up the system, test all functions (recording, parking mode, connectivity), and reassemble all trim panels.
The estimated cost for professional dash cam installation in the US typically ranges from $75 to $115, depending on the complexity of the vehicle and the specific features being installed. This price reflects the labor involved, the expertise required, and the use of quality materials to ensure a durable and safe installation.
Frequently Asked Questions
Q. How much does dash cam installation cost for a Genesis GV80?
Professional dash cam installation for a Genesis GV80 typically costs between $75 and $115 in the US. This price covers the labor and expertise required for a safe and clean setup.
Q. How long does dash cam installation take on a Genesis GV80?
Professional dash cam installation usually takes 1-3 hours, depending on the complexity of the system and vehicle. Regular maintenance involves checking lens cleanliness and ensuring firmware is up-to-date.
Q. Is a hardwired dash cam worth it over a self-install for a Genesis GV80?
A hardwired dash cam is worth it for Genesis GV80 owners seeking seamless parking mode functionality and a cleaner installation. Professional installation ensures safety and optimal performance, justifying the cost for many.
Q. How is a dash cam professionally installed on a Genesis GV80?
Professional installation involves discreetly routing wires away from airbags, applying sound-dampening tape to all harnesses, and securely mounting the dash cam and any power bank. The process prioritizes safety, a clean finish, and reliable operation.
Q. What is the difference between a 1-channel and 2-channel dash cam for a Genesis GV80?
A 1-channel dash cam records only the front view, while a 2-channel system includes a rear camera for comprehensive coverage. For most owners, a 2-channel dash cam offers superior protection and peace of mind.
OhCar Partner Shop