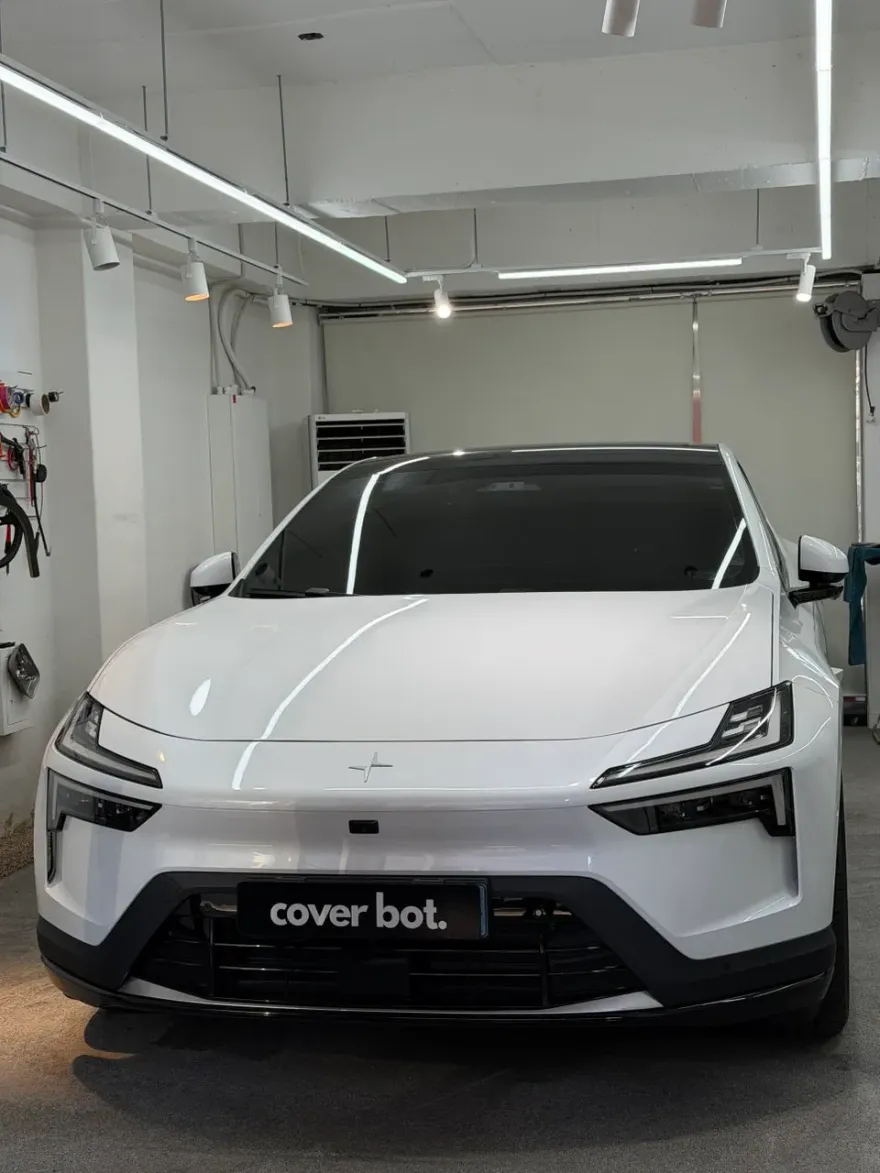
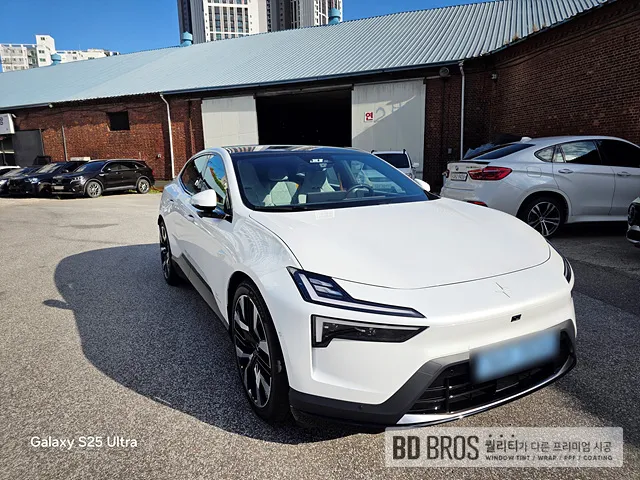
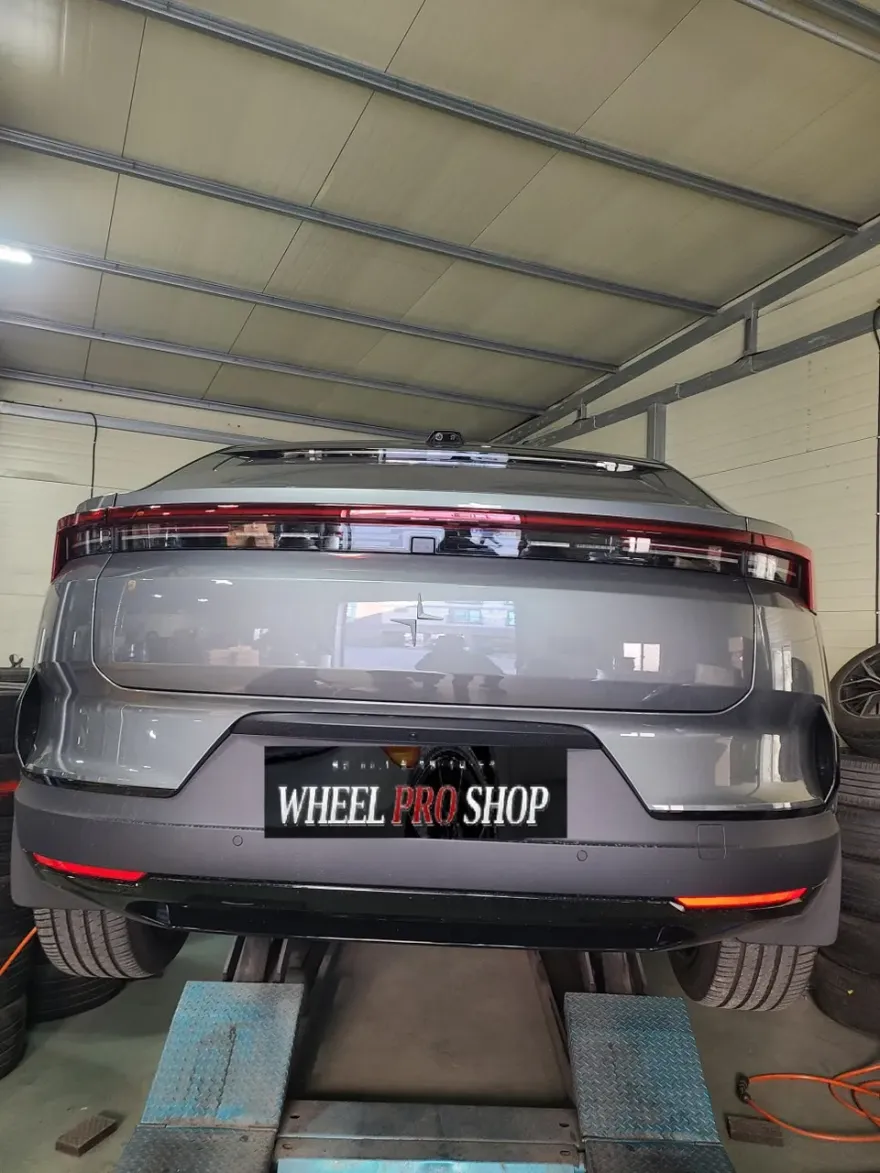
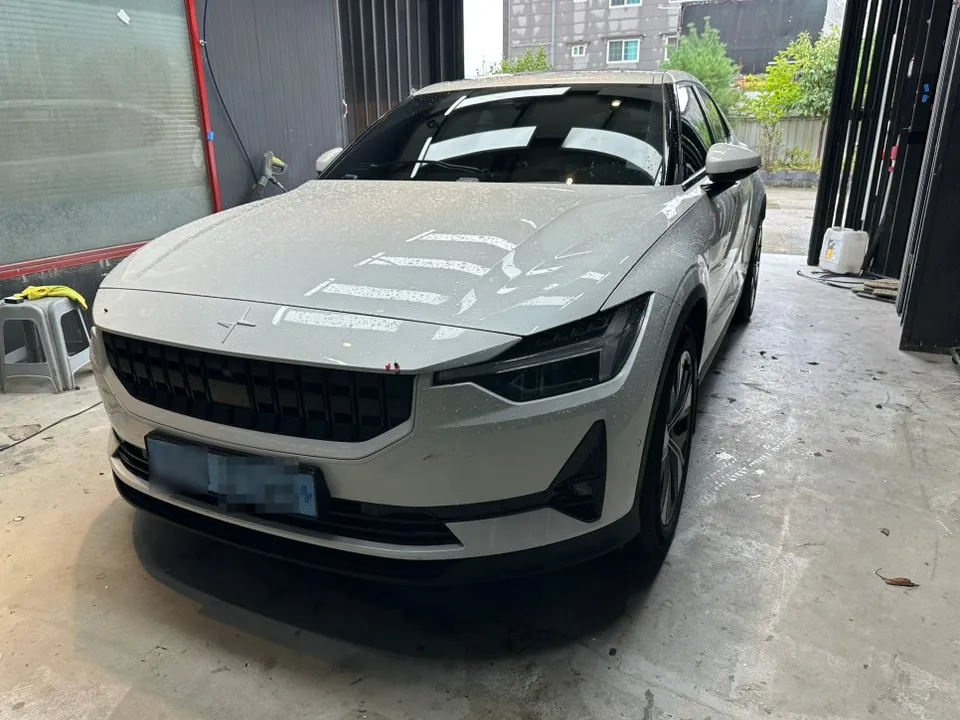
Polestar Polestar 2 Dash Cam Installation Review
Service Price
$150+
Estimated price · Actual price may vary by shop
Before
After
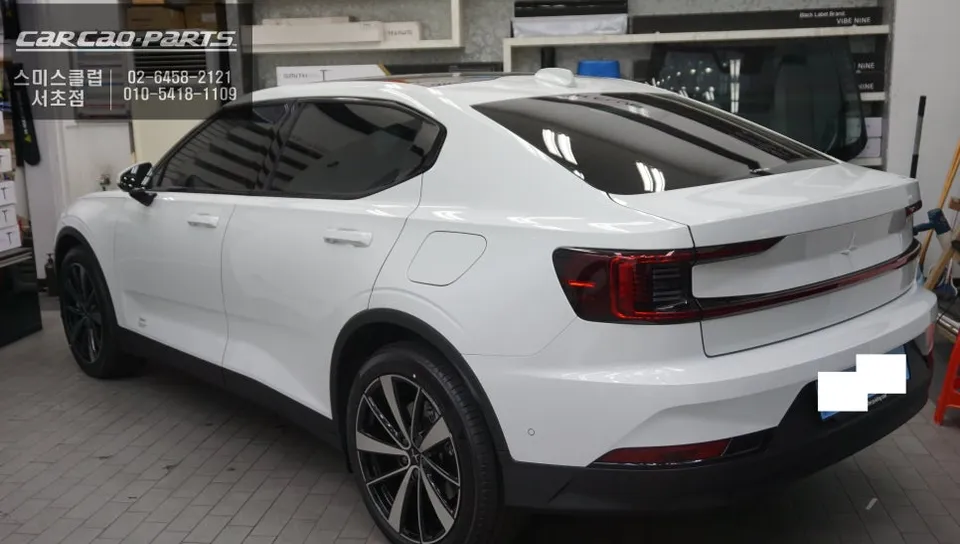
Process photos
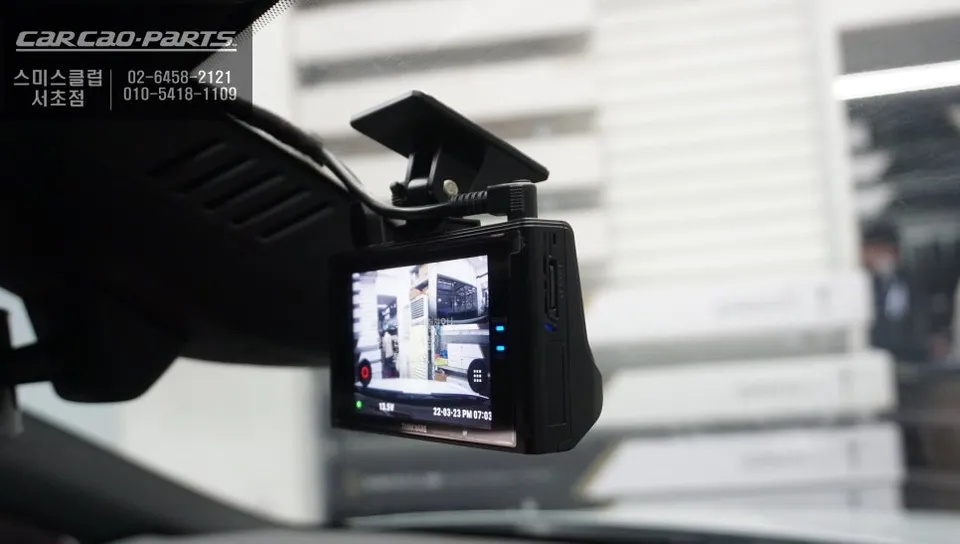
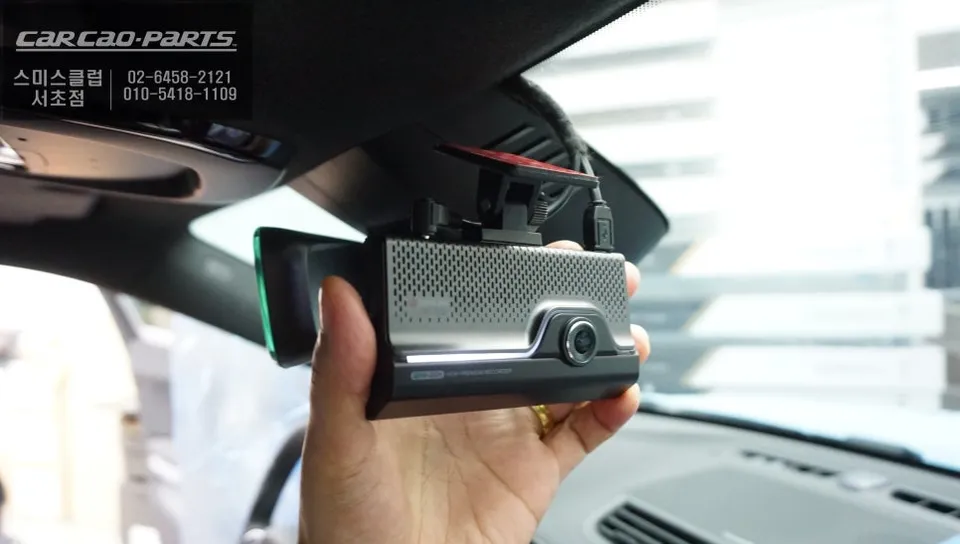
Dash cam installation on Polestar Polestar 2 with iNnic QXD7000 and Cellink Neo 8+ Slim. Professional setup ensures clear recording and reliable power
Premium Electric Vehicle Essential: Dash Cam Installation for Polestar 2
Upon taking delivery of a new Polestar 2, one of the first considerations was enhancing its safety and recording capabilities. For a premium electric vehicle like the Polestar 2, ensuring essential protective measures is paramount. We opted for a professional installation of a high-quality dash cam, alongside other complementary services, to ensure optimal performance and integration. This review details the experience of installing a dash cam system on the Polestar 2, focusing on the benefits and process.
Choosing the Right Dash Cam: Clarity and Reliability
The market for car dash cams offers a wide range of options, but performance, especially in challenging lighting conditions like night or against bright sunlight, is crucial. The chosen dash cam system, an iNnic QXD7000, stands out with its front and rear QHD high-resolution recording. Equipped with a high-performance CMOS image sensor and advanced lens image tuning technology, it minimizes image quality loss in both day and night scenarios. Its ability to reproduce colors close to natural vision is a significant advantage for capturing clear evidence.
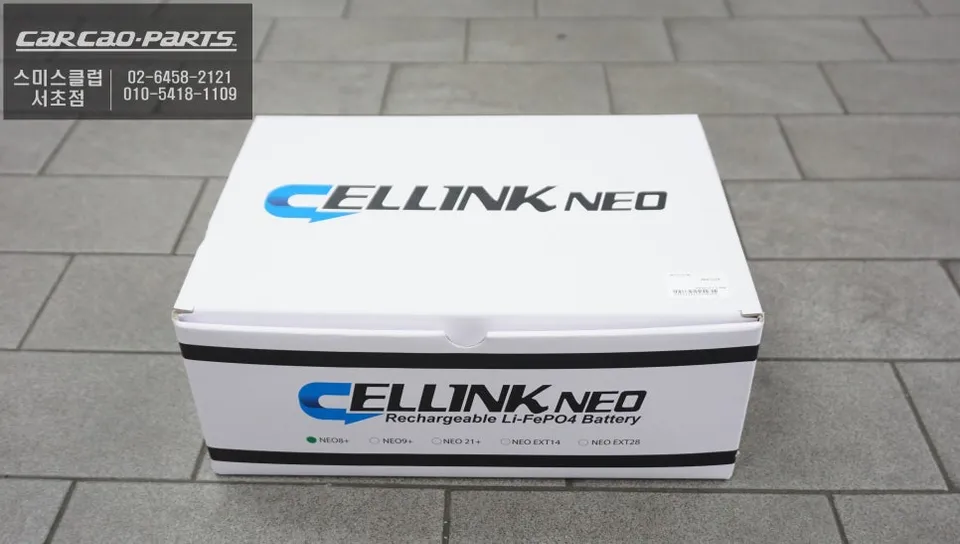
For electric vehicles like the Polestar 2, managing power supply for accessories is critical. The ACC (Automatic Charge/Discharge Control) power management system is essential to prevent malfunctions that can occur with standard auxiliary batteries. After consulting with specialists, the Cellink Neo 8+ Slim, an auxiliary battery specifically designed for electric vehicles, was recommended. This product, manufactured by iZen, a leading developer of auxiliary batteries in Korea, comes with a 2-year warranty.
Understanding Electric Vehicle Auxiliary Batteries
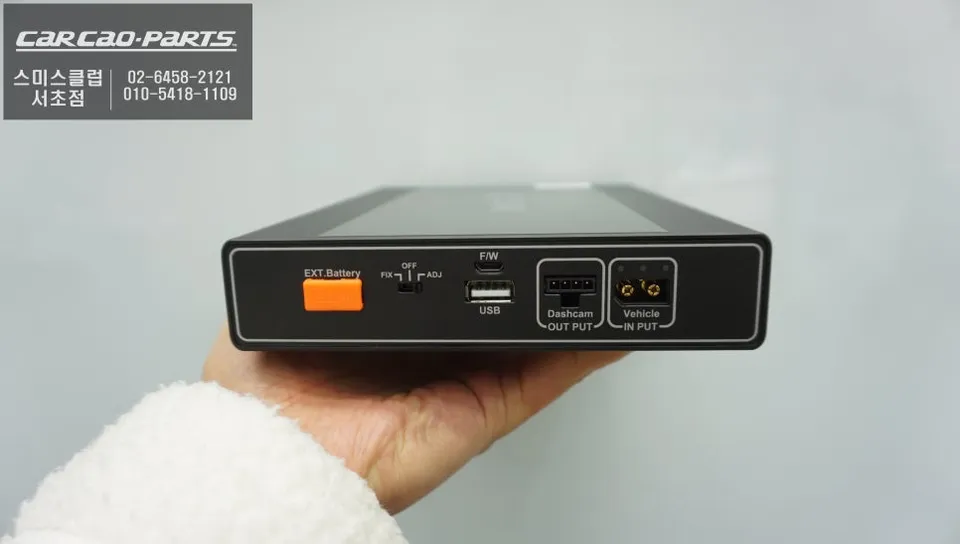
The Cellink Neo 8+ Slim is distinguished by its compact size and flexible charging settings. The charging current can be adjusted between 4.5A and 9A; for the Polestar 2, a stable setting of 7A is recommended. When fully charged, it can power the dash cam (at 320mA consumption) for approximately 24 hours of parking recording. A dedicated app allows for real-time monitoring of battery charging status, parking recording duration, and voltage. Bluetooth remote control is also supported, enabling the system to be recognized as a standard battery when the vehicle is serviced by switching off the charging function via the app.
Dash Cam Installation Process: Precision and Expertise
Professional dash cam installation ensures that the system is integrated seamlessly and functions correctly without impacting the vehicle's electrical systems. The process typically involves careful planning and execution to maintain the vehicle's aesthetics and functionality.
- Vehicle Inspection: A thorough check of the Polestar 2's interior and electrical system is performed to identify the best mounting locations and wiring routes.
- Component Placement: The dash cam units (front and rear, if applicable) are strategically mounted, often near the rearview mirror, to ensure an unobstructed view.
- Wiring Integration: Power and data cables are carefully routed through the vehicle's trim and headliner to maintain a clean look and prevent interference. This often involves connecting to the vehicle's fuse box or a dedicated power source.
- Auxiliary Battery Setup: If an auxiliary battery is installed, it is securely placed and connected to the dash cam and the vehicle's power system, ensuring proper charge and discharge management.
- System Testing: Finally, the dash cam system is tested to confirm that recording, parking mode, and any connected features are functioning correctly.
The result is a discreetly installed, high-performance dash cam system that enhances the safety and security of the Polestar 2 without compromising its premium feel.
Frequently Asked Questions
Q. How much does dashcam installation cost for a Polestar Polestar 2?
The cost for dash cam installation on a Polestar Polestar 2 in Korea, as detailed in this review, was part of a package including other services. Typical professional dash cam installation in the US can range from $100 to $300, depending on the complexity and type of system.
Q. How long does dashcam installation take on a Polestar Polestar 2?
Professional dash cam installation on a Polestar Polestar 2 typically takes between 1 to 3 hours, depending on the specific model and whether an auxiliary battery is included. To ensure longevity, it's recommended to have the system checked annually by a professional.
Q. Is a hardwired dashcam worth it over a self-install for a Polestar Polestar 2?
A hardwired dashcam is highly recommended for a Polestar Polestar 2, especially for utilizing parking mode features without draining the car battery. Professional installation ensures proper integration with the vehicle's electrical system, offering peace of mind and optimal performance.
Q. How is a dashcam professionally installed on a Polestar Polestar 2?
Professional installation involves 1. Inspecting the vehicle's electrical system and planning wire routing. 2. Mounting the dash cam unit(s) discreetly, often near the rearview mirror. 3. Carefully routing and concealing all cables through the car's interior trim. 4. Connecting the dash cam to a power source, often via a hardwire kit that taps into the fuse box, and potentially installing an auxiliary battery for parking mode. 5. Testing the system thoroughly to ensure all functions operate correctly.
Q. What is the difference between a 1-channel and 2-channel dashcam for a Polestar Polestar 2?
A 1-channel dashcam records only the front view, while a 2-channel dashcam records both the front and rear views, providing comprehensive coverage. For a Polestar Polestar 2, a 2-channel system is generally recommended for complete protection against incidents from all directions.
Kakao Parts