Toyota RAV4 Dash Cam Installation Review: Seamless Wiring
Service Price
$40–80
Estimated price · Actual price may vary by shop
Before
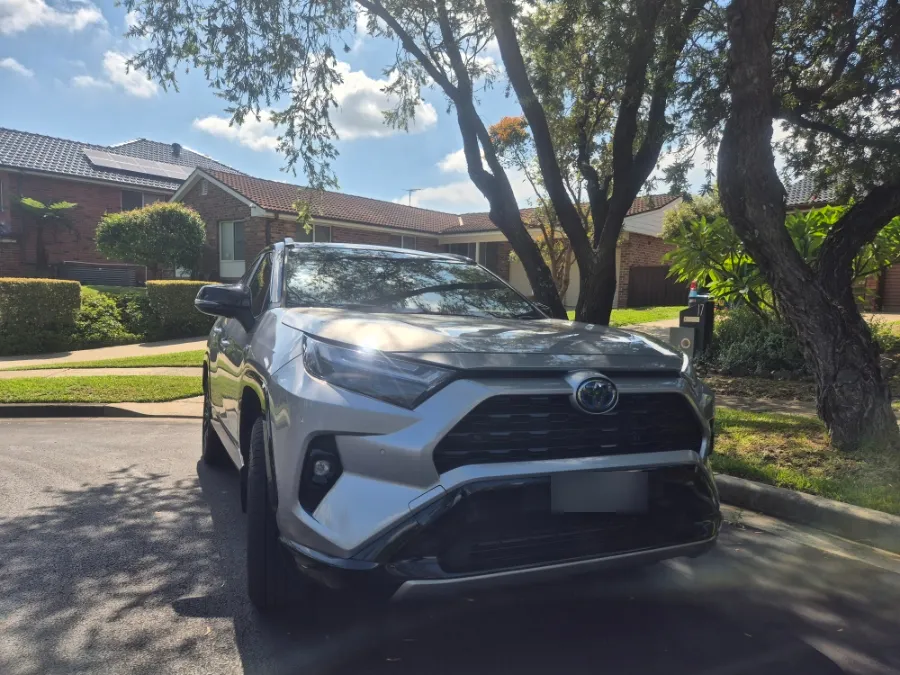
After
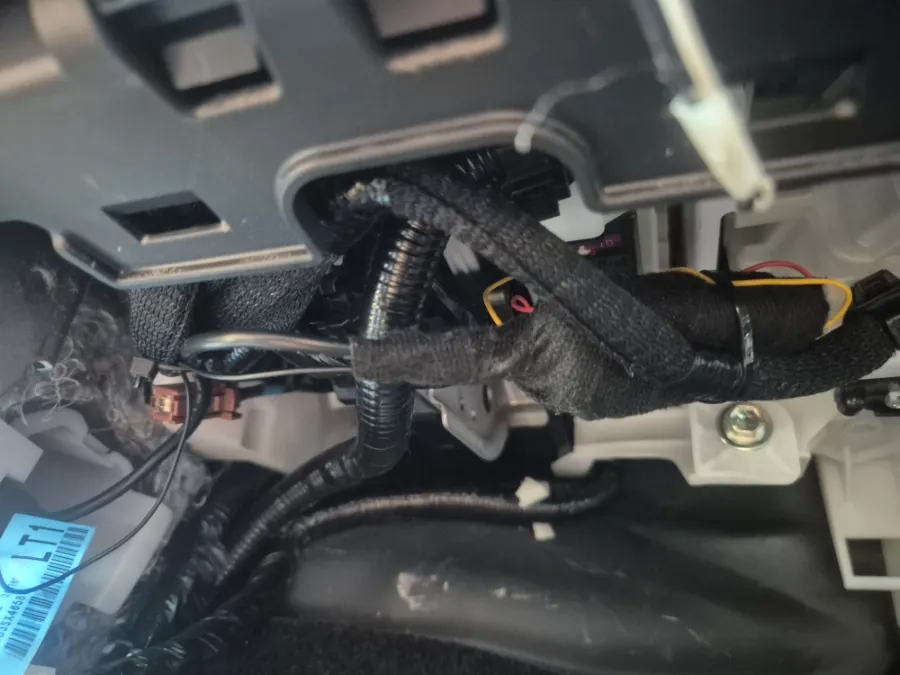
Process photos
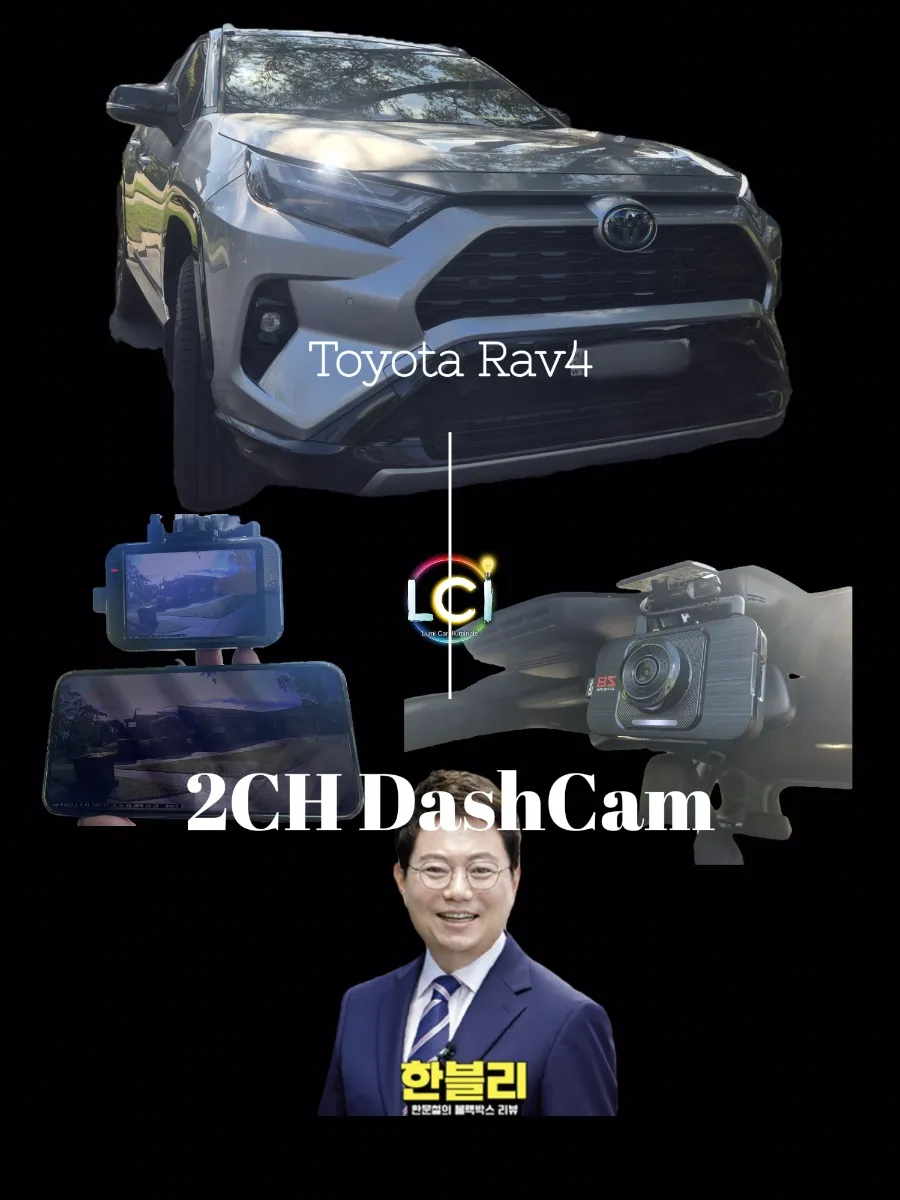
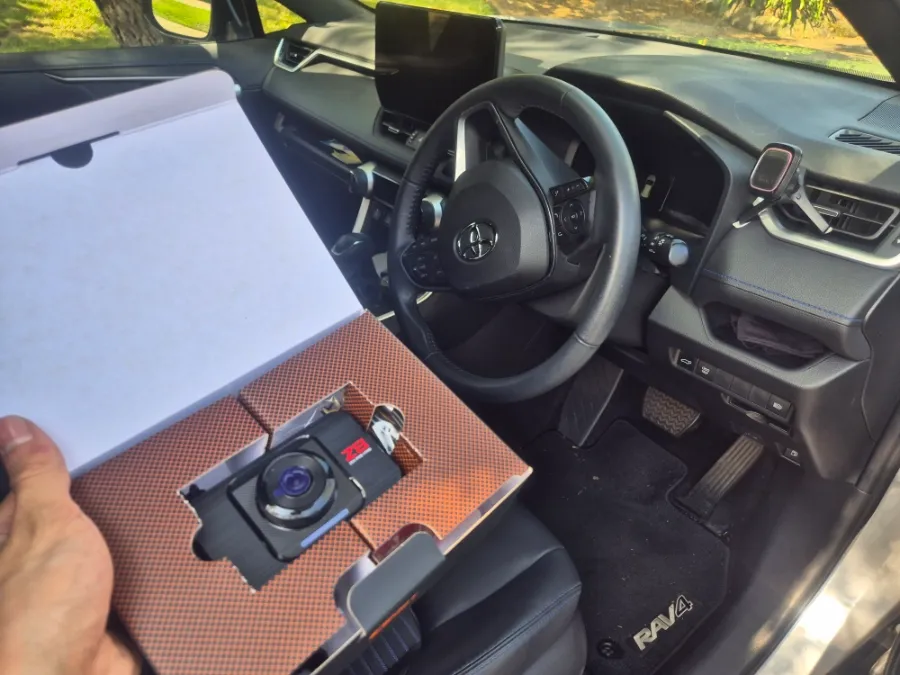
Toyota RAV4 GNET Z8 dash cam installation: Professional wiring ensures no rattles. Experience a clean, reliable setup for peace of mind.
Why Professional Dash Cam Wiring Matters for Your Toyota RAV4
When installing a dash cam in a vehicle like the Toyota RAV4, many drivers worry about visible wires, potential rattles, or damage to their car's interior. These concerns are valid, especially for a versatile vehicle used for daily commutes and adventures. The quality of a dash cam installation often hinges on the meticulous work done behind the scenes. This review details the professional installation of a GNET Z8 dash cam on a Toyota RAV4 by Today's Car Gwangjin, highlighting the importance of expert wiring design.
The Importance of Wiring Design in Dash Cam Installation
The Toyota RAV4, with its frequent cargo use and long-distance driving, requires a dash cam installation that goes beyond simply hiding wires. A thoughtful 'wiring design' that considers the vehicle's structure and usage patterns is crucial. The rear camera cable, in particular, must be routed and secured to avoid interference with the trunk's operation. Furthermore, preventing rattles and ensuring secure connections along the entire wire length is essential for long-term reliability. For these reasons, the GNET Z8 2-channel dash cam was recommended. It offers essential features like front and rear FHD recording, a wide viewing angle, and parking mode, providing dependable performance suitable for the RAV4.
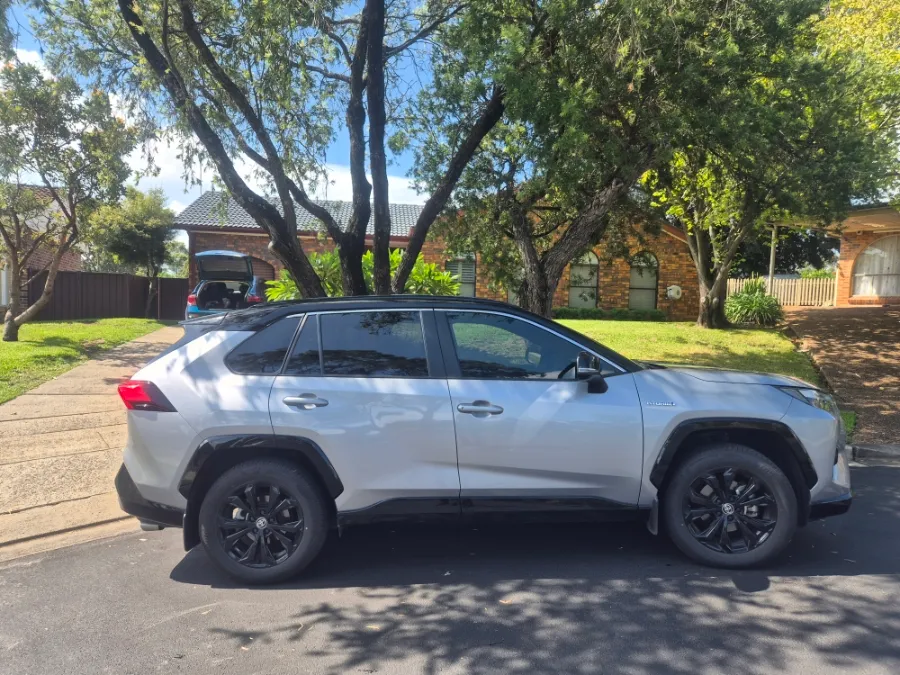
Meticulous Vehicle Analysis and Protection
Before any work begins, a thorough analysis of the Toyota RAV4's interior structure is performed. This includes examining the trunk lid, interior trim connections, and fuse box location to plan the optimal wiring path. Protective covers and masking tape are meticulously applied to the vehicle's interior and exterior to prevent scratches or dirt during the installation process.
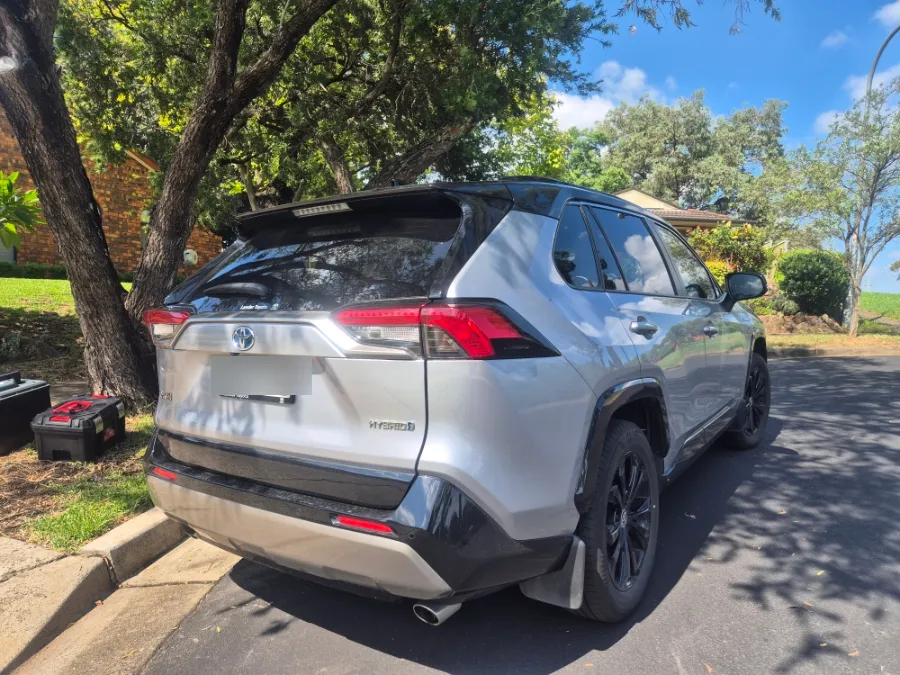
The Core of a Rattles-Free Installation: Strategic Wiring
The most critical aspect of dash cam installation lies in the wiring. Today's Car Gwangjin focuses on a 'structural wiring design' to ensure the system operates reliably without rattles or issues over time. This involves more than just tucking wires away; it's about integrating them seamlessly and securely.
Installation Process:
- Trim Removal: Carefully remove interior trims like the headliner, A-pillars, B-pillars, and door sill covers using specialized tools to avoid damaging clips.
- Wire Routing: Route the dash cam wires discreetly through the headliner and along the pillars, ensuring they are hidden from view.
- Secure Connections: Secure the wiring at multiple points along its path using high-quality tape or clips to prevent any movement or vibration.
- Trunk Integration: Route the rear camera wire through the trunk lid area, ensuring it does not interfere with the trunk's opening and closing mechanism.
- Reassembly: Meticulously reassemble all removed trim pieces, ensuring a perfect fit and finish with no gaps or rattles.
Expert Trim Handling and Reassembly
Removing and reinstalling interior trim pieces, such as the headliner and pillars, requires specialized tools and expertise. Using the correct tools prevents damage to the clips that hold these parts in place. Even a single broken clip can lead to panel gaps and cause annoying rattles while driving. Skilled technicians ensure that all trim is removed without damage and reassembled perfectly, which is the first step in preventing noise issues.
Secure Wiring and Sound Dampening
The wiring is routed inside the headliner and along the pillars towards the trunk. The key is to secure the wire at frequent intervals to prevent it from shifting. Loose wires can vibrate and create noise. Therefore, carefully chosen fixing points and the use of sound-dampening materials where necessary are crucial for a quiet cabin. This attention to detail ensures that the dash cam operates silently and reliably, enhancing the driving experience in your Toyota RAV4.
Frequently Asked Questions
Q. How much does dashcam installation cost for a Toyota RAV4?
Professional dash cam installation for a Toyota RAV4, like the GNET Z8 at Today's Car Gwangjin, typically ranges from ₩100,000 to ₩200,000 KRW. In the US, professional installation costs can range from $100 to $300 depending on the complexity and location.
Q. How long does dashcam installation take on a Toyota RAV4?
A professional dash cam installation on a Toyota RAV4 typically takes 1 to 3 hours, ensuring all wiring is neatly hidden and secured. Proper installation contributes to the longevity of the system and prevents potential issues like wire fatigue or connection problems.
Q. Is a hardwired dashcam worth it over a self-install for a Toyota RAV4?
A professionally hardwired dash cam is worth it for a Toyota RAV4 if you prioritize a clean, rattle-free installation and want to ensure optimal performance and longevity. It offers peace of mind knowing the wiring is handled expertly, preventing potential damage or electrical issues.
Q. How is a dashcam professionally installed on a Toyota RAV4?
Professional dash cam installation involves carefully routing wires behind interior trim panels (like pillars and headliner) using specialized tools to avoid damage. The wiring is then securely fastened and often includes sound-dampening measures to prevent rattles, ensuring a clean and reliable setup.
Q. What is the difference between a 1-channel and 2-channel dashcam for a Toyota RAV4?
A 1-channel dash cam records only the front view, while a 2-channel dash cam records both the front and rear views, offering comprehensive coverage for your Toyota RAV4. For most drivers seeking full protection, a 2-channel system is highly recommended.
OhCar Partner Shop