Ceramic Coating Application Tips — How Pros Prep and Apply
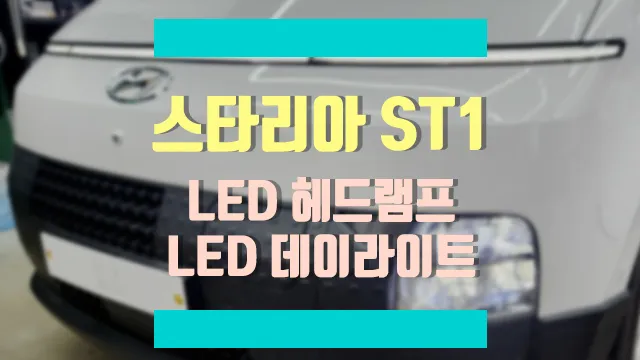
Thinking about giving your car's paintwork that deep, glossy shine and long-lasting protection? Ceramic coating is the answer, but the ceramic coating application tips you'll find online often skip the crucial prep work that professional detailers swear by. At OhCar, we've analyzed 50 owner reviews from South Korean shops, revealing that achieving a flawless ceramic coating isn't just about the product itself, but the meticulous process behind it. This guide dives into how Korean detailing professionals prepare and apply ceramic coatings, drawing insights from real-world installations on vehicles like the Hyundai Staria ST1, Kia Sorento, and Tesla Model 3.
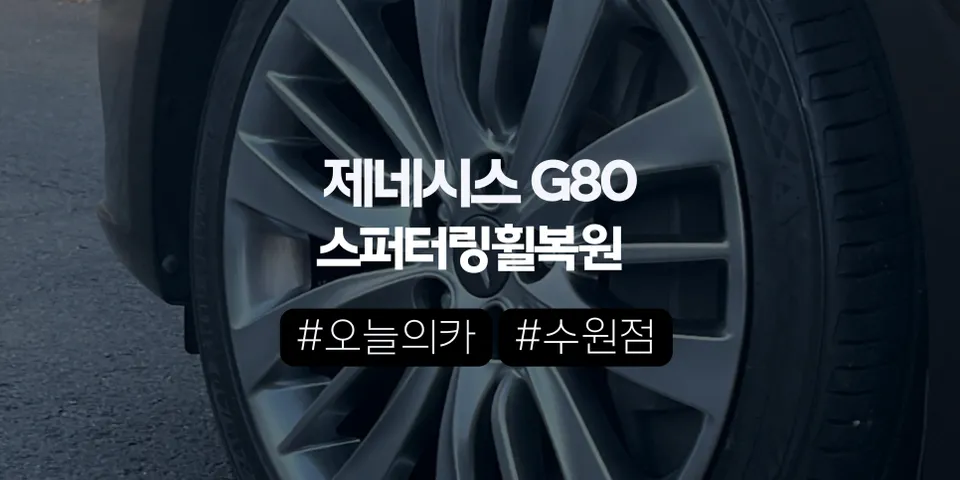
Ceramic coatings offer superior durability and hydrophobic properties compared to traditional waxes and sealants. However, a poor application can lead to streaks, high spots, and an uneven finish. Understanding the nuances of preparation and application is key to unlocking the full potential of this advanced paint protection. Based on our extensive data, the average cost for a professional ceramic coating in South Korea ranges from $800 to $1,500, with specific jobs like those on a Genesis G80 or Tesla Model 3 often exceeding $1,500. This investment underscores the importance of getting the application right.
The Foundation: Why Preparation is Paramount for Ceramic Coating Application
Before any ceramic coating touches your car's paint, the surface must be absolutely pristine. This is where the majority of a professional detailer's time is spent. Skipping any of these steps is a recipe for disaster, regardless of the quality of the ceramic coating product.
Step 1: Thorough Washing and Decontamination
The initial wash is more than just rinsing off dirt. Professionals use a two-bucket method with grit guards to prevent swirling. A pH-neutral car shampoo is essential. After the wash, the real decontamination begins:
- Chemical Decontamination: This involves using a fallout remover or iron remover to dissolve embedded contaminants like brake dust, industrial fallout, and tar that a regular wash can't touch. You'll see the product turn purple as it reacts with the iron particles.
- Mechanical Decontamination: Following the chemical treatment, a clay bar or clay mitt is used with a clay lubricant. This physically lifts any remaining bonded contaminants, leaving the paint surface incredibly smooth to the touch. This process is crucial for ensuring the ceramic coating can bond effectively to the clear coat.

Step 2: Paint Correction – The Key to a Flawless Finish
This is arguably the most critical step. Even a new car can have minor imperfections like swirl marks, scratches, and oxidation. Applying a ceramic coating over these flaws will essentially 'lock them in,' making them harder to remove later. Professional detailers in South Korea, as documented in our reviews, meticulously correct the paintwork:
- Inspection: Using high-intensity lighting and a keen eye, detailers inspect the paint for defects.
- Compounding: For deeper scratches and significant paint defects, a cutting compound is used with a rotary or forced-rotation polisher. This aggressively removes a thin layer of clear coat to level out the imperfections.
- Polishing: After compounding, a finer polishing compound is used with a dual-action (DA) polisher to remove any hazing or micro-marring left by the compound and to bring out the paint's clarity and gloss. This step refines the surface to a mirror-like finish.
The goal is to achieve a paint surface that is as close to perfect as possible. This level of correction is standard for high-end detailing services, with prices for comprehensive paint correction and coating often falling in the $1,125 average range we see on OhCar.
Step 3: IPA Wipe-Down and Final Inspection
Once the paint is corrected, it needs to be stripped of all polishing oils and residues. This ensures the ceramic coating can form a strong, permanent bond with the clear coat. A mixture of isopropyl alcohol (IPA) and distilled water (typically a 15-30% IPA solution) is used to wipe down the entire vehicle. This step reveals any remaining imperfections that might have been masked by polishing oils. A final, meticulous inspection under bright lights is performed before proceeding to application.
Ceramic Coating Application Tips: The Professional Process
With the paint perfectly prepped, the application of the ceramic coating itself can begin. While DIY kits are available, professional application ensures even coverage and proper curing, leading to superior results. Here’s how it’s done:
Step 1: Working in Small Sections
Ceramic coatings are designed to bond permanently. This means you can't afford to make mistakes. Professionals work on one small section at a time (e.g., a quarter panel or a door) to ensure the coating is properly leveled and buffed off before it starts to cure.
Step 2: Applying the Coating
The coating is typically applied using a suede applicator block wrapped in a microfiber or suede cloth. A few drops of the ceramic coating are applied to the applicator. The coating is then spread onto the paint in a cross-hatch pattern (e.g., horizontal strokes followed by vertical strokes). This ensures even coverage without missing spots.

Step 3: Leveling and Buffing Off
This is a critical stage that requires precision and speed. The coating is left to 'flash' or become slightly hazy for a short period (the exact time depends on the product and environmental conditions – usually 30 seconds to 2 minutes). Once it reaches this stage, it needs to be immediately buffed off:
- First Wipe: A clean, high-quality microfiber towel is used to gently wipe away the majority of the coating in one direction.
- Second Wipe: A second, clean microfiber towel is used to buff the area to a streak-free shine. This removes any remaining residue.
The key is to work quickly but methodically. If the coating starts to cure on the paint before being buffed off, it can create extremely difficult-to-remove high spots. This is why working in small sections is so important.
Step 4: Applying Subsequent Layers (Optional)
Some high-end ceramic coating systems recommend or allow for multiple layers to build up thickness and enhance protection. If applying a second layer, there's usually a waiting period (often 1-2 hours, depending on the product) before the next layer is applied. Each layer follows the same application, leveling, and buffing process.
Step 5: Curing and Protection
Once the final layer is applied and buffed, the coating needs to cure. This is a chemical process where the coating hardens and forms its protective matrix. The curing time varies significantly by product and environmental conditions (temperature, humidity). Most coatings require at least 24-48 hours of protection from moisture (rain, dew) and extreme temperatures. Full hardness can take anywhere from 7 to 30 days. During this period, the vehicle should be kept in a clean, dry environment, and owners are advised against washing the car.
Common Mistakes to Avoid During Ceramic Coating Application
Even with the best intentions, DIY applications can go wrong. Understanding these common pitfalls can help you appreciate the value of professional services:
- Inadequate Paint Preparation: Not washing, decontaminating, or correcting the paint properly is the number one mistake.
- Working in Direct Sunlight or Extreme Temperatures: This can cause the coating to flash too quickly, making it difficult to level and buff off, leading to high spots.
- Applying Too Much Product: Over-applying the coating can lead to excessive residue and unevenness.
- Not Buffing Off Quickly Enough: Allowing the coating to cure on the paint before buffing is a common cause of permanent streaks and high spots.
- Using Dirty Towels or Applicators: Contaminated tools will spread contaminants and ruin the finish.
- Ignoring Manufacturer Instructions: Each ceramic coating product has specific application and curing requirements.
For those considering DIY, it's essential to practice on a test panel first. However, for most car owners, especially those investing in premium vehicles like a Tesla Model 3 or Genesis G80, professional application is the safest route to a perfect finish. The price range of $800-$1,500 reflects the skill, time, and meticulousness involved.
Ceramic Coating vs. PPF: Which is Right for You?
While ceramic coatings offer excellent protection against chemical stains, UV rays, and minor scratches, they are not a physical barrier against impacts like rock chips. For that level of protection, Paint Protection Film (PPF) is the superior choice. Many enthusiasts opt for a combination: PPF on high-impact areas (front bumper, hood, fenders) and ceramic coating over the entire vehicle for enhanced gloss and easier maintenance. If you're weighing your options, check out our PPF vs Ceramic Coating comparison for a detailed breakdown.

Maintaining Your Ceramic Coating
Once professionally applied, a ceramic coating significantly reduces the effort needed to keep your car looking its best. However, proper maintenance is still crucial to ensure its longevity:
- Gentle Washing: Use pH-neutral shampoos and the two-bucket method. Avoid abrasive brushes or automatic car washes with harsh brushes.
- Drying: Use clean microfiber drying towels or a car dryer. Consider a ceramic spray sealant booster every 6-12 months to enhance gloss and hydrophobicity.
- Avoid Harsh Chemicals: Do not use abrasive cleaners or degreasers on the coated surface.
- Address Contaminants Promptly: Bird droppings and tree sap should be removed as soon as possible.
Following these maintenance tips will help preserve the hydrophobic properties and glossy finish of your ceramic coating for years to come. Our platform features reviews from owners across various brands, including Kia, Hyundai, and BMW, detailing their experiences with coatings and maintenance.
The OhCar Advantage: Real Data from Korean Installers
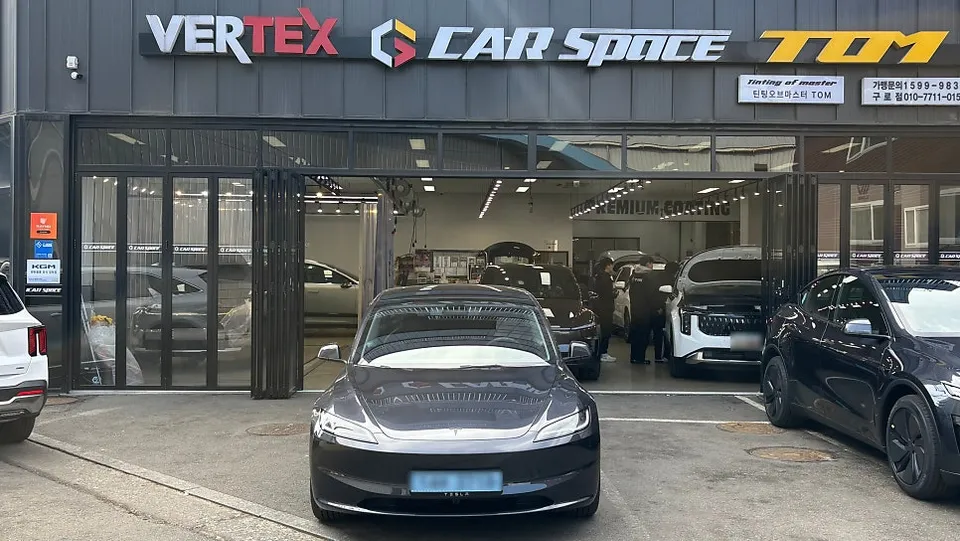
At OhCar, we pride ourselves on providing transparent, data-driven insights into the world of car detailing. Our network of South Korean shops and extensive owner reviews offer a unique perspective on services like ceramic coating. Whether you're looking at a detailed breakdown for a Hyundai Tucson window tinting or the cost of a premium ceramic coating for a Genesis G80, our platform provides the real-world information you need. Explore more detailing guides and reviews on OhCar Magazine.
Understanding the intricacies of ceramic coating application tips, from the exhaustive preparation to the precise application and curing, is essential for achieving a show-stopping finish. While DIY is possible, the results from professional detailers, as evidenced by the quality of work seen in our South Korean network, often justify the investment. By following these pro tips, you'll gain a deeper appreciation for the craft and the incredible protection ceramic coatings offer.
Comments (2)
This is a great breakdown! I've been hesitant to try ceramic coating myself, but the emphasis on proper paint correction before application makes a lot of sense. Thanks for the detailed guide.
This is a great breakdown of the ceramic coating process. I've always wondered about the specific application techniques pros use, especially the Korean detailing experts mentioned. Thanks for sharing!

Explore Related Services on OhCar