The Paint Correction Process: A Step-by-Step Guide
Paint correction is the process of removing or significantly reducing surface imperfections from your car's paintwork. This involves using abrasive polishing compounds and pads to level the clear coat, effectively erasing scratches and swirls. It's a multi-stage process that requires patience, the right tools, and a delicate touch.
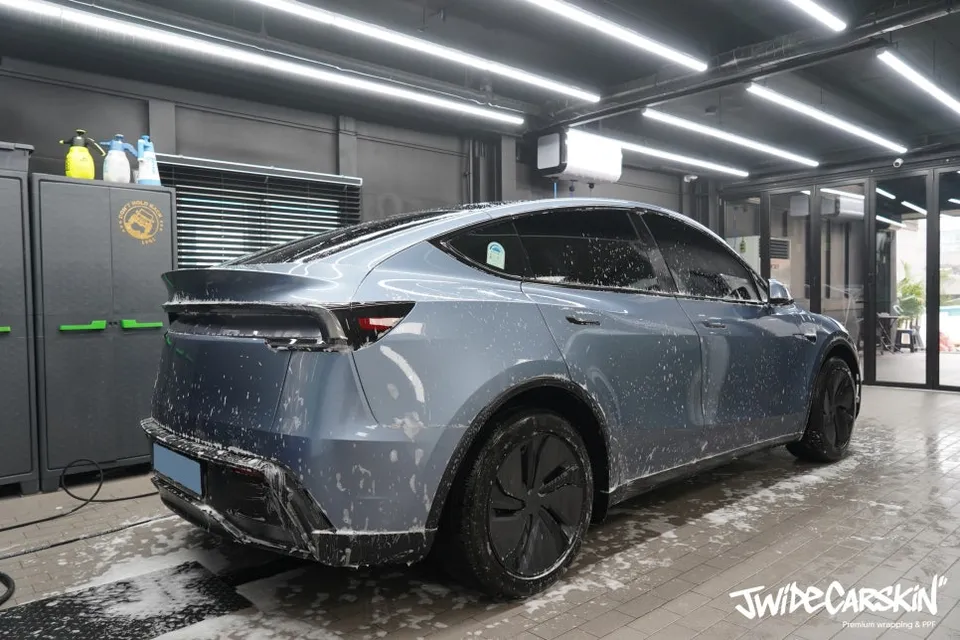
Step 1: Thorough Decontamination Wash
This is arguably the most crucial step. Before any correction can begin, the car must be immaculately clean. We're talking beyond a regular wash. This involves:
- Pre-wash/Snow Foam: Apply a pH-neutral snow foam to loosen and lift dirt and grime without stripping existing protection.
- Iron Decontamination: Use an iron remover spray to dissolve embedded iron particles (from brake dust and industrial fallout) that can cause paint damage.
- Tar and Glue Removal: Address any stubborn tar spots or adhesive residues with a dedicated remover.
- Clay Bar Treatment: This is where we physically remove bonded contaminants. Using a clay bar or clay mitt with a lubricant will glide over the paint, picking up microscopic particles that washing alone can't remove. This leaves the surface perfectly smooth and ready for polishing.
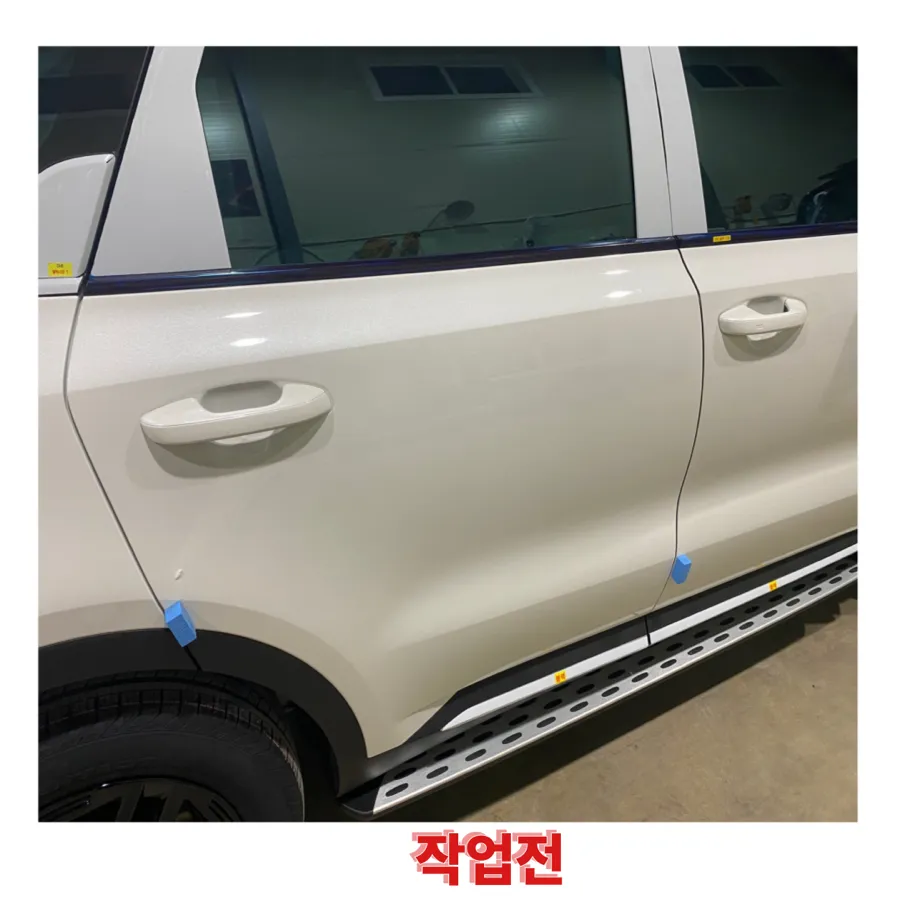
Step 2: Inspection and Assessment
Once decontaminated, the car needs a thorough inspection under proper lighting. We use high-intensity LED lights to reveal the true extent of the swirl marks, scratches, and other defects. This stage helps determine the severity of the damage and informs the choice of polishing compounds and pads needed for effective Tesla Model 3 paint correction swirl marks removal.
Step 3: Machine Polishing – The Core of Correction
This is where the magic happens. Machine polishing uses a dual-action (DA) polisher or a rotary polisher to apply a polishing compound. DA polishers are generally safer for DIYers as they are less aggressive and reduce the risk of burning through the paint. Rotary polishers are more aggressive and are best left to experienced professionals.
Multi-Stage Polishing
For significant swirl marks, a multi-stage polish is often necessary:
- Heavy Cut Compound: Used with a more aggressive cutting pad, this stage tackles deeper scratches and heavy oxidation. It removes more clear coat but is essential for severe damage.
- Medium Polish: Following the heavy cut, a medium-cut polish with a less aggressive pad refines the finish, removing the hazing left by the heavy cut compound and further reducing moderate swirls.
- Fine Polish/Finishing Polish: This final stage uses a very fine polish and a soft finishing pad to bring out the paint's gloss and clarity, removing any remaining light hazing or micro-marring.
The choice of compound and pad is critical and depends on the paint hardness and the depth of the defects. We often see a range of results in our paint correction reviews, highlighting how different approaches yield varying levels of perfection.
Step 4: IPA Wipe Down
After polishing, a 50/50 isopropyl alcohol (IPA) and distilled water solution is used to wipe down the entire car. This crucial step removes any polishing oils, revealing the true condition of the paint and ensuring that any remaining defects are visible. It also prepares the surface for the next step: protection.
Step 5: Protection – Sealing in the Shine
Once your Model 3's paint is corrected, it's vital to protect that hard-earned shine. Without protection, the paint will quickly become susceptible to new swirl marks. You have several excellent options:
- Ceramic Coating: This is a liquid polymer that chemically bonds with the vehicle's factory paint, creating a durable, sacrificial layer of protection. Ceramic coatings offer superior resistance to scratches, UV rays, chemical etching, and make washing significantly easier. They can last for several years, depending on the product and maintenance.
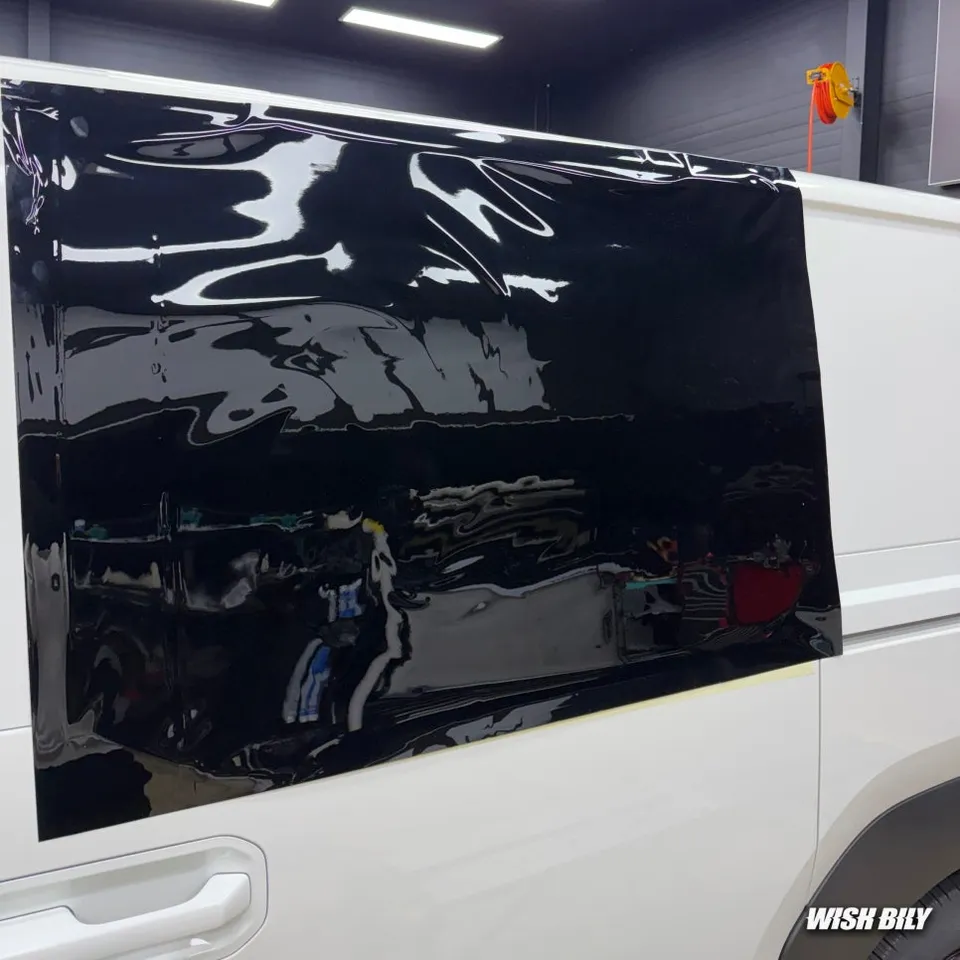
- Paint Protection Film (PPF): A clear, urethane-based film applied to painted surfaces. PPF offers the highest level of protection against rock chips, scratches, and minor impacts. It's particularly effective on high-impact areas like the front bumper, hood, and fenders. Many PPF options also have self-healing properties for minor scratches.
- High-Quality Wax or Sealant: While less durable than ceramic coatings or PPF, a good quality carnauba wax or synthetic sealant can provide a beautiful shine and a layer of protection for a few months. This is a more budget-friendly option for those who don't require long-term protection.
Choosing between these options often comes down to your budget and desired level of protection. For instance, a full front-end PPF combined with a ceramic coating on the rest of the vehicle offers the best of both worlds. You can learn more about the pros and cons in our PPF vs Ceramic Coating comparison.