Toyota Camry Paint Correction: Spring Detailing How-To Guide
Spring is here, and with it comes the perfect opportunity for a thorough detailing of your beloved Toyota Camry. After a long winter of battling salt, grime, and unpredictable weather, your car's paint likely needs some serious attention. This Toyota Camry paint correction how-to guide spring detailing will walk you through the essential steps to restore that showroom shine and protect your investment. We'll cover everything from washing and decontamination to polishing and protecting, ensuring your Camry looks its absolute best.
At OhCar, we understand the importance of maintaining your vehicle's appearance. Based on 50 owner reviews on OhCar, detailing and paint correction are top priorities for many car owners looking to preserve their vehicle's value and aesthetic appeal. While our reviews primarily feature brands like BMW, Genesis, Hyundai, Kia, and Mercedes-Benz, the principles of paint correction are universal, and your Toyota Camry will benefit just as much.

Why Spring Detailing and Paint Correction for Your Toyota Camry?
Winter is notoriously harsh on automotive paint. Road salt, sand, ice melt chemicals, and general road debris can embed themselves into your clear coat, causing etching, swirl marks, and a dull, lifeless finish. Spring is the ideal time to address these issues because:
- Removes Winter Grime: Thoroughly wash away all the accumulated winter contaminants.
- Repairs Damage: Correct swirl marks, light scratches, and oxidation that have occurred over the colder months.
- Prepares for Sun: A clean, corrected surface is essential before applying UV-protective coatings, as the summer sun can exacerbate existing paint imperfections.
- Boosts Resale Value: A well-maintained paint job significantly increases your Camry's resale value.
Step-by-Step Toyota Camry Paint Correction How-To Guide
1. The Essential Wash and Decontamination
Before any paint correction can begin, a meticulous wash and decontamination process is crucial. This removes loose dirt and prepares the surface for deeper cleaning.
A. Two-Bucket Wash Method
This is the gold standard for safe washing. You'll need two buckets: one with your car wash soap solution and one with clean rinse water. Use a high-quality microfiber wash mitt. Start from the top of the car and work your way down, rinsing the mitt in the clean water bucket after each panel to avoid transferring dirt back onto the paint.
B. Iron Decontamination
Even after a thorough wash, microscopic iron particles from brake dust and industrial fallout can remain embedded in your paint. Use a dedicated iron remover spray. Spray it liberally over the entire vehicle, let it dwell according to the product instructions (you'll see it turn purple as it reacts with the iron), and then rinse thoroughly.
C. Clay Bar Treatment
A clay bar is designed to lift bonded contaminants that washing and iron removers can't. Use a clay lubricant spray and a clay bar (or clay mitt/towel for faster work). Glide the clay bar over the lubricated surface in straight lines. You'll feel it grab and then release as contaminants are lifted. Fold the clay frequently to expose a clean surface. This step is critical for a perfectly smooth surface, essential for effective paint correction.
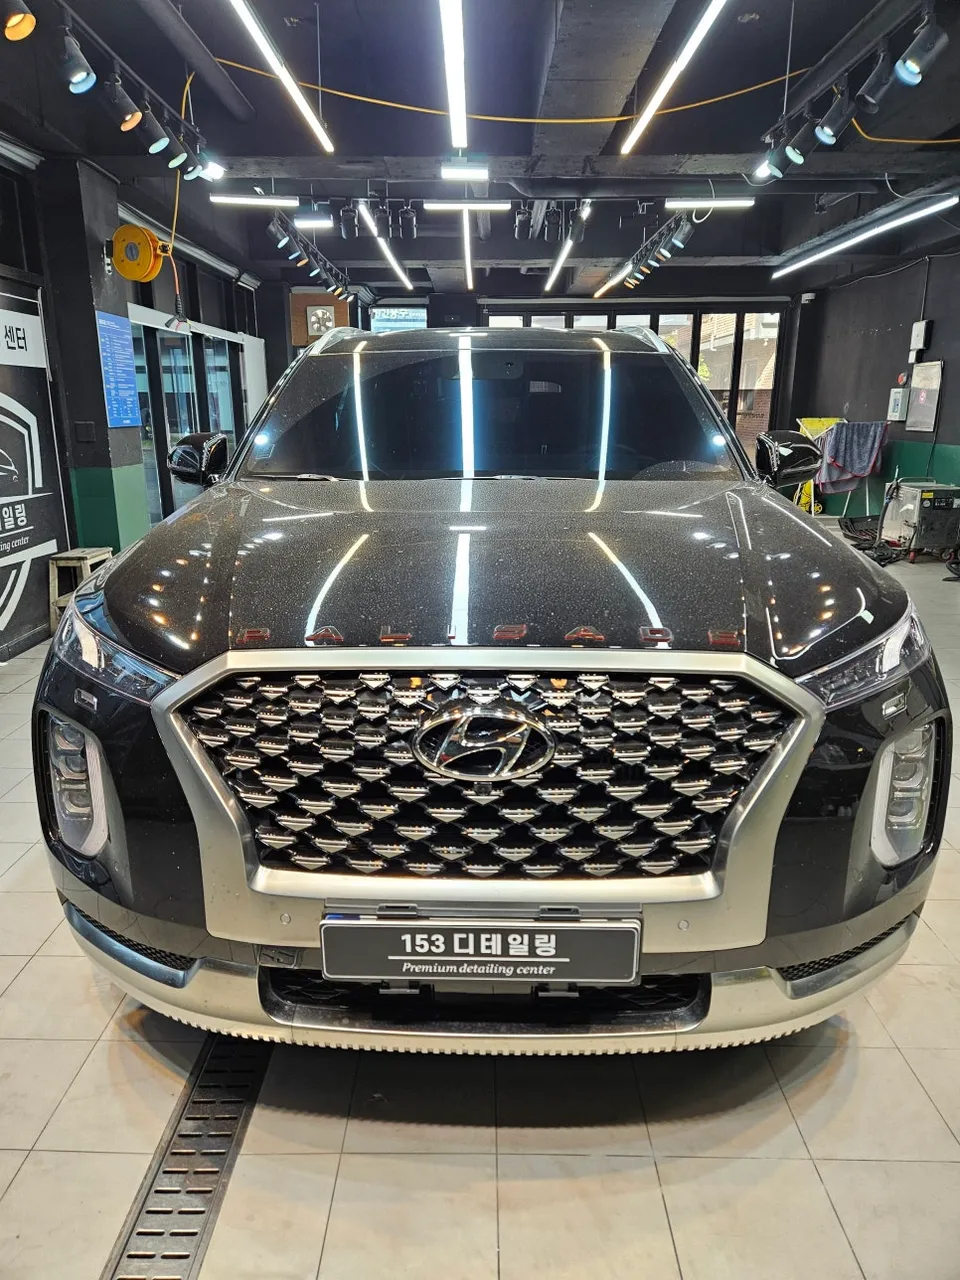
2. Assessing Paint Imperfections
Once your Camry is clean and decontaminated, it's time to assess the paint's condition. Use good lighting (a detailing light or even direct sunlight can help reveal imperfections).
A. Swirl Marks and Light Scratches
These are the most common imperfections, appearing as fine, circular scratches, often visible under direct light. They are usually caused by improper washing techniques.
B. Oxidation
This appears as a dulling or chalky layer on the paint, often on older vehicles or those exposed to harsh elements without protection. It indicates the clear coat is breaking down.
C. Water Spots
Etched water spots can be difficult to remove and may require more aggressive polishing.

3. The Paint Correction Process: Polishing
This is the core of paint correction, where you use abrasive compounds to level the clear coat and remove imperfections. For a Toyota Camry, you'll likely be dealing with clear coat, so using the right tools and products is paramount. This process can be time-consuming and requires patience. If you're unsure about tackling this yourself, consider professional services. You can find more information on pricing in our paint correction cost guide.
A. Choosing Your Tools: Machine Polisher
While hand polishing is possible for very minor defects, a dual-action (DA) polisher is highly recommended for efficiency and effectiveness. DA polishers are safer for beginners as they are less likely to burn through paint compared to rotary polishers.
B. Selecting Polishing Pads and Compounds
You'll typically need a few different types of pads and compounds:
| Pad Type | Compound/Polish | Purpose |
|---|---|---|
| Aggressive Cutting Pad (e.g., Wool or Foam Cutting Pad) | Heavy Cut Compound | Removes deeper scratches, heavy oxidation, and severe swirl marks. Use with caution. |
| Polishing Pad (e.g., Foam Polishing Pad) | Medium Polish | Removes moderate swirls and imperfections left by the cutting step. |
| Finishing Pad (e.g., Foam Finishing Pad) | Fine Polish/Finishing Polish | Removes minor defects and enhances gloss, preparing the paint for protection. |
C. The Polishing Technique
Work on one small section at a time (e.g., 2x2 feet). Apply a few drops of polish to the pad. Spread the polish over the section at a low speed before engaging the polisher. Work the polisher back and forth in a cross-hatch pattern (overlapping strokes horizontally and vertically) at a medium speed. Use moderate pressure. Wipe off the residue with a clean microfiber towel and inspect your work under good lighting. Repeat the process with finer polishes and softer pads as needed to achieve the desired clarity and gloss.

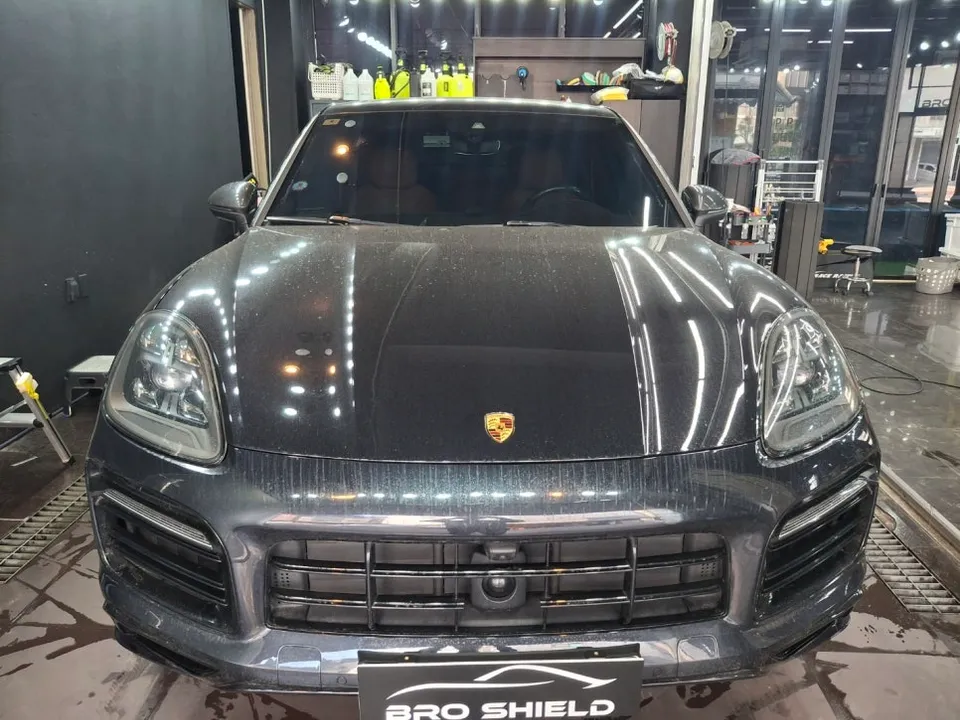
4. Protection: Sealing in the Shine
Once your Camry's paint is corrected, it's crucial to protect that hard-earned shine. This is where sealants, waxes, or ceramic coatings come in.
A. Sealants and Waxes
These offer good protection and gloss but typically last for a few months. They are easier to apply than ceramic coatings.
B. Ceramic Coatings
For longer-lasting protection (often 1-5 years or more), a ceramic coating is an excellent choice. It forms a hard, durable layer that resists chemical etching, UV rays, and makes washing significantly easier. Applying a ceramic coating requires meticulous surface preparation and careful application. If you're considering this, it's worth exploring our PPF vs Ceramic Coating comparison to understand the differences and benefits.
5. Don't Forget the Details!
Paint correction is only part of a complete spring detail. Don't neglect these other crucial areas:
A. Wheels and Tires
Clean your wheels thoroughly with a dedicated wheel cleaner. Dress your tires with a water-based dressing for a clean, non-greasy finish.
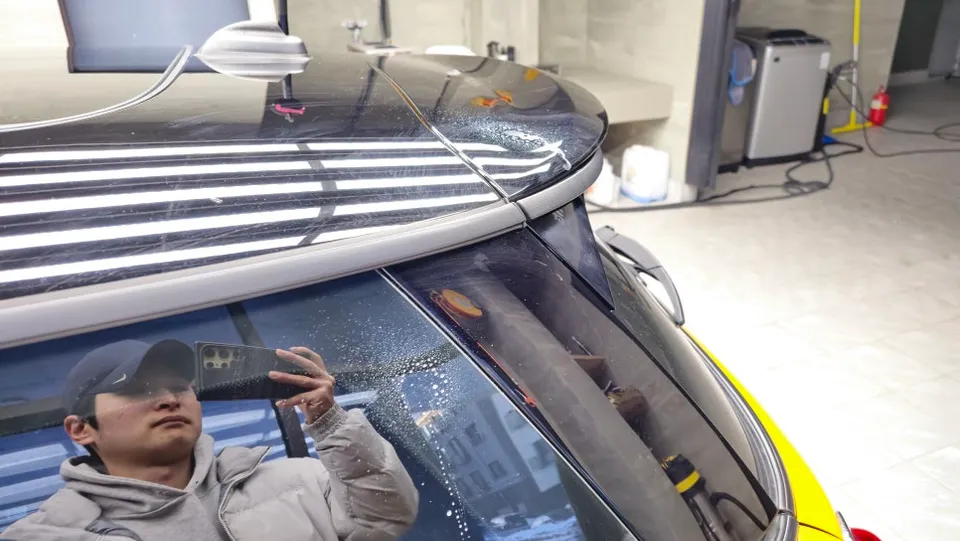
B. Glass
Clean all exterior and interior glass with a quality glass cleaner and a dedicated glass microfiber towel. For an extra layer of protection and easier cleaning, consider a glass sealant or coating.
C. Trim and Plastics
Restore faded plastic and rubber trim with a dedicated trim restorer. This can make a significant difference in the overall appearance of your Camry.
Maintaining Your Camry's Paint After Correction
The key to keeping your Toyota Camry looking its best after a thorough paint correction is consistent maintenance. Regular washing using the two-bucket method and high-quality microfiber towels will prevent new swirl marks from forming. Applying a spray wax or sealant every few months will add an extra layer of protection and gloss. For more in-depth reviews of detailing products and services, check out the paint correction reviews section on OhCar.
Conclusion: A Refreshed Toyota Camry for Spring
Performing a Toyota Camry paint correction how-to guide spring detailing can seem daunting, but the results are incredibly rewarding. By following these steps, you can transform your car's appearance, protect its paintwork from the elements, and enjoy a vehicle that looks as good as new. Remember, patience and the right tools are key. If you're looking for inspiration or want to see what professionals can achieve, explore the wealth of information available in OhCar Magazine.
Comments (2)
Nice write-up! I've used a few different ceramic coatings on my Camry, and honestly, the prep work is *everything*. Make sure you're truly decontaminating and polishing before you lay down that ceramic, otherwise, you're just sealing in imperfections.
Nice guide! I'm always tempted to just wrap my Camry to avoid all this, but a good polish really does bring out that factory shine. Maybe I'll give this a shot before deciding on a new color.


Explore Related Services on OhCar