BMW M2 Dash Cam Installation Review
Before
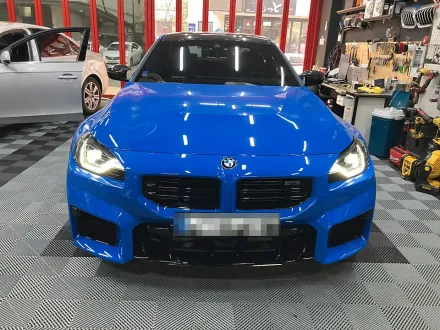
After
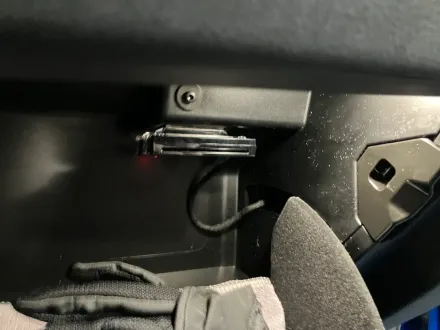
Process photos
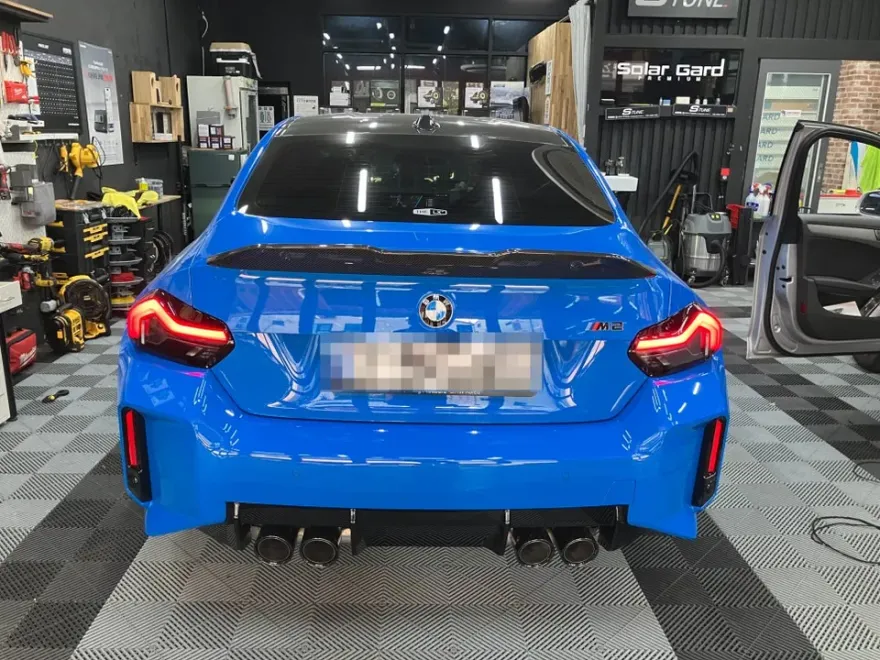
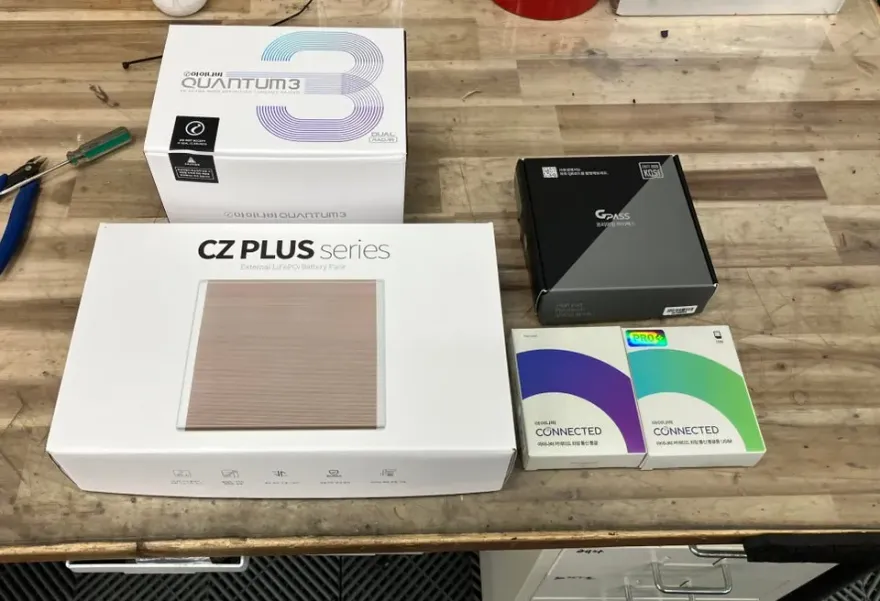
BMW M2 dash cam installation with i-navi Quantum 3 and auxiliary battery. Professional service.
Professional Dash Cam Installation on a BMW M2
When you're investing in a high-performance vehicle like the BMW M2, protecting it extends beyond just driving. Many owners opt for a dash cam, often referred to as a black box camera, to provide an extra layer of security and evidence in case of an incident. This review details a recent installation of the Thinkware i-navi Quantum 3 with Connected Pro Plus and a Carecell 15A auxiliary battery, along with an RF-type Hi-Pass system, on a brand-new BMW M2. The service was performed by Estune (i-navi Suwon Gwanggyo Branch) in South Korea.
Why Install a Dash Cam and Auxiliary Battery?
The primary reason for installing an auxiliary battery with a dash cam is to ensure continuous, stable recording, especially during parking. Normally, a dash cam powers down when the vehicle's ignition is off. An auxiliary battery allows the dash cam to keep recording for an extended period, crucial for monitoring your vehicle while parked. This is particularly important for capturing potential accidents, vandalism, or theft. Relying solely on the car's main battery for parking mode recording risks draining it, leaving you stranded. An auxiliary battery acts as a dedicated power source, protecting your vehicle's battery and ensuring the dash cam operates reliably, even with voltage fluctuations during driving. This setup is highly recommended for drivers who frequently park outdoors or leave their vehicles unattended for long periods.
Installation Process and Components
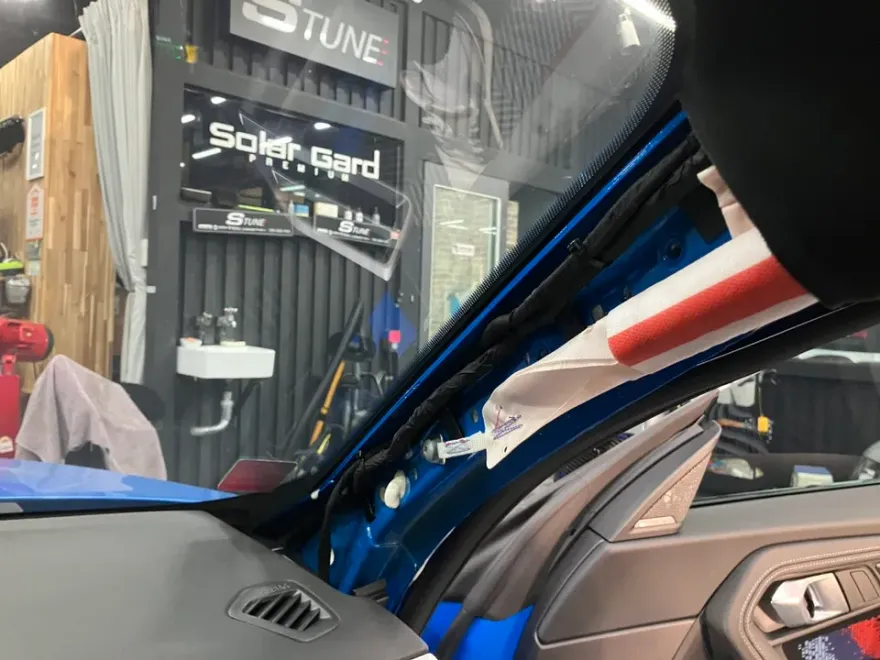
The installation process on this BMW M2 involved several key steps to ensure a clean and professional finish. The technician carefully removed the existing ACE3.0 dash cam. The new setup includes the i-navi Quantum 3, which records in 4K front and QHD rear resolution, offering top-tier image quality. It also features built-in radar for a low-power radar mode. The Connected Pro Plus module allows for remote monitoring and video access via the i-navi Black Box Link app. The Carecell 15A auxiliary battery was discreetly installed under the trunk trim, near the factory amplifier location, ensuring it remains hidden and secure. Wiring was meticulously routed along the car's original wiring paths, including the A-pillar, and secured with sound-deadening material to prevent any rattles or noise. The RF-type Hi-Pass system was installed inside the glove box and registered. The entire process took approximately 1 hour and 30 minutes. The Carecell 15A battery is rated for about 45 hours of motion-detection parking recording and comes with a 2-year warranty. The installer noted that all wiring received sound-deadening treatment as standard practice.
Installation process:
- Remove existing dash cam and meticulously route new wiring along factory paths, securing with sound-deadening material to prevent rattles.
- Install the front and rear dash cam units, ensuring optimal viewing angles.
- Install the auxiliary battery discreetly, typically under the trunk trim or in a similar hidden location.
- Install and register the RF-type Hi-Pass system within the glove box.
- Connect all components and test functionality, including parking mode and app connectivity.
Frequently Asked Questions
Q. How much does dash cam installation cost for a BMW M2?
The specific installation cost for this i-navi Quantum 3 setup on a BMW M2 in South Korea was not explicitly stated in KRW, but professional dash cam installations in the US typically range from $150 to $500 depending on the system and complexity.
Q. How long does dash cam installation take on a BMW M2?
This professional dash cam and auxiliary battery installation on a BMW M2 took approximately 1 hour and 30 minutes. Regular maintenance involves checking the camera lens for cleanliness and ensuring the app connectivity remains stable.
Q. Is a hardwired dashcam worth it over a self-install for a BMW M2?
A hardwired dashcam with an auxiliary battery is highly recommended for BMW M2 owners who prioritize continuous parking surveillance and vehicle battery protection. Professional installation ensures proper wiring, secure mounting, and optimal performance, justifying the cost for peace of mind.
Q. How is a dashcam professionally installed on a BMW M2?
Professional installation involves routing wires discreetly along factory paths, often securing them with sound-deadening material to prevent rattles. The dash cam units (front and rear) are mounted, the auxiliary battery is hidden, and any additional components like a Hi-Pass system are integrated and tested.
Q. What is the difference between a 1-channel and 2-channel dashcam for a BMW M2?
A 1-channel dashcam records only the front view, while a 2-channel (front and rear) dashcam captures footage from both directions, offering comprehensive coverage. For a BMW M2, a front and rear dash cam is strongly recommended for complete protection.
Q. What should I know before getting Dash Cam on a BMW M2? (common regrets and mistakes)
The most common regret is not opting for an auxiliary battery, leading to parking mode limitations or vehicle battery drain. Always ensure the installer uses sound-deadening materials to prevent rattles and chooses a reputable brand for durability and warranty.
OhCar Partner Shop