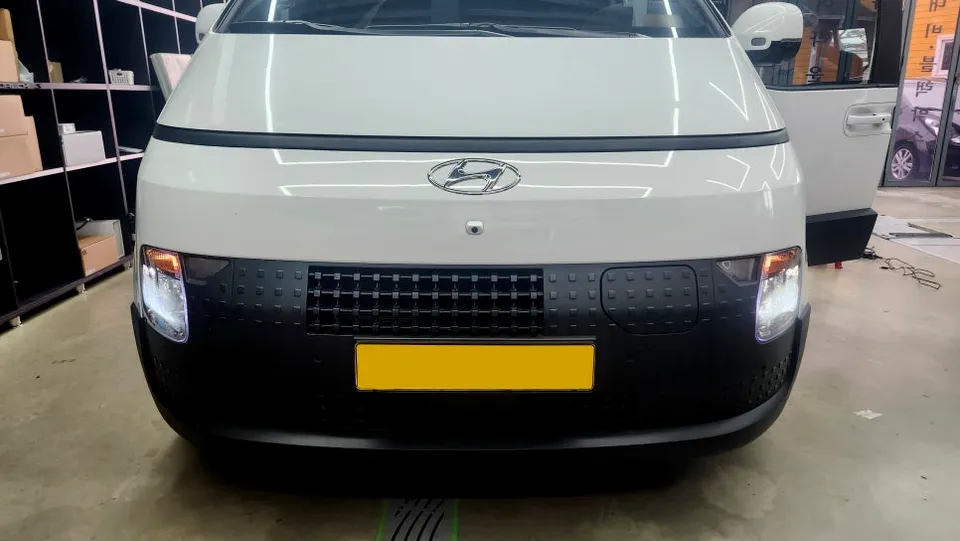
Step-by-Step Guide: How to Detail a Car at Home
Step 1: Pre-Rinse and Wash
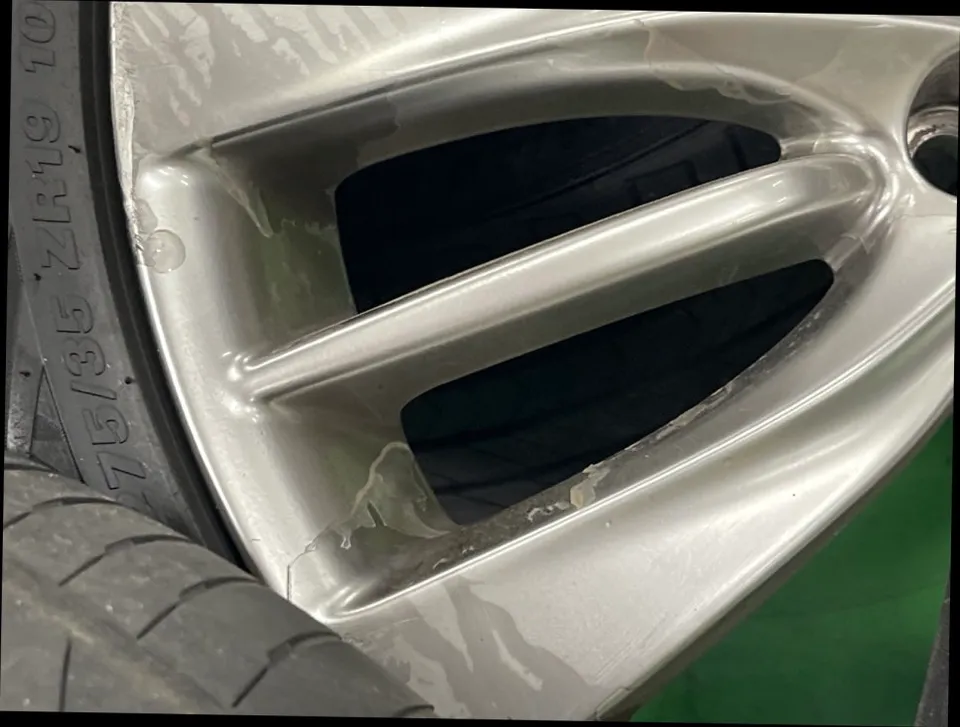
Start by rinsing the entire car with water to remove loose dirt and debris. This prevents scratching during the washing phase. Fill one bucket with your car wash soap and water, and the other with clean rinse water. Dunk your wash mitt into the soapy water, wash a section of the car (e.g., the roof), then rinse the mitt thoroughly in the clean water bucket before returning it to the soap bucket. This two-bucket method is crucial for preventing swirl marks. Work from top to bottom, so dirt doesn't run over already cleaned areas. Don't forget to clean the wheels and tires separately, as they carry the most abrasive dirt. Use a dedicated wheel cleaner and brushes, rinsing thoroughly afterward.
Step 2: Decontaminate the Paint
Once the car is washed and rinsed, it's time to decontaminate. This step removes bonded contaminants that washing alone can't eliminate, such as industrial fallout, tar, and tree sap. If you notice a gritty texture on your paint, claying is necessary. Spray a clay lubricant or quick detailer onto a section of the paint and gently glide the clay bar or mitt over the surface. You'll feel the clay grab onto contaminants. Fold or knead the clay frequently to expose a clean surface. Repeat this process over the entire car. For stubborn contaminants like iron particles, an iron remover can be applied before claying. This process is essential before applying any form of protection, whether it's a traditional wax or a more advanced coating.
Step 3: Polish the Paint (Optional but Recommended)
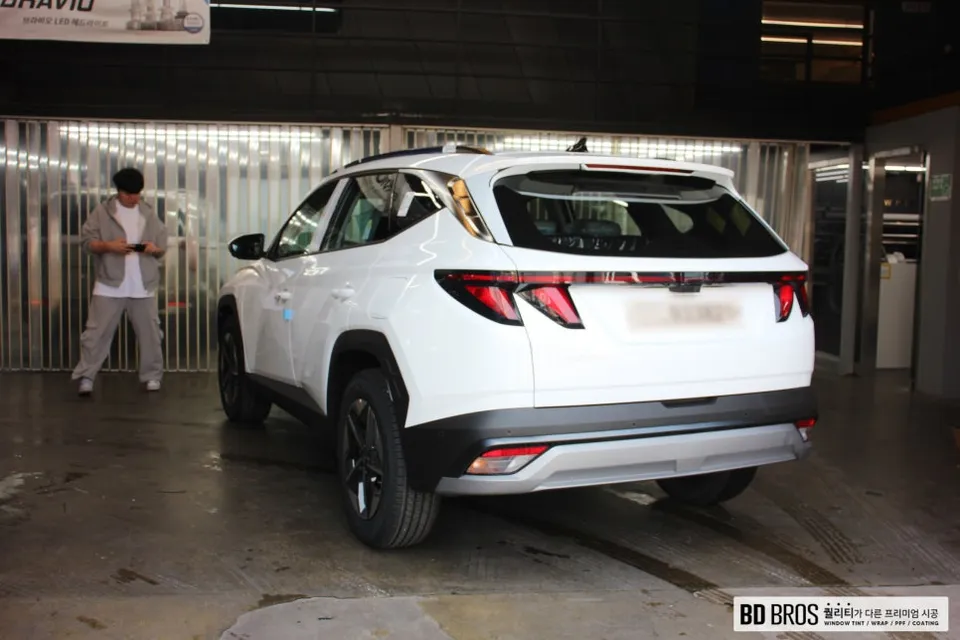
Polishing is where you remove minor imperfections like swirl marks, light scratches, and oxidation, restoring gloss and clarity to the paint. For beginners, a hand polish with a good quality compound and microfiber applicator pad is a safe starting point. Apply a small amount of polish to the pad and work it into the paint in a cross-hatch pattern (back and forth, then side to side) with moderate pressure. Wipe off the residue with a clean microfiber towel. For more significant imperfections or faster results, a machine polisher (dual-action or DA polisher is recommended for beginners) can be used with appropriate polishing pads and compounds. This step significantly enhances the final look, similar to how professional shops achieve a flawless finish on vehicles like the Hyundai Tucson or Tesla Model 3, where paint condition is paramount.
Step 4: Apply Protection
Protection is key to maintaining your car's finish and making future washes easier. Choose your preferred protection: wax for a warm glow and ease of application, sealant for longer durability, or a ceramic spray coating for enhanced gloss and hydrophobic properties. Apply your chosen product according to the manufacturer's instructions, typically by applying a thin, even layer with an applicator pad and then buffing off the residue with a clean microfiber towel. For wheels, a dedicated wheel sealant or wax can add protection. Don't forget to apply tire dressing to give your tires a clean, finished look.
Step 5: Clean the Glass
Clean all exterior and interior glass surfaces. Use an automotive-specific glass cleaner and two microfiber towels: one for applying the cleaner and one for buffing to a streak-free finish. For tinted windows, ensure your glass cleaner is ammonia-free to avoid damaging the tint film. A clean windshield and windows significantly improve visibility and the overall appearance of your car.
Step 6: Interior Detailing
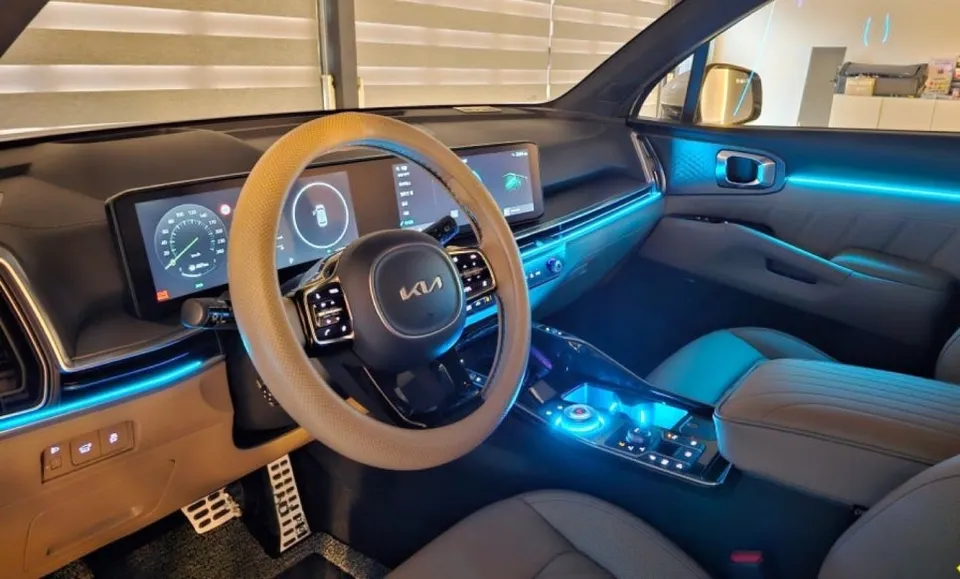
Don't neglect the inside! Start by removing all trash and floor mats. Vacuum thoroughly, paying attention to crevices and under seats. Use an interior cleaner and a microfiber towel to wipe down the dashboard, center console, door panels, and steering wheel. For leather surfaces, use a dedicated leather cleaner followed by a conditioner to keep the leather supple and prevent cracking. Clean the interior glass as mentioned above. If you have fabric seats, a fabric cleaner or spot remover can be used for stains.
Step 7: Final Touches
Add finishing touches like applying a protectant to plastic and rubber trim, cleaning exhaust tips, and ensuring all door jambs are wiped down. A quick detailer spray can be used to remove any final smudges or dust.