Hyundai Elantra Dash Cam Installation Review — Expert Service
Service Price
$approx. $1,150–1,500
Estimated price · Actual price may vary by shop

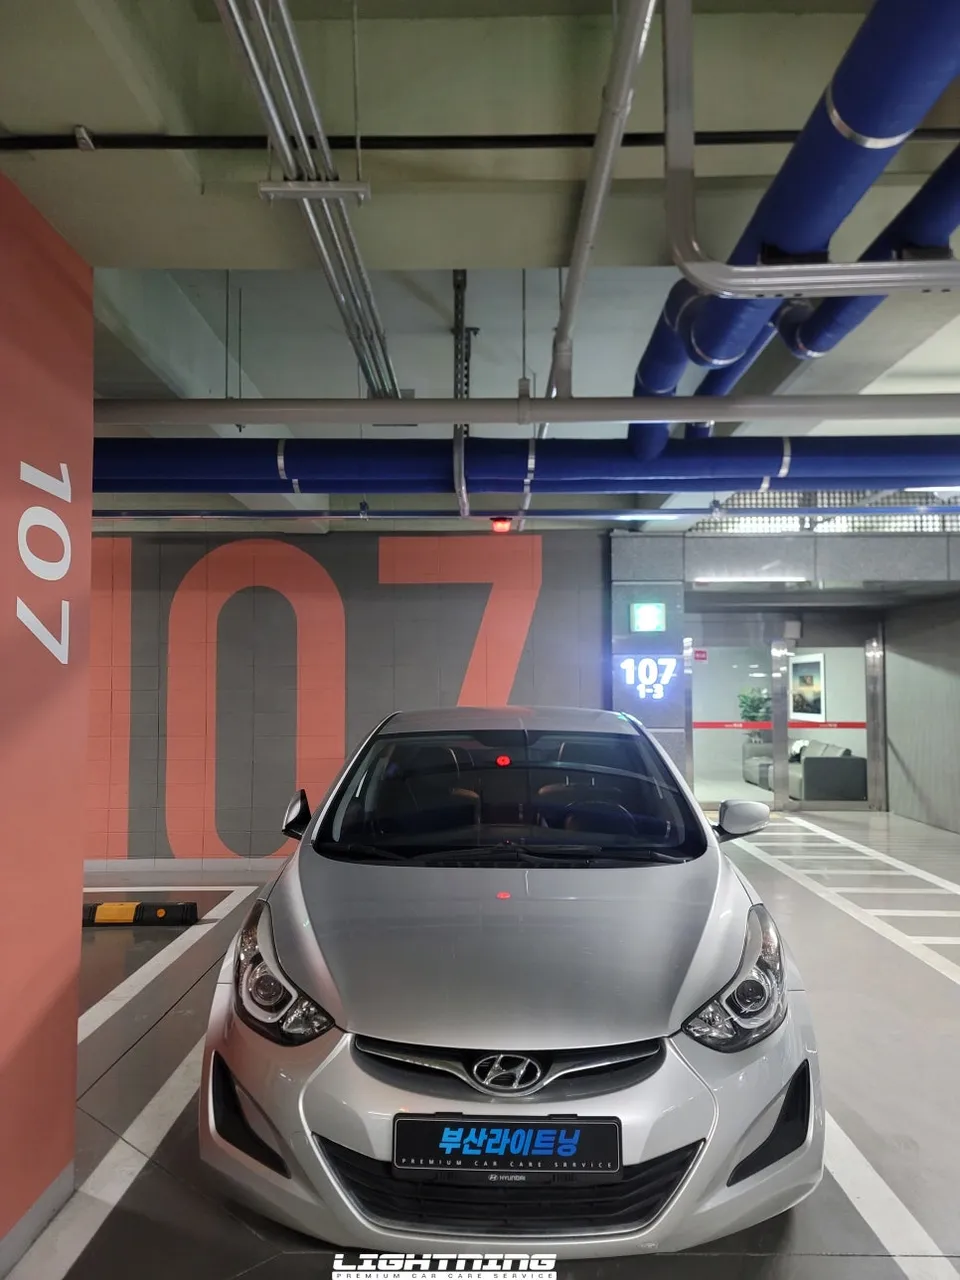
GNET M7 dash cam installation on Hyundai Elantra MD: KRW 200,000. Ensures clear front & rear FHD recording for evidence.
Professional Dash Cam Installation for Your Hyundai Elantra MD
After purchasing a new Hyundai Elantra, one of the first considerations for many drivers is the installation of a dash cam. The importance of having clear video evidence in the event of an accident is well-known, especially in busy areas. However, properly installing a dash cam on a vehicle like the Elantra requires more than just attaching a camera; it involves meticulous wiring, precise camera placement, and professional calibration.
This review covers:
- Key considerations for rear camera mounting.
- Proper routing and management of front camera wiring.
- Essential post-installation checks.
- Information on cost, time, and maintenance.
- Frequently asked questions.
Rear Camera Mounting: The Importance of Surface Preparation
The initial step in dash cam installation is mounting the rear camera. This involves centering the camera on the Elantra's rear windshield. A crucial detail often overlooked by many installers is the pre-treatment of the glass surface. The adhesive used for mounting is sensitive to heat; extreme summer temperatures can significantly weaken its bond, risking the camera detaching. Therefore, it's essential to thoroughly clean the glass to remove all oily residues before application. A simple wipe-down with water is insufficient. Professionals use IPA (Isopropyl Alcohol) solution to meticulously degrease the glass surface, maximizing the adhesive's strength for years of stable performance.

Front Camera Wiring: Secure Installation for Clear Audio
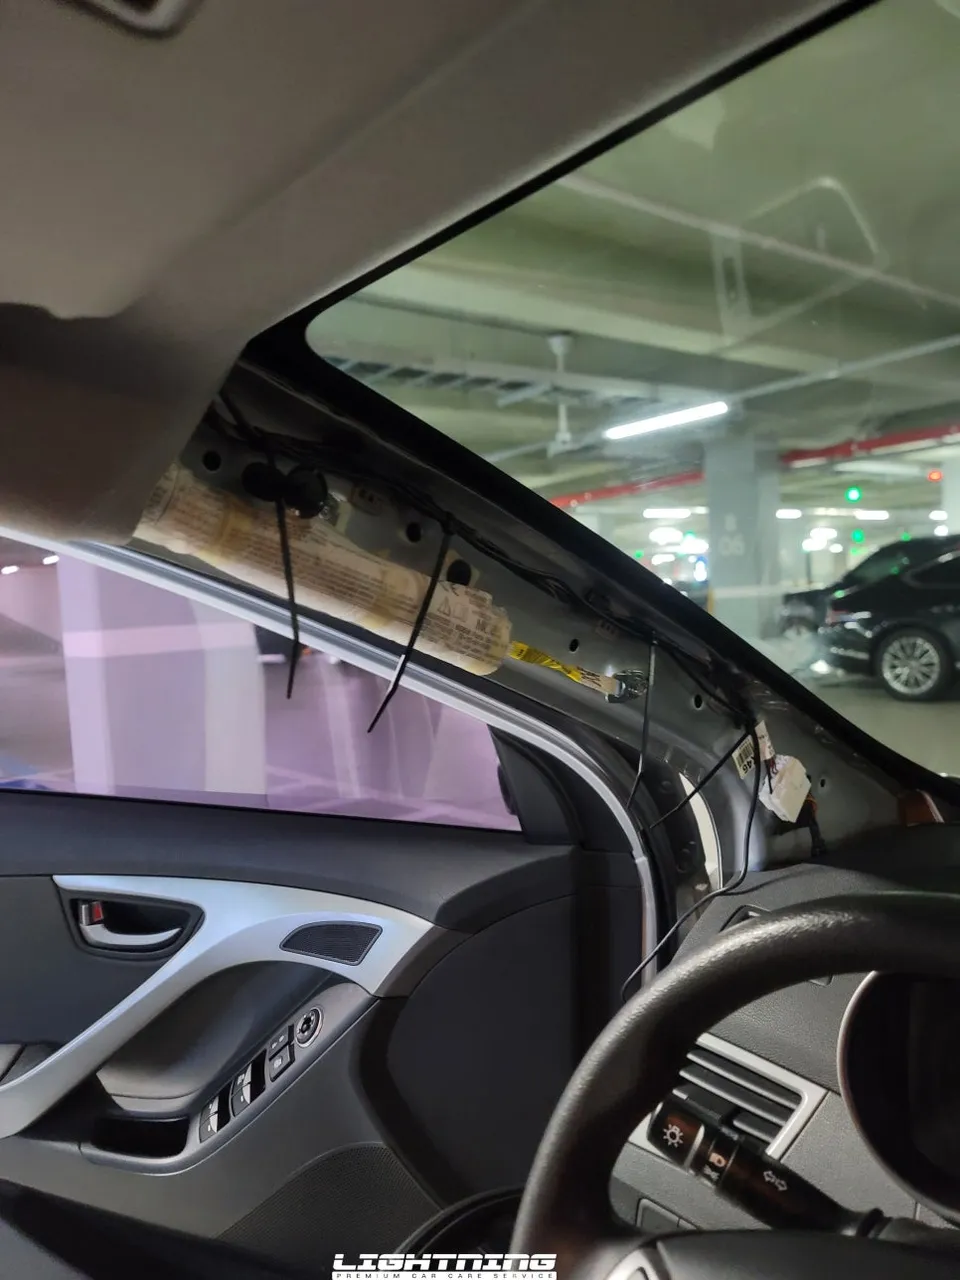
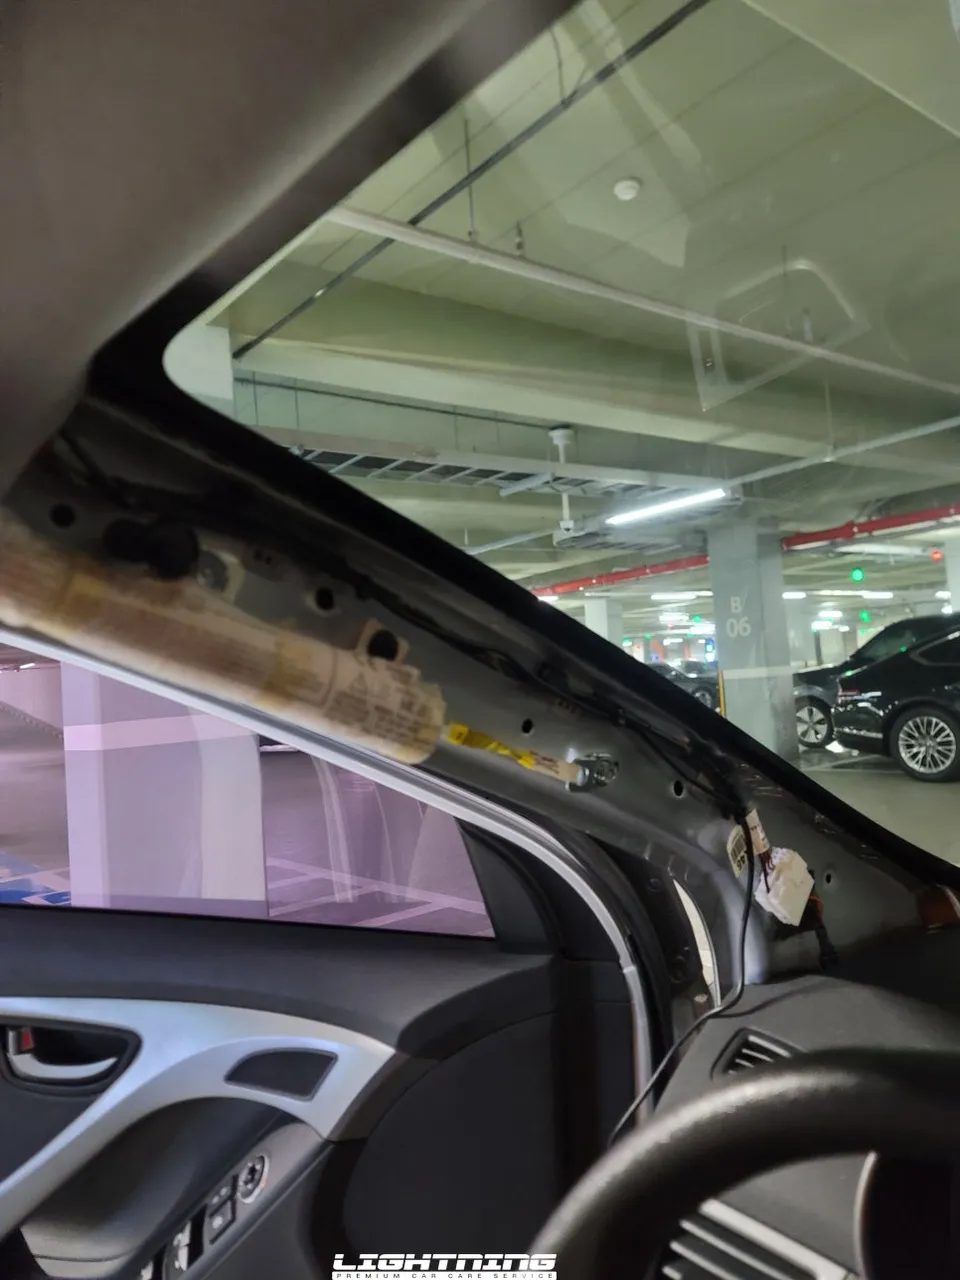
Once the rear camera is in place, the next step is connecting the front camera and the main unit. For the Hyundai Elantra, this typically involves routing the wiring discreetly through the A-pillar. This stage presents the most significant challenge in dash cam installation. The A-pillar houses the curtain airbag and various essential wiring harnesses. The key is to route the dash cam's wiring alongside the vehicle's original lines and secure it meticulously to prevent any movement or contact with metal components. Improperly managed wiring can lead to rattling noises while driving, which can be distracting and even affect the audio quality of recordings.
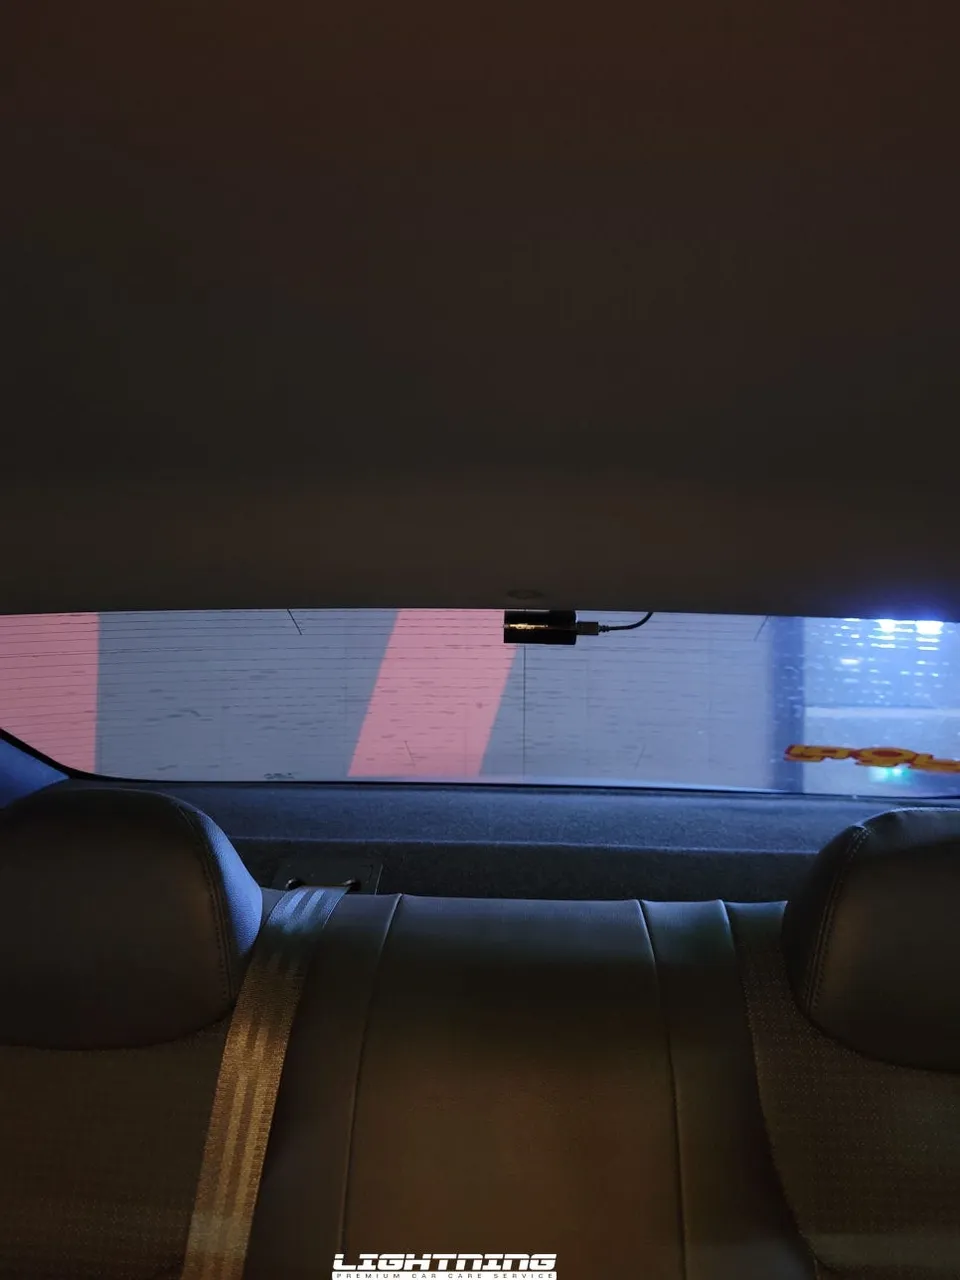
GNET M7 Dual Channel Dash Cam: Comprehensive Recording
The dash cam used in this installation is the GNETSYSTEM M7 Dual FHD 2-Channel Dash Cam. GNET is a reputable brand known for its reliable dash cams, including models for motorcycles and multi-channel systems. The M7 model excels by recording both front and rear views simultaneously in Full HD (1080p) resolution. Unlike some dash cams where the rear camera might offer lower quality, the M7 ensures clear footage from both perspectives. This provides comprehensive evidence of events, which is particularly valuable in complex traffic environments like Busan.
Post-Installation Checks: Ensuring Optimal Functionality
With all wiring completed and cameras mounted, the final stage involves comprehensive testing. This includes verifying that both front and rear cameras are recording correctly, checking the seamless transition between continuous and parking modes, and confirming all settings are accurately configured. Proper calibration ensures the dash cam functions as intended, providing reliable recording capabilities for your Hyundai Elantra.
Installation Process:
- Thoroughly clean the rear windshield with IPA solution for optimal adhesive grip.
- Carefully route and secure front camera wiring through the A-pillar, avoiding airbag and existing harnesses.
- Mount both front and rear cameras in optimal positions.
- Test all recording modes (continuous, parking) and settings.
- Calibrate the touch panel for accurate user interaction.
Frequently Asked Questions
Q. How much does dashcam installation cost for a Hyundai Elantra MD?
The installation for this GNET M7 dash cam on a Hyundai Elantra MD was KRW 200,000 (approximately $150 USD). Professional installation typically ranges from $100 to $300 in the US, depending on the complexity and features.
Q. How long does dashcam installation take on a Hyundai Elantra MD?
Professional dash cam installation usually takes between 1 to 3 hours, ensuring all wiring is neatly managed and tested. For longevity, ensure the installer uses quality materials and proper techniques, and periodically check camera angles and connections.
Q. Is a hardwired dashcam worth it over a self-install for a Hyundai Elantra MD?
A professionally hardwired dash cam is recommended for optimal performance and safety, especially concerning airbag systems. It ensures clean wiring, proper power management, and secure mounting, offering peace of mind and reliable evidence capture.
Q. How is a dashcam professionally installed on a Hyundai Elantra MD?
Professional installation involves cleaning the glass with IPA for secure rear camera mounting, carefully routing and securing front camera wiring through the A-pillar to avoid interference, testing all recording modes, and calibrating the unit.
Q. What is the difference between a 1-channel and 2-channel dashcam for a Hyundai Elantra MD?
A 1-channel dash cam records only the front view, while a 2-channel dash cam records both front and rear views simultaneously. For comprehensive coverage and evidence, a 2-channel system like the GNET M7 is highly recommended.
OhCar Partner Shop