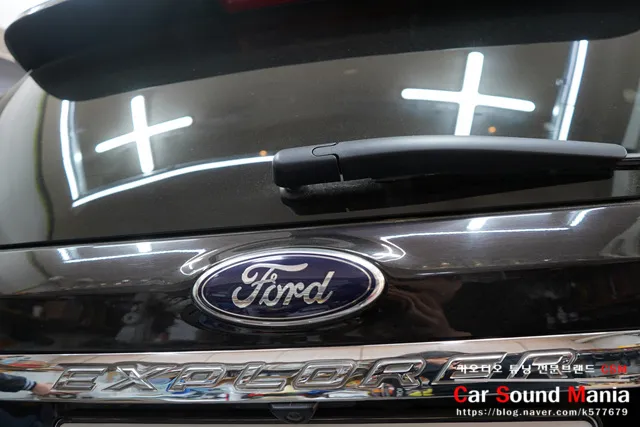
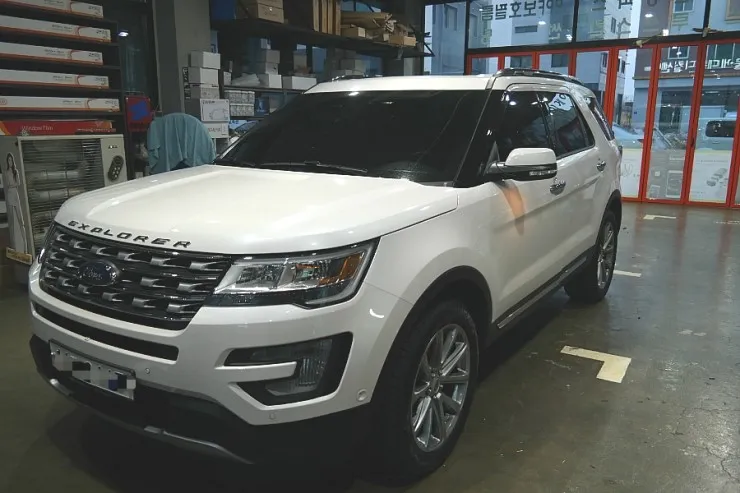
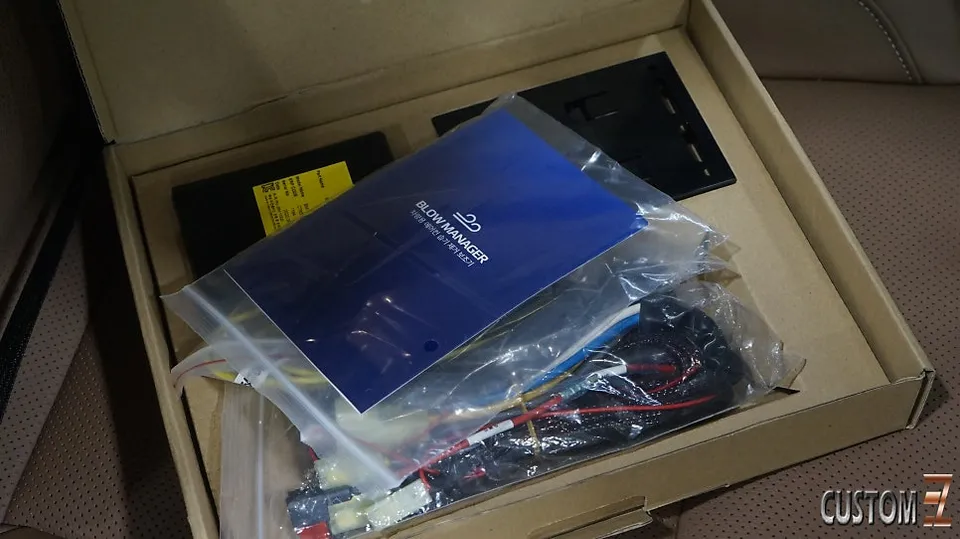
Ford Explorer Dash Cam Installation Review

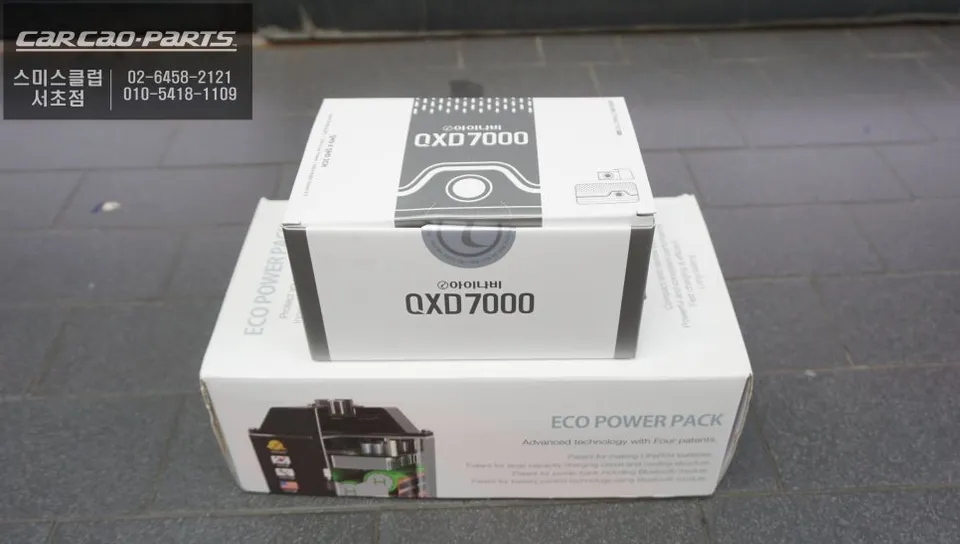
Ford Explorer dash cam installation with EcoPowerPack 28C and Iball QXD7000. Provides 84 hours of parking recording. Professional installation ensures
Ford Explorer Dash Cam: Parking Recording Without Battery Drain
Many Ford Explorer owners grapple with the dilemma of dash cam parking mode. Relying on the vehicle's main battery risks a dead battery, especially during extended parking periods. Conversely, disabling parking mode leaves the vehicle vulnerable to hit-and-runs or other incidents. This review explores a solution that provides stable parking recording without compromising your Explorer's main battery. The answer lies in a dedicated auxiliary battery system.
Understanding Dash Cam Power: Main Battery vs. Auxiliary Battery
Using your car's main battery to power a dash cam continuously can lead to significant power drain. Even low-power dash cams can deplete the battery over several days, potentially preventing your Explorer from starting, particularly in cold weather or with an older battery. An auxiliary battery, however, operates independently. It charges from the vehicle's alternator while driving and then powers the dash cam during parking, isolating the main battery from the power draw. This separation is the key benefit of installing an auxiliary battery system for your dash cam.
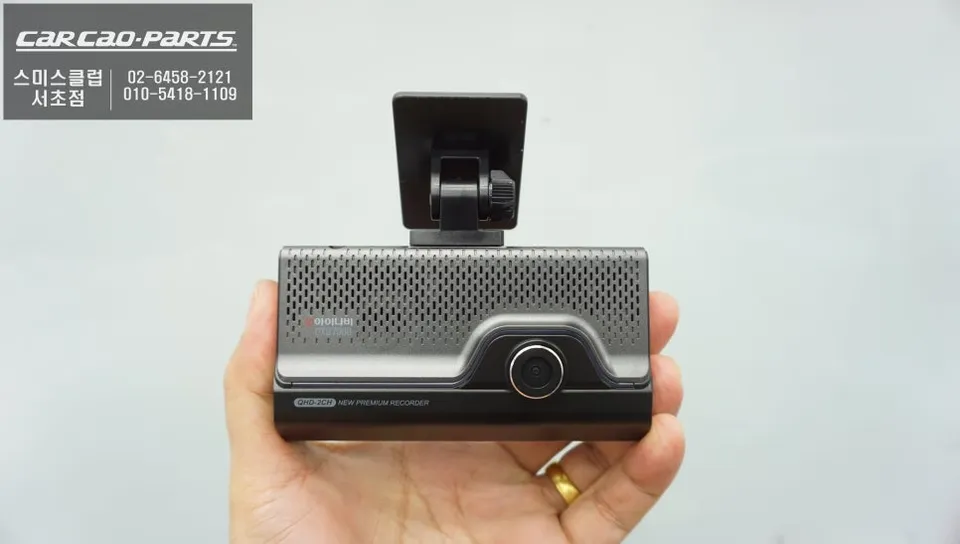
EcoPowerPack 28C & Iball QXD7000: A Powerful Combination
The EcoPowerPack 28C utilizes reliable Lithium Iron Phosphate (LiFePO4) technology, known for its efficiency and longevity. It can fully charge in approximately 80 minutes of driving. With a typical dash cam power consumption of 320mA, the EcoPowerPack 28C can provide up to 84 hours (about 3.5 days) of continuous parking recording. This duration is more than sufficient for most daily parking needs and even extended trips, offering substantial peace of mind.
Paired with the EcoPowerPack is the Iball QXD7000, a premium dash cam. It records in crisp QHD resolution (2560x1440) for both front and rear cameras. Its standout feature is "Ultra Night Vision 3.0," which significantly reduces noise in low-light conditions. This technology ensures clear, natural-looking footage even at night, crucial for capturing evidence of parking incidents effectively. Clear, detailed recordings are essential when relying on dash cam footage for insurance claims or legal purposes.
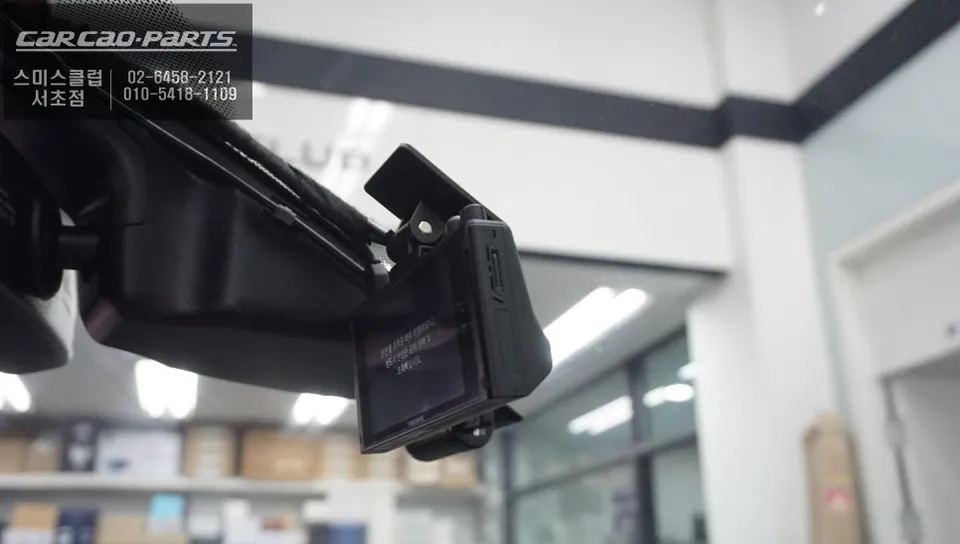
Ford Explorer Dash Cam Installation Process:
- Camera Placement: Front and rear cameras are discreetly mounted within the Ford Explorer's interior to maximize field of view without disrupting the aesthetics.
- Wiring Integration: Power and signal cables for both cameras are carefully routed and connected to the vehicle's electrical system, ensuring they are neatly tucked away and do not interfere with other components.
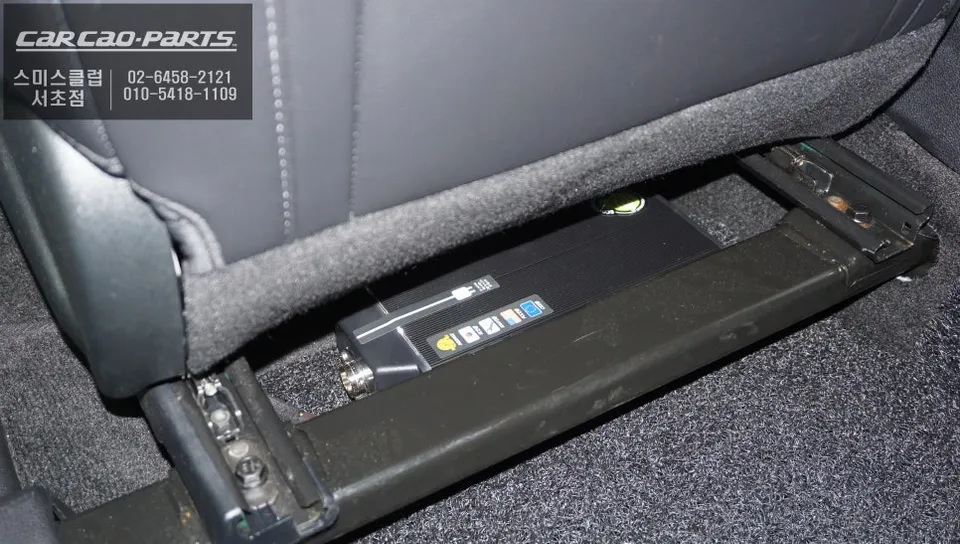
- Auxiliary Battery Installation: The EcoPowerPack 28C is installed in a convenient yet hidden location, typically under the driver's seat, allowing for easy access and stable charging during drives.
- System Connection: The auxiliary battery is independently wired to the vehicle's main battery charging system, ensuring it charges while the engine is running and powers the dash cam when parked.
Frequently Asked Questions
Q. How much does dash cam installation cost for a Ford Explorer?
Professional dash cam installation for a Ford Explorer, including an auxiliary battery like the EcoPowerPack 28C, typically ranges from $400 to $800 USD. This price reflects the complexity of integrating the auxiliary power system and high-quality dash cam.
Q. How long does dash cam installation take on a Ford Explorer?
Dash cam installation on a Ford Explorer, especially with an auxiliary battery, usually takes between 2 to 4 hours to complete. Proper installation ensures the system's longevity and requires careful wiring management and component placement.
Q. Is a hardwired dash cam worth it over a self-install for a Ford Explorer?
Professional hardwiring is highly recommended for a Ford Explorer, particularly when using an auxiliary battery, as it ensures correct integration and prevents potential electrical issues. The investment guarantees reliable performance and protects your vehicle's warranty.
Q. How is a dash cam professionally installed on a Ford Explorer?
Professional installation involves discreetly mounting the front and rear cameras, routing and concealing wiring, and connecting the dash cam (often with an auxiliary battery) to the vehicle's power system. The process prioritizes clean aesthetics and secure connections to prevent rattles or shorts.
Q. What is the difference between a 1-channel and 2-channel dash cam for a Ford Explorer?
A 1-channel dash cam records only the front view, while a 2-channel system records both front and rear views simultaneously. For comprehensive protection on a Ford Explorer, a 2-channel system is recommended to capture incidents from all angles.
Kakao Parts